Some links on this blog may contain affiliate links. If you make a purchase through one of these links, I may earn a small commission at no extra cost to you. Thank you for supporting Enchanted Kids Moment!
I still have a small folded piece of paper a child handed me one morning. She had drawn what was supposed to be our family. I could barely make out the figures but I kept it anyway. I knew even then that I would want to remember that moment.
Childhood creates more keepsakes than most families have space to store. A first drawing, birthday card, tiny outfit, school photograph, or handmade craft can seem ordinary at the time. Years later, those little pieces can bring back an entire stage of your child’s life.
The problem is knowing what to keep.
You cannot realistically save every drawing, toy, school paper, birthday decoration, and craft your child makes. Trying to keep everything can quickly turn a meaningful collection into another source of clutter.
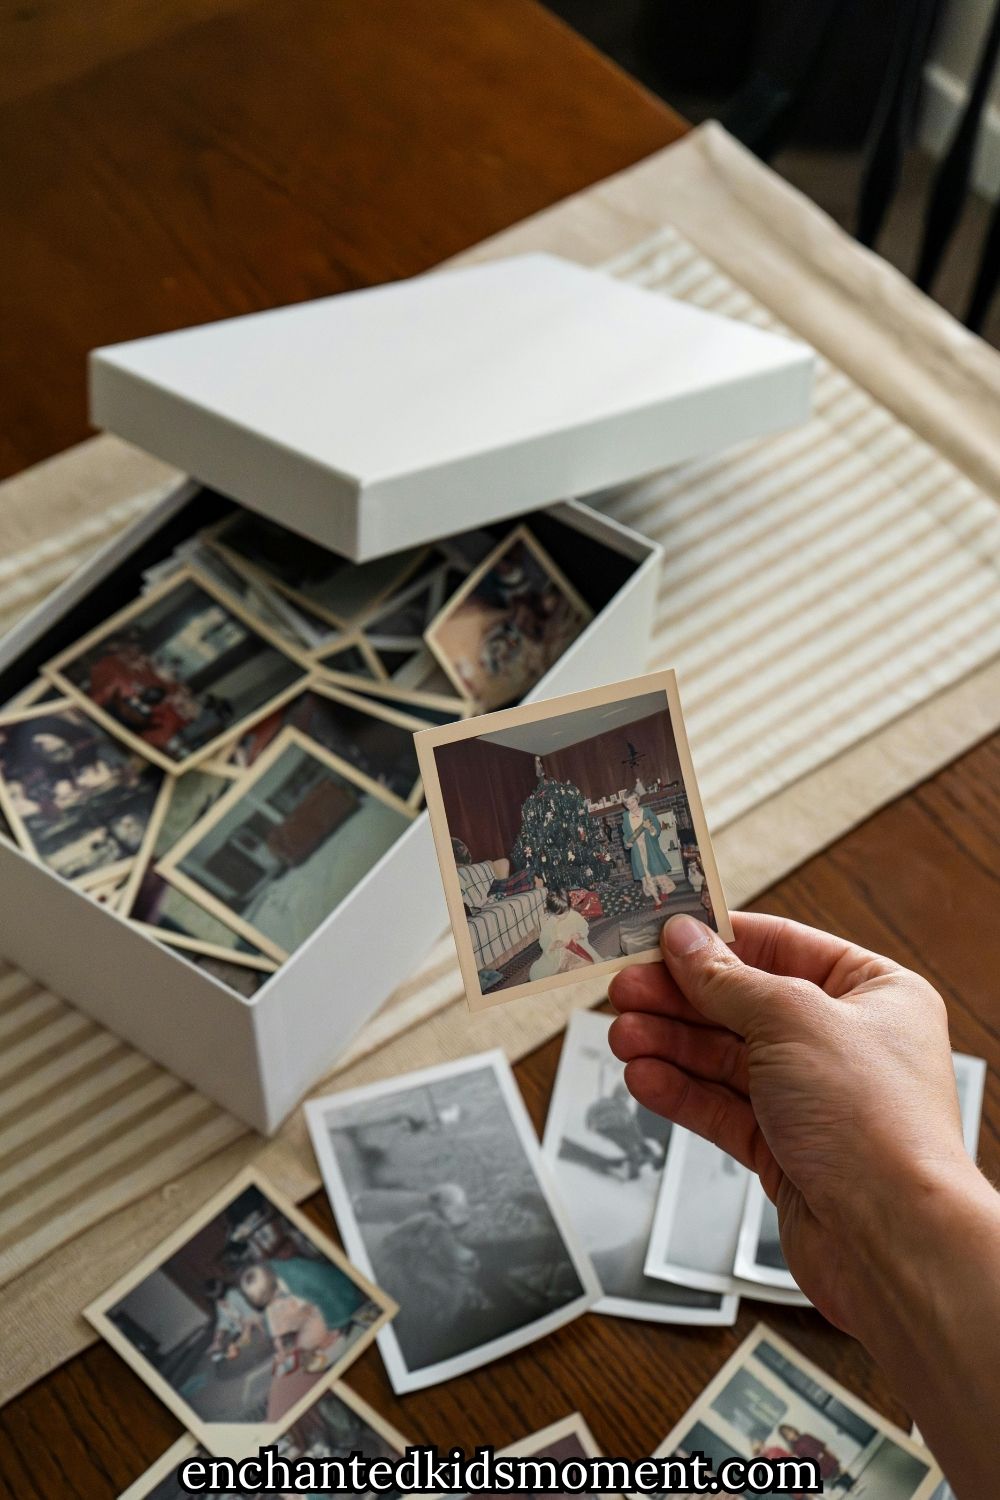
A childhood memory box gives those special pieces a permanent home. You can choose a few items from each stage and add a short note explaining why they matter.
Your box might hold baby keepsakes at first. Later it can include school photographs, favourite artwork, funny childhood quotes, birthday memories, certificates, handmade cards, and small reminders of family traditions.
The goal is not to create a perfect collection. It is to preserve the pieces that tell your child’s story.
In this guide you will find practical DIY childhood memory box ideas for choosing keepsakes, organizing them, and deciding what deserves a place in the box without creating more clutter.
The Ultimate Guide to Documenting Your Child’s Milestones pairs beautifully with a memory box because it helps you preserve the stories behind each keepsake.
Why a Childhood Memory Box Is Worth Creating

The object does not need to be expensive or impressive. It simply needs to represent something you want to remember.
Children collect memories faster than most parents can organize them.
Drawings appear on the kitchen table. Birthday cards end up in drawers. School certificates get tucked into folders. Handmade crafts slowly fill shelves.
You cannot keep everything.
A memory box gives the most meaningful pieces one permanent home.
The key is choosing items that tell a story instead of keeping things simply because they belonged to your child.
A drawing can show how their creativity changed. A handwritten note can capture their early spelling. A birthday invitation can remind you of a celebration your family once planned together.
If you enjoy noticing those easily missed moments, Heartwarming Childhood Milestones Parents Often Forget to Celebrate can help you decide which memories deserve saving.
What Should Go Inside a Childhood Memory Box?
If the answer is yes, it may deserve a place in the box.
Start with items that remind you of a particular person, place, achievement, interest, or stage of childhood.
You might keep:
A few favourite photographs
Birthday cards
Hospital keepsakes
A favourite drawing
School photographs
Certificates
Handmade cards
Small crafts
Holiday memories
Family photographs
Written notes
First letters or words
One meaningful clothing item
Event tickets
Funny childhood quotes
You do not need to keep every version of these items.
Choose the pieces that immediately bring a memory back to you.
If your child creates twenty similar drawings, you might keep one or two that represent that stage particularly well. If they receive several birthday cards, choose the messages that feel most meaningful.
A good question to ask is:
“If I found this item ten years from now, would it help me remember something important?”
The Ultimate Guide to Creating Meaningful Childhood Memories With Kids can also help you think beyond major events when choosing what matters.
Choose a Memory Box That Can Grow With Your Child
Leave some empty space for future memories, but give yourself a limit. The goal is to create a collection you can actually manage.
Choose a container that is sturdy enough to protect the keepsakes you plan to save.
A lidded wooden box can work well. A strong photo-storage box, decorative cardboard box, small suitcase, fabric storage box, or sturdy plastic container can also work.
Think about how much you realistically want to save before choosing the size.
A huge box may seem convenient at first, but unlimited space can make it tempting to keep everything.
A smaller container encourages more thoughtful choices.
For families already working on clutter, Toy Storage Ideas That Make Cleanup Easier for Kids has practical ideas for separating everyday belongings from meaningful keepsakes.
DIY Childhood Memory Box Ideas
1. Create a Simple Name Memory Box
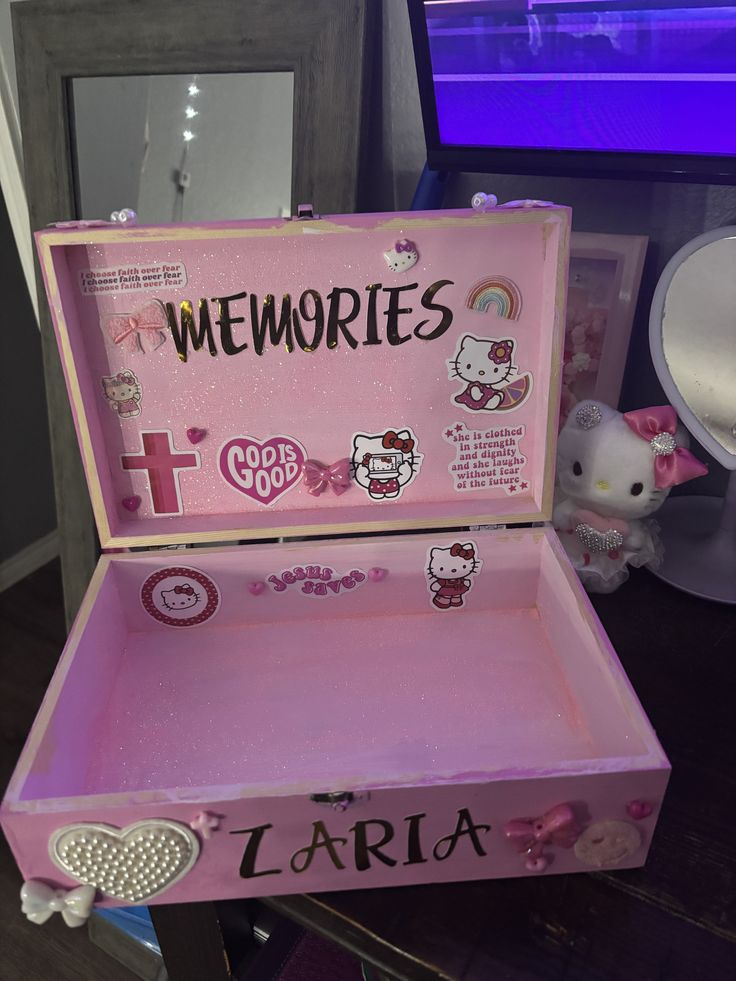
Start with one box dedicated to one child.
Add their name to the lid.
You can paint it, use wooden letters, or create a removable label.
Keep the rest of the design simple.
Inside, add photographs and keepsakes from different ages.
This is one of the easiest DIY childhood memory box ideas because you can continue adding to it for years.
2. Make a First-Year Baby Memory Box

Create a First-Year Baby Memory Box
Choose a small collection that brings the first year back to life when you look through it later.
Dedicate a section of the box to your child’s first twelve months.
You might save the hospital bracelet, birth announcement, one favourite newborn photograph, first birthday invitation, and one tiny outfit.
Add a short note describing what your baby was like during that year.
You could mention a favourite song, a funny habit, a family nickname, or something your baby loved doing.
You do not need to save every baby item.
How to Create a Stunning Cake Smash Setup for Your Baby’s First Birthday Photos can help you select photographs that tell the first-year story.
3. Save One Tiny Baby Outfit
Baby clothes can be difficult to let go.
Instead of keeping bags of clothing, choose one meaningful outfit.
It might be the going-home outfit, favourite sleepsuit, christening clothing, or first birthday outfit.
Wash it carefully before storing.
Add a small note explaining when your baby wore it.
For more baby keepsake inspiration, The Most Creative Baby Keepsake Ideas for New Parents has ideas for preserving meaningful first-year items.
4. Create a First Birthday Memory Section

Dedicate one envelope or folder to the first birthday.
Add a birthday photograph.
Save the invitation.
Keep one card.
Include a small piece from the decorations if it stores easily.
Write down something funny or memorable that happened.
Those details may become difficult to remember later.
If you are planning that milestone now, The Ultimate First Birthday Checklist for a Stress-Free Celebration can help you organise the day before deciding what to preserve.
5. Save a Piece From the First Birthday Backdrop
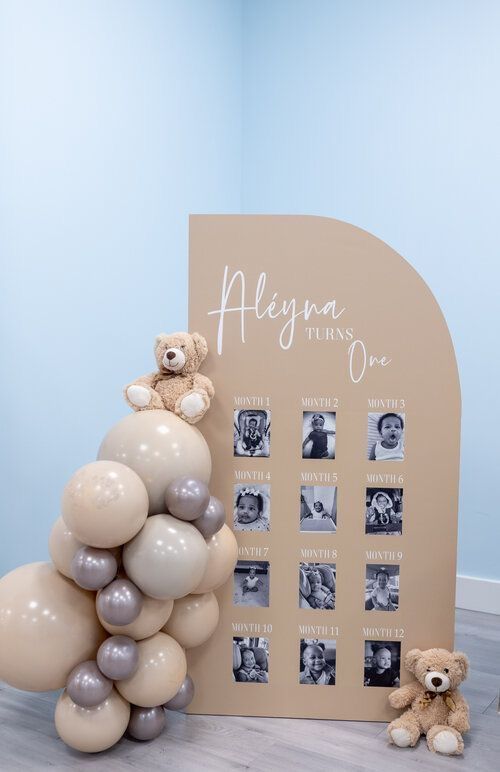
You do not need to store an entire backdrop.
Keep one small piece instead.
It could be a ribbon, paper flower, fabric piece, or small decoration.
Add it beside a photograph showing the complete setup.
That combination tells the story without taking up much room.
For backdrop inspiration, DIY First Birthday Backdrop Ideas That Look Pinterest Perfect offers plenty of creative options.
6. Create a Birthday Card Envelope
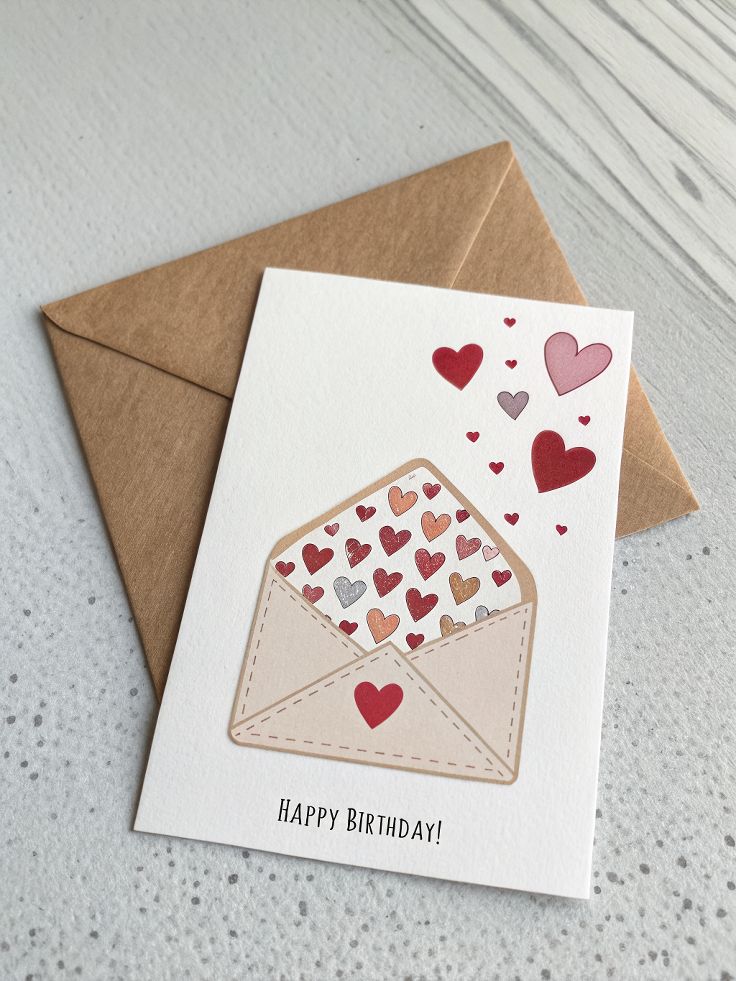
Birthday cards quickly accumulate.
Choose a large envelope for special ones.
You do not need to save every card.
Keep messages from grandparents, siblings, close relatives, or important family friends.
Write the year on the envelope.
Over time, handwriting from loved ones can become especially meaningful.
Birthday traditions can also become part of the box. The Most Precious First Birthday Traditions Every Family Should Try has ideas worth documenting.
7. Make an Artwork Folder Inside the Box
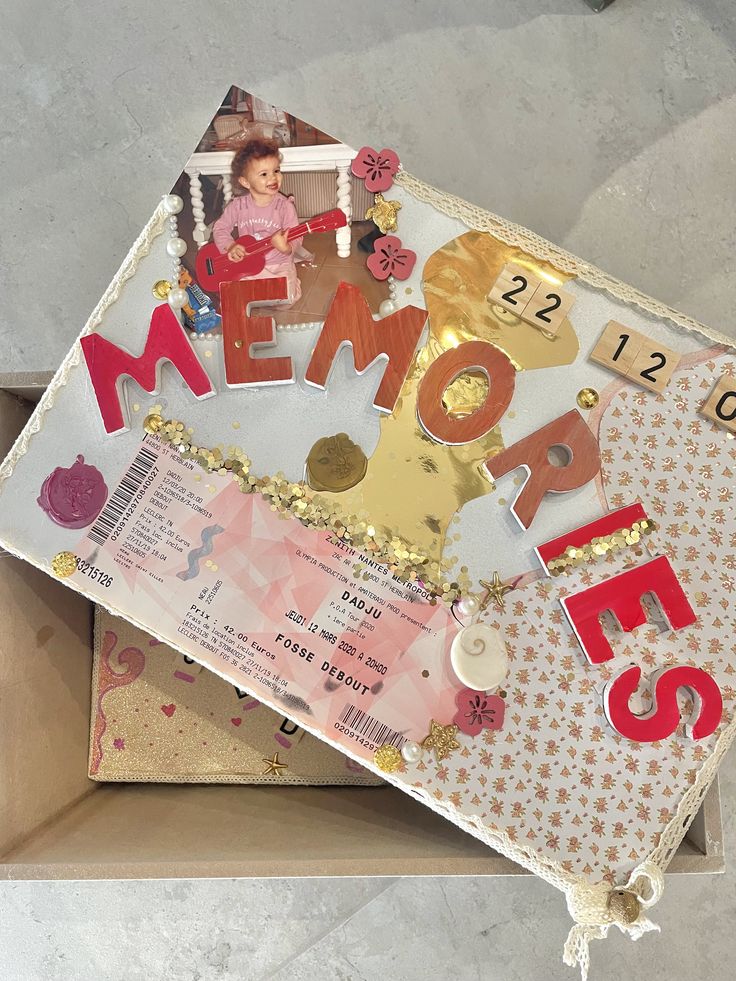
Children create far more artwork than most families can store.
Choose a thin folder for favourites.
Save pieces that show development.
The first recognisable person can be more meaningful than twenty similar paintings.
Write the date and child’s age on the back.
Creative activities like 35 Easy Painting Ideas for Toddlers That Don’t Create Huge Messes can produce beautiful pieces worth considering for the collection.
8. Keep Their First Proper Drawing
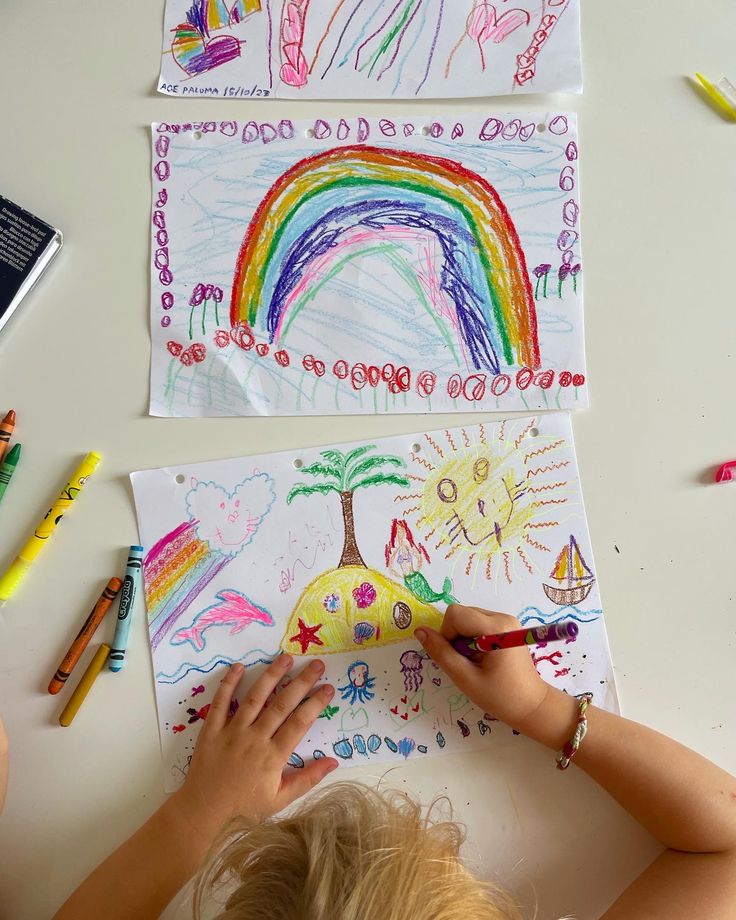
A child’s first recognisable drawing deserves its own place.
Maybe they draw a person with enormous eyes.
Perhaps they attempt the family pet.
Do not correct or improve it.
Save it exactly as they created it.
Write down what they told you the picture represented.
That explanation may become the best part of the keepsake.
9. Save One Small Handmade Object

Not every keepsake needs to be paper.
Choose one small handmade object that represents a particular stage or interest.
It could be a painted rock, tiny clay figure, friendship bracelet, paper decoration, or another small craft.
If you have several similar pieces, choose your favourite instead of keeping the entire collection.
Write your child’s age and the date on a small card and keep it beside the object.
The note gives the item context when you look at it years later.
Easy Rock Painting Ideas for Kids can inspire small projects that are easy to preserve.
10. Photograph Crafts That Are Too Large to Keep

Some childhood creations are too large, fragile, or practical to place inside a memory box.
Instead of throwing them away without a record, photograph your child with the finished project.
Take one photograph of the entire creation and another close-up if there are important details.
You can print your favourite photograph and place it inside the box.
Add a short note about what your child made, how old they were, and why the project mattered to them.
This approach lets you preserve the memory without filling your home with bulky crafts.
23 Adorable Ceramic Mug Painting Ideas for Kids That Make the Sweetest Keepsakes has plenty of projects that already lend themselves to memory making.
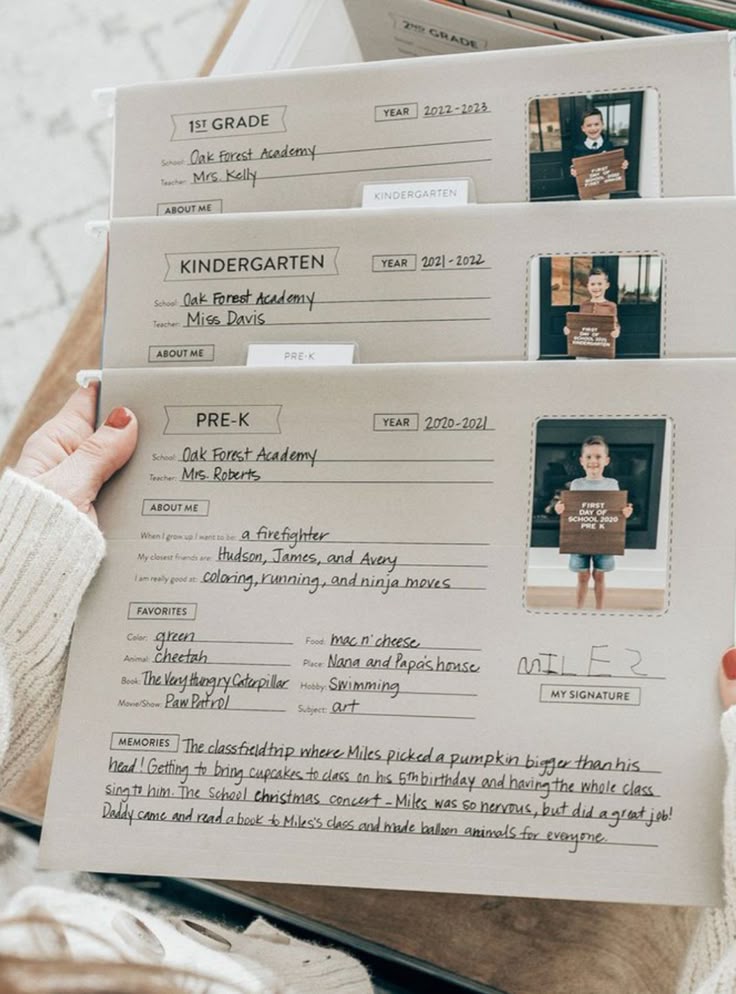
11. Create a School-Year Envelope
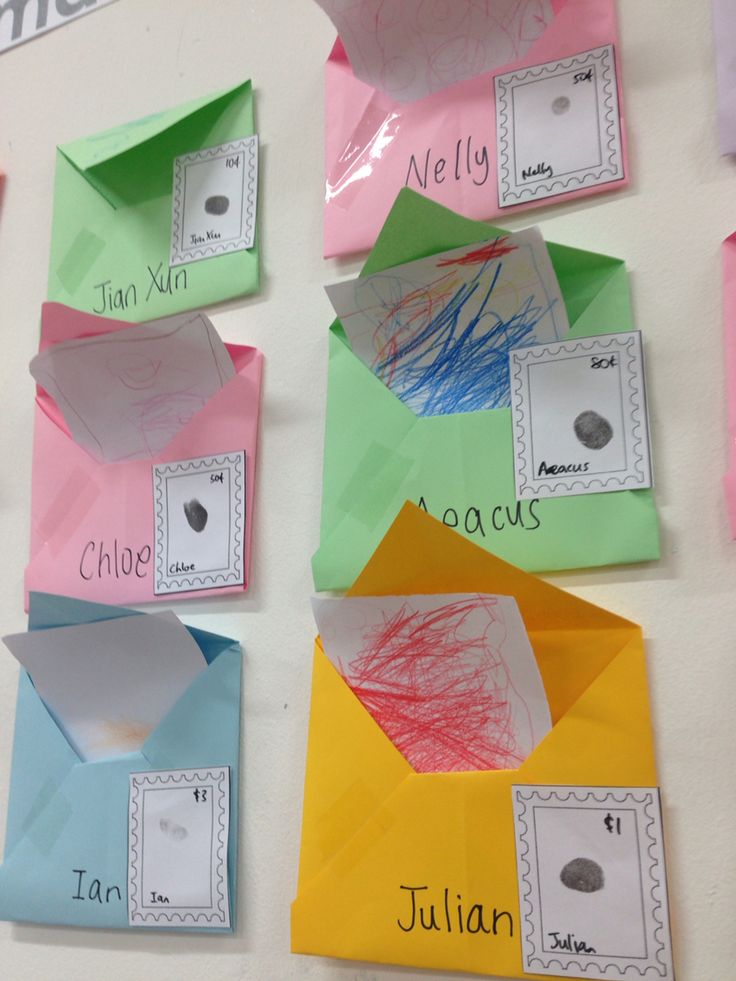
Give each school year its own envelope.
Write your child’s age, class, and school year on the front.
Inside, choose only a few meaningful pieces.
You might include a school photograph, favourite drawing, certificate, short writing sample, or a note from a teacher.
Avoid turning the envelope into a filing cabinet.
The goal is to capture the year, not preserve every paper that came home from school.
Your yearly First Day of School Traditions Kids Will Remember Forever can also provide a photograph or note for each envelope.
12. Keep Their First Handwritten Name
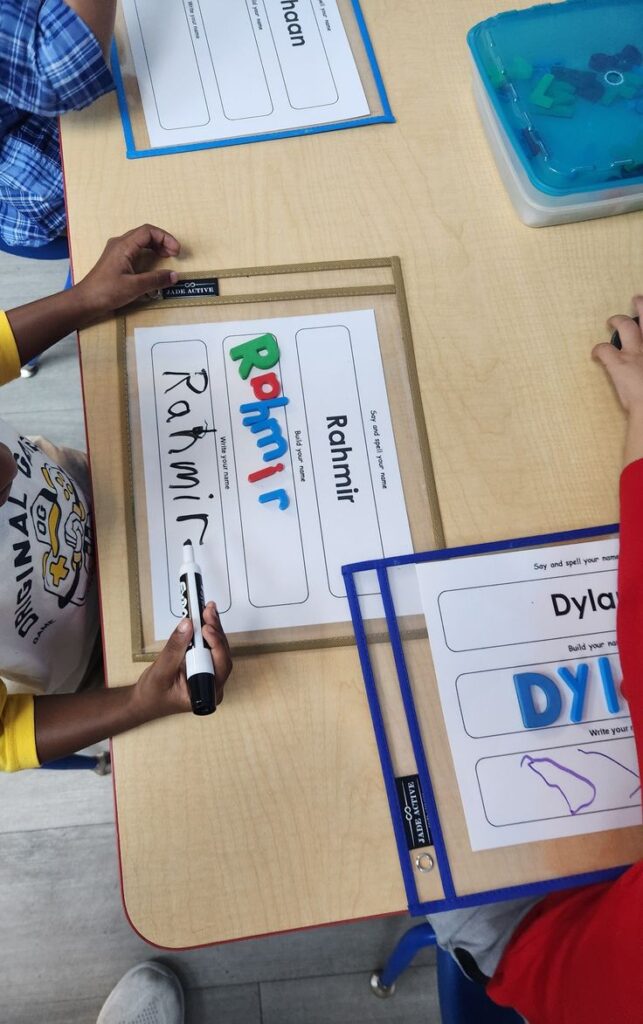
Early handwriting can show just how quickly a child changes.
Save the first page where your child clearly writes their own name.
Do not worry about backwards letters, uneven spacing, or unusual shapes.
Those imperfections are part of the memory.
Write the date and your child’s age on the back.
Later handwriting samples will make it easier to see just how much changed.
13. Create a First Reading Memory
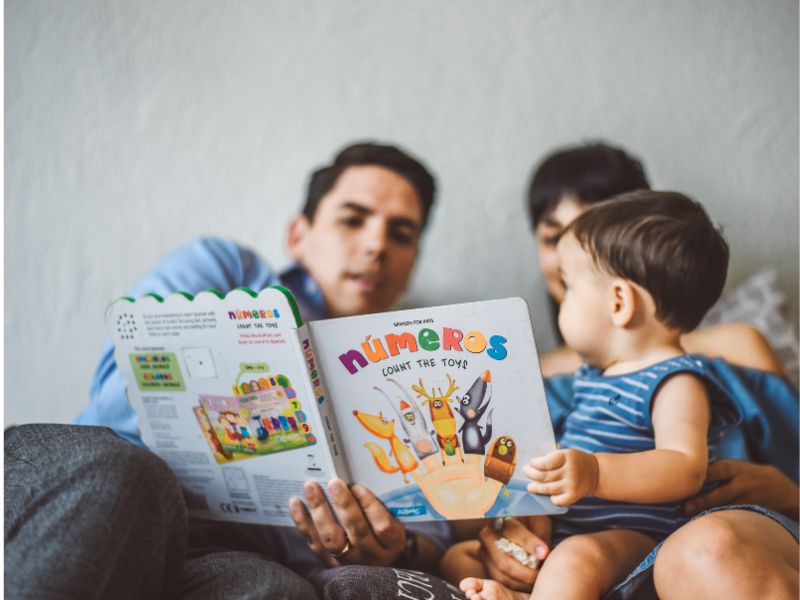
Save something connected to early reading.
It could be a photograph with the first book they read independently.
You could also write the book title on a small card.
Ask your child what they remember about it.
Reading milestones fit naturally among DIY childhood memory box ideas because books often become strongly connected to particular stages.
A special reading space can encourage those moments. 41 Cozy Reading Nook Ideas Every Book-Loving Child Will Adore has inspiration for creating one.
14. Save a Favourite Handmade Card

Children’s handmade cards are difficult to throw away.
Choose a few meaningful examples.
Keep the wobbly handwriting.
Save the funny spelling.
Do not rewrite anything.
Those details reveal exactly where the child was developmentally.
If card-making becomes a family tradition, 25 Simple Father’s Day Cards Kids Can Make in 10 Minutes offers easy projects worth preserving afterward.
15. Create a Family Holiday Envelope

Choose one envelope for memorable family holidays.
Add photographs, tickets, postcards, small drawings, or handwritten notes.
Write the destination and year on the front.
Keep lightweight pieces rather than bulky souvenirs.
One small shell and a photograph may tell the story better than a bag filled with beach finds.
The Ultimate Guide to Seashell Crafts for Kids can help turn some holiday treasures into meaningful crafts before choosing what to save.
16. Add a Handmade Seashell Frame
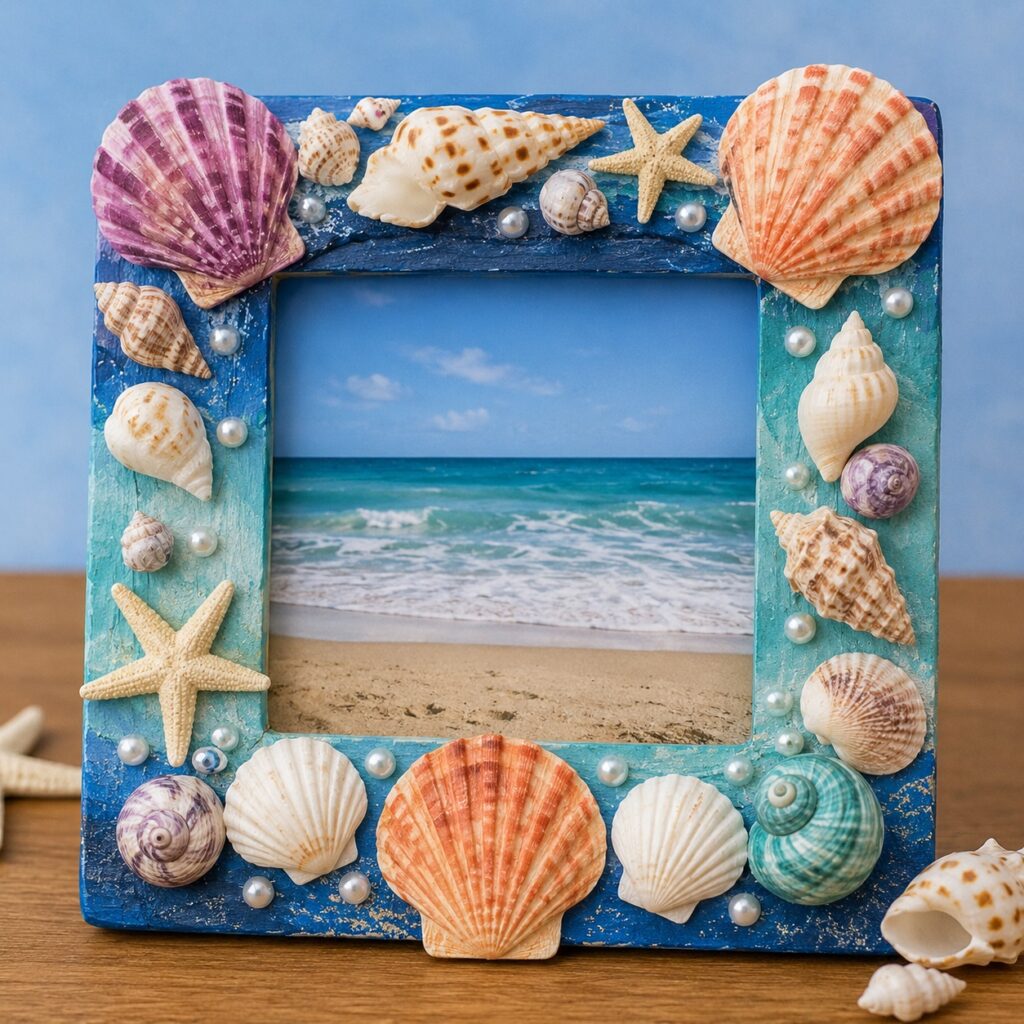
A small frame can become both a craft and a keepsake.
Let children decorate it using shells from a memorable beach day.
Place a family photograph inside.
If the frame does not fit inside the box, photograph it and store the picture.
How to Make an Adorable Seashell Picture Frame Craft for Preschoolers gives you a simple project for turning beach memories into something lasting.
17. Create a Yearly Childhood Snapshot
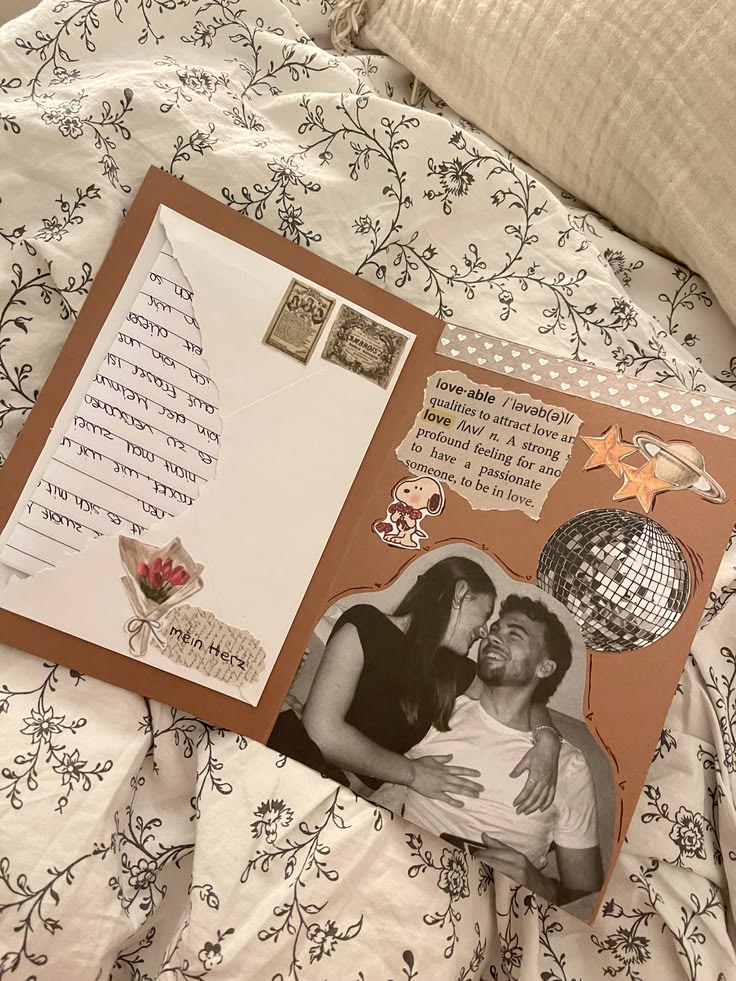
This can become one of the most personal parts of your memory box because it captures who your child was at each stage rather than only recording major events.
Choose one day each year to record a simple snapshot of your child’s life.
Write down their age, favourite food, favourite book, favourite activity, closest friends, current interests, and something they often say.
Add one photograph from that year.
Keep the information short enough that you will actually repeat it.
You can place the snapshot inside an envelope marked with the year.
After several years, you will have a simple record of how your child’s personality, interests, and everyday life changed.
For autumn inspiration, 15 Creative Fall Crafts for Kids Using Leaves, Apples, and Pumpkins includes projects that can become yearly keepsakes.
18. Preserve a Pumpkin Painting Memory

Painted pumpkins cannot go inside a memory box.
Photographs can.
Take a picture of your child holding their finished pumpkin.
Ask them to name their design.
Write the name on the back of the printed photograph.
If they created several pumpkins, photograph them together before the season ends.
31 Halloween Pumpkin Painting Ideas Kids Can Make Instead of Carving gives you plenty of designs for creating this kind of annual memory.
19. Save a Favourite Paper Craft
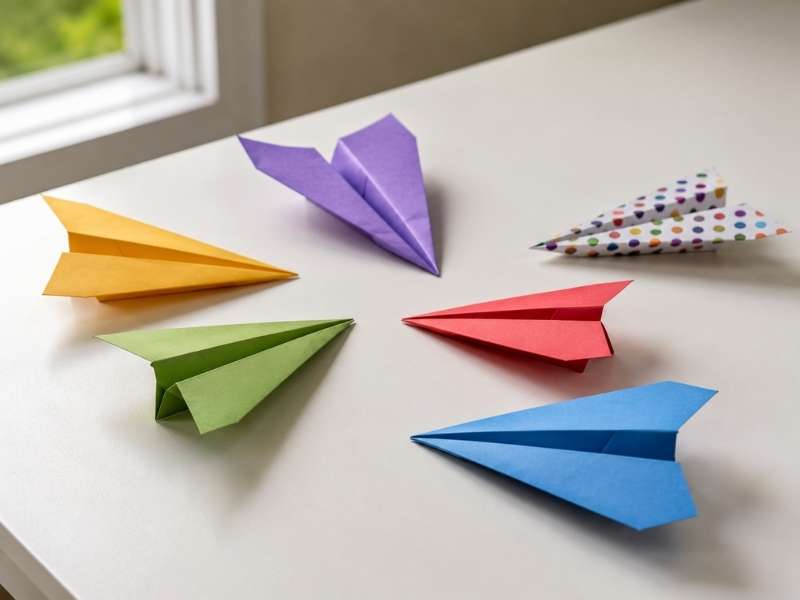
Paper crafts are ideal for memory boxes because they store flat.
Choose one project that shows your child’s current interests.
It could involve animals, characters, seasons, or something completely invented.
Date it.
Add one sentence about why they made it.
A project from 31 Minecraft Paper Craft Ideas Kids Will Want to Make Immediately could be especially fun to revisit after that Minecraft stage has passed.
20. Keep One Favourite Squishy Craft
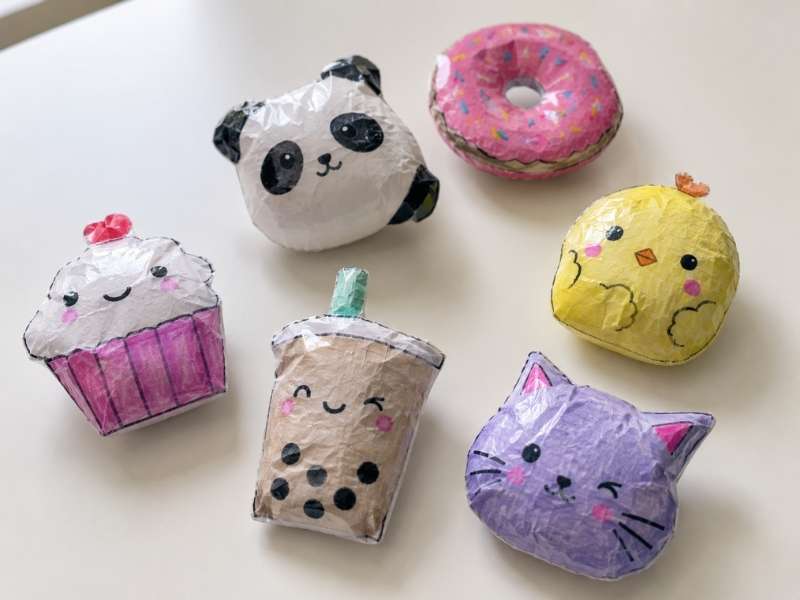
Some childhood interests arrive intensely and disappear just as quickly.
Paper squishies can represent one of those stages.
Choose a favourite.
If it is too bulky, photograph it instead.
Add a note about why your child loved making it.
For an easy project to preserve, How to Make a Paper Squishy Ice Cream That Looks Real and Feels Soft can create a fun handmade memory.
21. Create an Activities Memory Envelope
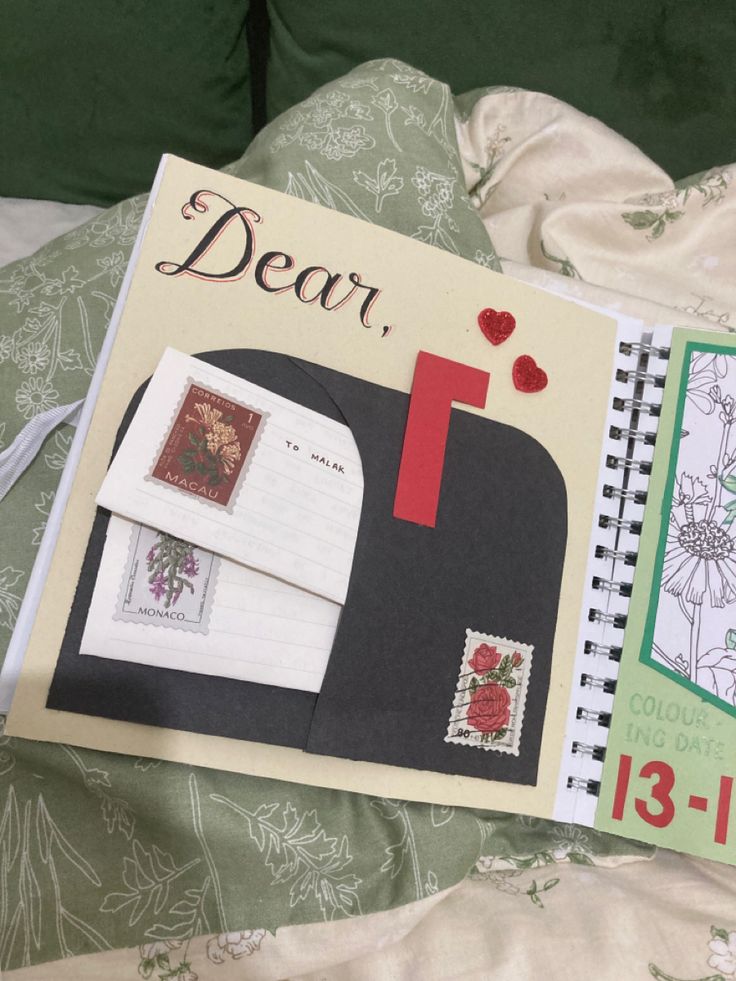
Not every memory comes from birthdays and school.
Save reminders of ordinary family activities too.
Add a picture from an indoor camp.
Include a handmade game card.
Write down a favourite rainy-day activity.
Those everyday moments often reveal what family life actually felt like.
How to Create an Indoor Camping Night for Kids is a perfect example of an ordinary evening that can become a lasting childhood memory.
22. Save a Family Game Night Scorecard
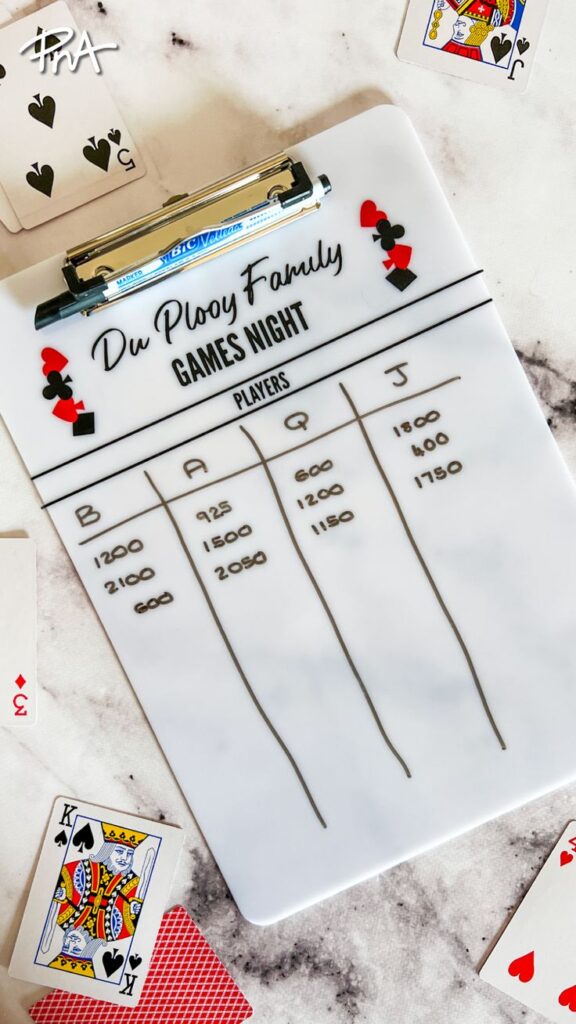
Game nights can create hilarious memories.
Keep one scorecard from a particularly memorable evening.
Write down who played.
Add a funny quote from the night.
You could include a photograph too.
This creates a keepsake from something your family genuinely enjoyed together.
How to Plan a Fun Family Game Night Kids Will Enjoy has more ideas for turning simple evenings into family traditions.
23. Add a Movie Night Memory
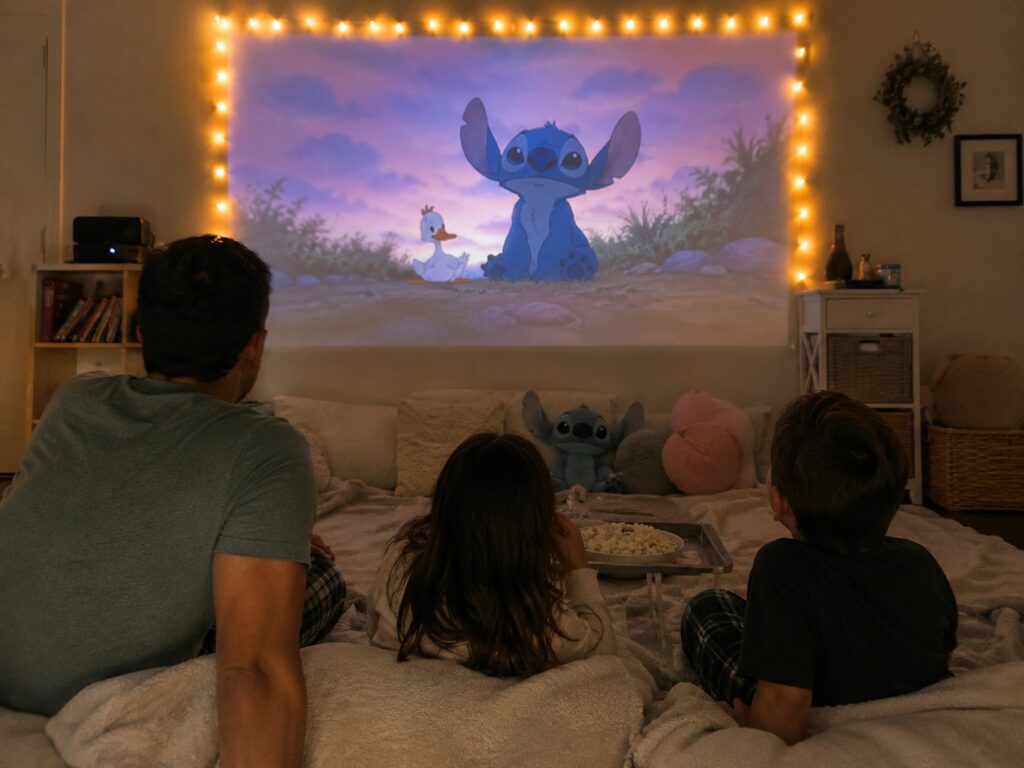
Print a photograph from a memorable family movie night.
Add a tiny card listing the movie and everyone’s favourite snack.
Ask children to rate the film.
Save their answers.
Repeating this occasionally creates a funny record of changing tastes.
For cosy setup inspiration, 31 Cozy Family Movie Night Ideas Kids and Parents Will Absolutely Love has plenty of simple ideas.
24. Save a Piece From Their Favourite Birthday Theme

Children’s interests change quickly.
One year might be unicorns.
Another could be Minecraft.
Later, they may want something completely different.
Save one lightweight item representing each important birthday theme.
Add a photograph beside it.
If Minecraft becomes the obsession, 27 Minecraft Birthday Party Ideas That Feel Straight Out of the Game can help create a celebration worth documenting.
25. Create a First Big Achievement Envelope
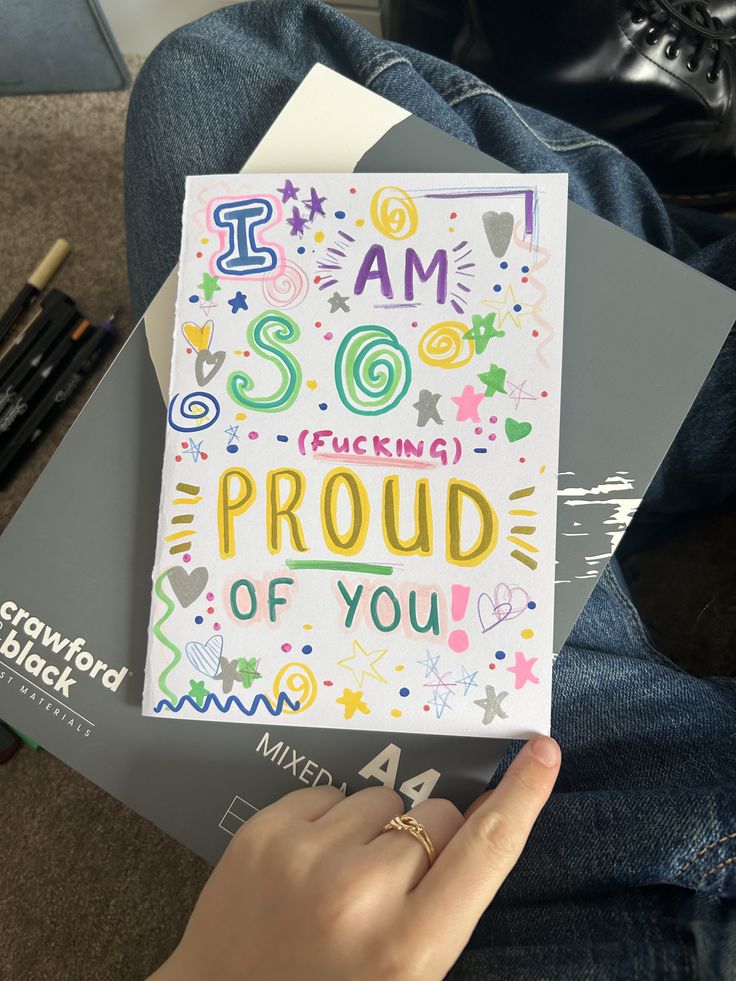
Achievements deserve more than school certificates.
Save reminders of learning to swim, riding a bicycle, completing a difficult project, or performing somewhere.
Write a short description of what happened.
Include the child’s reaction.
The story matters just as much as the certificate.
26. Save a Graduation Keepsake
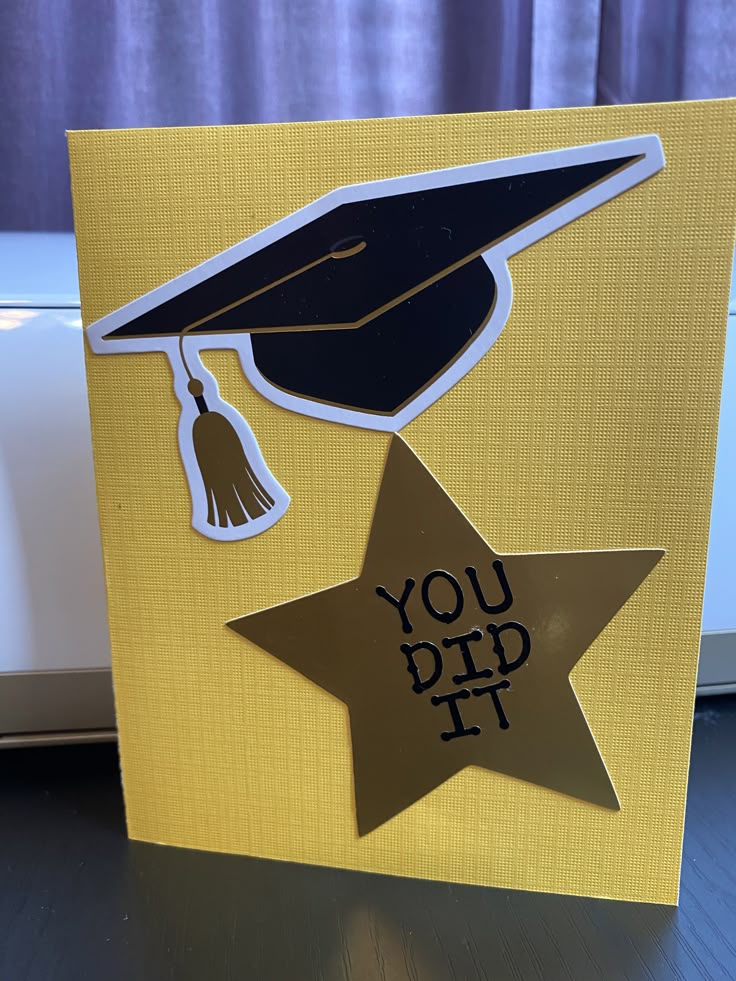
Graduation marks a clear transition.
Keep one photograph.
Add the programme, small certificate, or handmade class item.
Write down the teacher’s name and child’s favourite school memory.
Those details can disappear surprisingly quickly.
If kindergarten graduation is approaching, 21 Most Stunning Kindergarten Graduation Party Ideas on a Budget has celebration ideas you can adapt.
27. Create a Favourite Things Card Every Birthday

Ask your child the same questions each birthday.
What is your favourite food?
Who do you enjoy playing with?
What is your favourite colour?
Which activity do you love?
What do you want to be when you grow up?
Write the answers on one card.
Add it to the memory box.
Watching those answers change may become one of your favourite DIY childhood memory box ideas.
28. Save Their Funniest Childhood Quotes
Children say things adults could never invent.
Keep a small notebook or stack of cards for funny quotes.
Write down the exact words.
Add the date and age.
Do not wait until later because you may forget the wording.
A collection of tiny quotes can eventually become more valuable than many physical objects.
29. Preserve a Favourite Sensory Play Memory
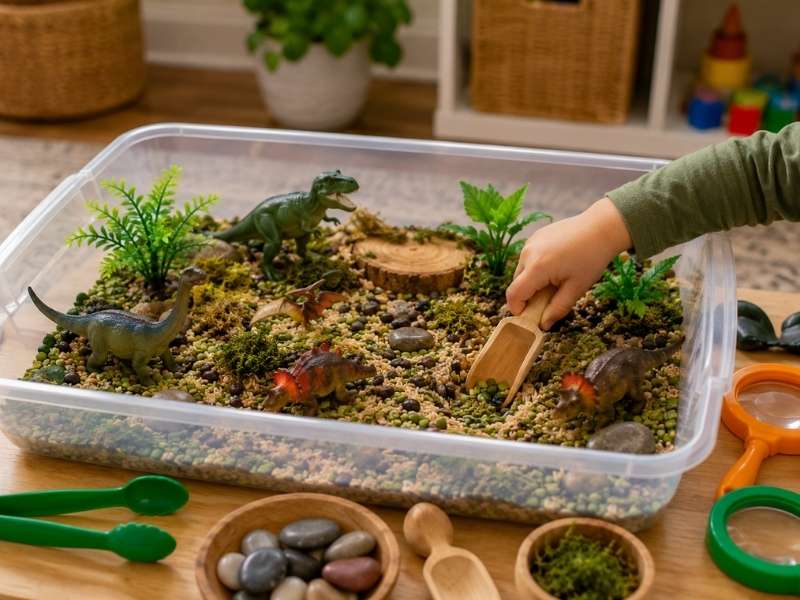
Sensory activities can create wonderful photographs.
Capture your child’s hands exploring different materials.
Print one favourite picture.
Write down what they enjoyed most.
You do not need to save the actual sensory materials.
How to Make Toddler Sensory Bins That Are Fun, Safe, and Easy to Set Up can provide plenty of opportunities for these early play memories.
30. Save a Bedroom Photograph From Each Stage
Bedrooms quietly document childhood.
Take one photograph every year or two.
Capture the bed, favourite toys, artwork, books, and decorations.
Print the image for the memory box.
Later, your child may love seeing the spaces they barely remember.
For room inspiration that evolves with children, How to Design a Kids Bedroom That Balances Fun and Function has practical ideas.
31. Photograph Their Favourite Reading Corner

Reading corners can become deeply connected to childhood routines.
Photograph your child curled up in their favourite spot.
Include the books, blanket, chair, and little details around them.
Add the photograph to the box with the title of their favourite book.
The Ultimate Guide to Creating a Cozy Reading Nook for Kids can help create a space worth remembering.
32. Create a Sibling Memory Envelope
If your child has siblings, preserve some memories they share.
Add a funny photograph.
Keep a card one sibling made for another.
Write down a favourite game they played.
Include one story about something they regularly did together.
Shared childhood memories can become especially meaningful once everyone grows older.
33. Create a Birthday Photograph Envelope
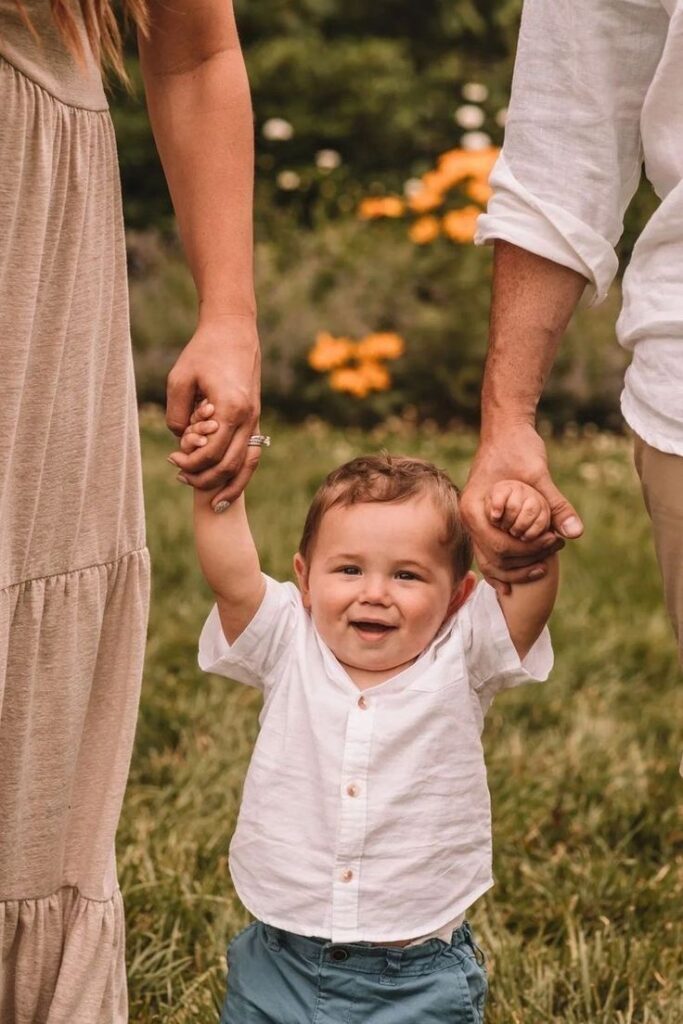
Instead of placing loose photographs throughout the box, group birthday pictures.
Use one envelope for each year.
Choose only a few images.
Include one portrait, one family photograph, and one candid moment.
Write the birthday theme and age on the envelope.
If you need help choosing a celebration style, How to Choose the Perfect First Birthday Theme for Your Baby is especially useful when beginning the tradition.
34. Save a Cake Smash Photograph
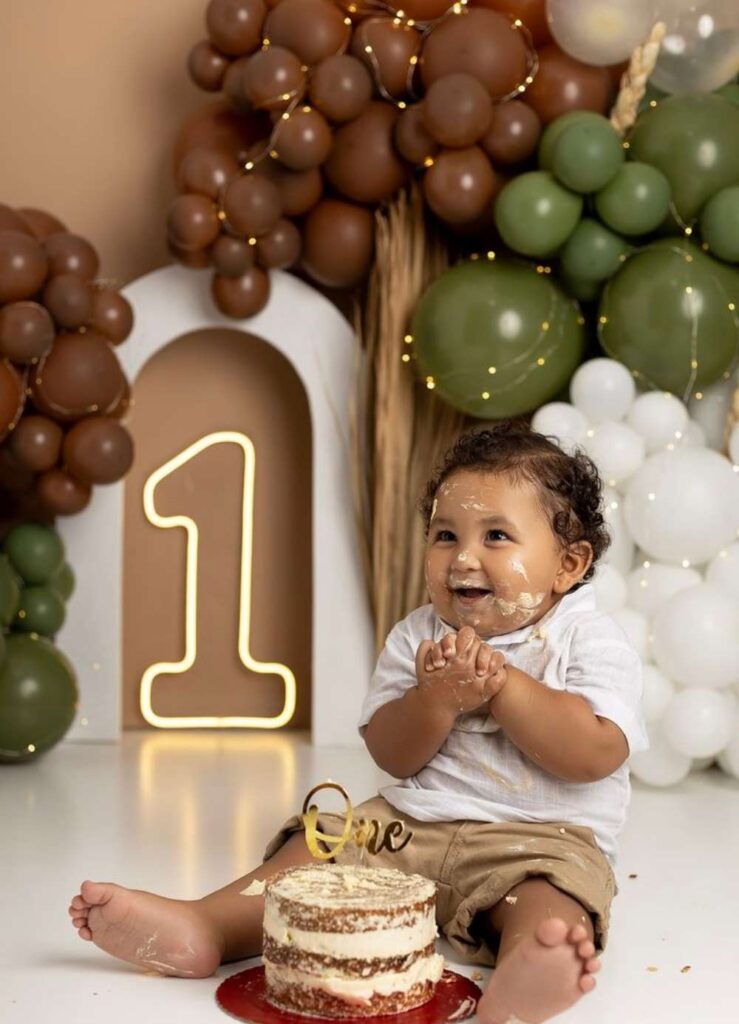
A cake smash can produce dozens of pictures.
You do not need all of them inside the box.
Choose one image that captures your child’s real reaction.
It might be laughter, confusion, curiosity, or complete mess.
Add a small note about what happened.
For photo setup ideas, How to Create a Stunning Cake Smash Setup for Your Baby’s First Birthday Photos can help create a simple background for the milestone.
35. Create a Family Tradition Card
Write down traditions that define your family.
Maybe you camp indoors during rainy weekends.
Perhaps you decorate pumpkins every Halloween.
You might have a special birthday breakfast.
Write each tradition on a separate card.
Include when it started and why everyone loves it.
Traditions often become some of the strongest memories inside DIY childhood memory box ideas.
For families who enjoy themed celebrations, How to Plan a Magical Kids Birthday Party From Start to Finish can help create meaningful details worth remembering.
How to Organize a Childhood Memory Box Without Creating Clutter
Organisation makes a memory box much easier to maintain.
You can divide it by age.
Another option is separating items by category.
Try sections for:
- Baby years
- Birthdays
- School
- Artwork
- Family memories
- Holidays
- Achievements
- Letters
- Photographs
Use envelopes and slim folders rather than bulky containers inside the box.
Label everything.
A mysterious photograph or craft becomes less meaningful when nobody remembers its story.
For general room organisation, 25 Minimalist Kids Room Ideas That Stay Organized and Beautiful can help keep sentimental storage separate from everyday clutter.
Add Dates to Everything You Can
Memory becomes unreliable surprisingly quickly.
You may think you will remember exactly when something happened.
Five years later, two similar stages can blend together.
Write the date on the back of artwork.
Add your child’s age.
Include the location when relevant.
For photographs, write down who appears in the picture.
These tiny notes make DIY childhood memory box ideas much more valuable later.
Write the Story Behind Important Keepsakes
Some objects need context.
Imagine finding a tiny paper crown fifteen years later.
Without a note, nobody may remember why it mattered.
Add a small card.
Write:
“This was the crown you wore every afternoon when you were four.”
That single sentence transforms an ordinary object into a memory.
The story behind the keepsake often matters more than the keepsake itself.
Let Children Choose What Goes Inside
As children get older, involve them.
Ask which artwork they want to save.
Let them choose a birthday photograph.
Ask which toy represents that year.
Their choices may surprise you.
An object that looks unimportant to an adult may carry a strong memory for the child.
Giving them a voice also prevents the box from becoming only an adult’s version of their childhood.
Create a Rule for How Much You Keep
Without limits, one memory box can become ten.
Decide how much space each year receives.
You might allow one envelope for schoolwork and five favourite pieces of artwork.
Photograph bulky projects instead of storing them.
Keep one representative item from collections.
The goal is not preserving every object.
The goal is preserving enough to bring the memory back.
Photograph Bulky Crafts Before Letting Them Go
Large cardboard creations can be difficult to store.
The same applies to sculptures, giant paintings, party decorations, and school projects.
Photograph the child holding the finished creation.
Take one close picture of the details.
Print your favourite image.
Then you can let the physical object go without losing the memory.
Keep Digital Copies of Important Photographs
Physical photographs are lovely, but having a digital copy adds protection.
Create a folder for each year.
Use clear file names.
Back up photographs somewhere reliable.
You can then print favourites for the box while keeping the complete collection digitally.
Avoid depending on one phone to hold years of memories.
Store the Box Somewhere Safe
Choose a dry place away from direct sunlight and moisture.
Avoid garages, damp basements, or areas where temperature changes become extreme.
Keep the box somewhere accessible enough that you remember to use it.
A high wardrobe shelf or protected cupboard can work well.
If the box contains fragile pieces, wrap them carefully.
Review the Memory Box Once a Year
Choose one quiet day each year to look through everything.
You might do this around a birthday or before the new school year.
Add new pieces.
Remove anything that no longer feels important.
Replace damaged envelopes.
Write missing dates while memories are still fresh.
This yearly routine keeps the collection intentional.
It can also become a family tradition of its own.
Final Thoughts
The best childhood memory box is not the one filled to the top.
It is the one that helps you remember.
Save the first handwritten name. Keep the funny birthday card. Photograph the craft that was too large to store. Write down the sentence your child said that made everyone laugh.
You do not need to preserve every piece of childhood.
Choose the items that tell a story.
Over time, those small choices can create a collection that shows how your child changed, what they loved, who they spent time with, and which moments mattered to your family.
Keep it simple enough to maintain, and meaningful enough that you will want to open it again.