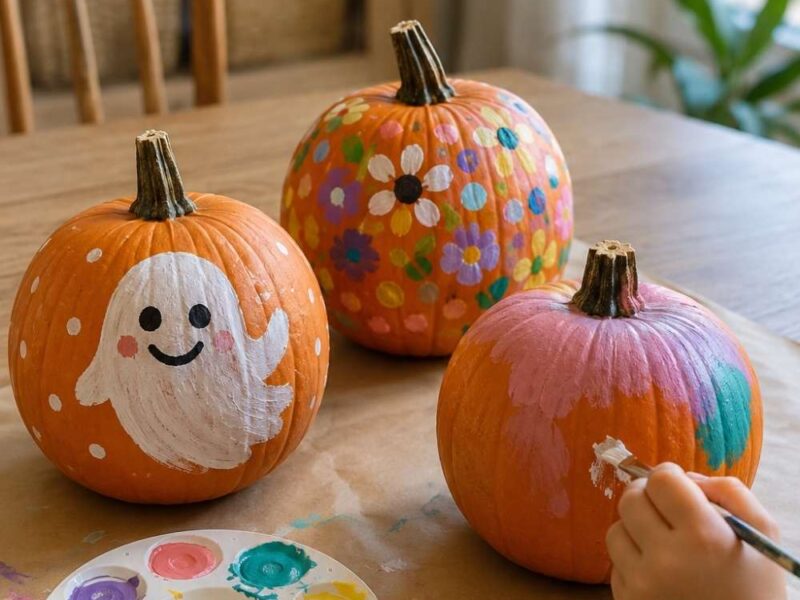
The Fourth of July brings sunshine, backyard barbecues, fireworks, and plenty of family fun. However, one of the best ways to celebrate the holiday starts long before the festivities begin. Gathering around the table with your kids and creating adorable patriotic decorations can turn an ordinary afternoon into a memory-making experience.
Children love holidays because they get to participate in something special. They enjoy decorating the house, showing off their creations, and helping prepare for celebrations. As a result, DIY decorations offer the perfect opportunity to combine creativity, learning, and family bonding.
The good news is that you do not need expensive supplies or professional crafting skills. In fact, many of the cutest decorations come from simple materials you already have at home. Construction paper, paint, glue, ribbon, and a little imagination can go a long way.
Check this out: 35 Adorable 4th of July Face Painting Ideas for Kids That Look Amazing in Photos
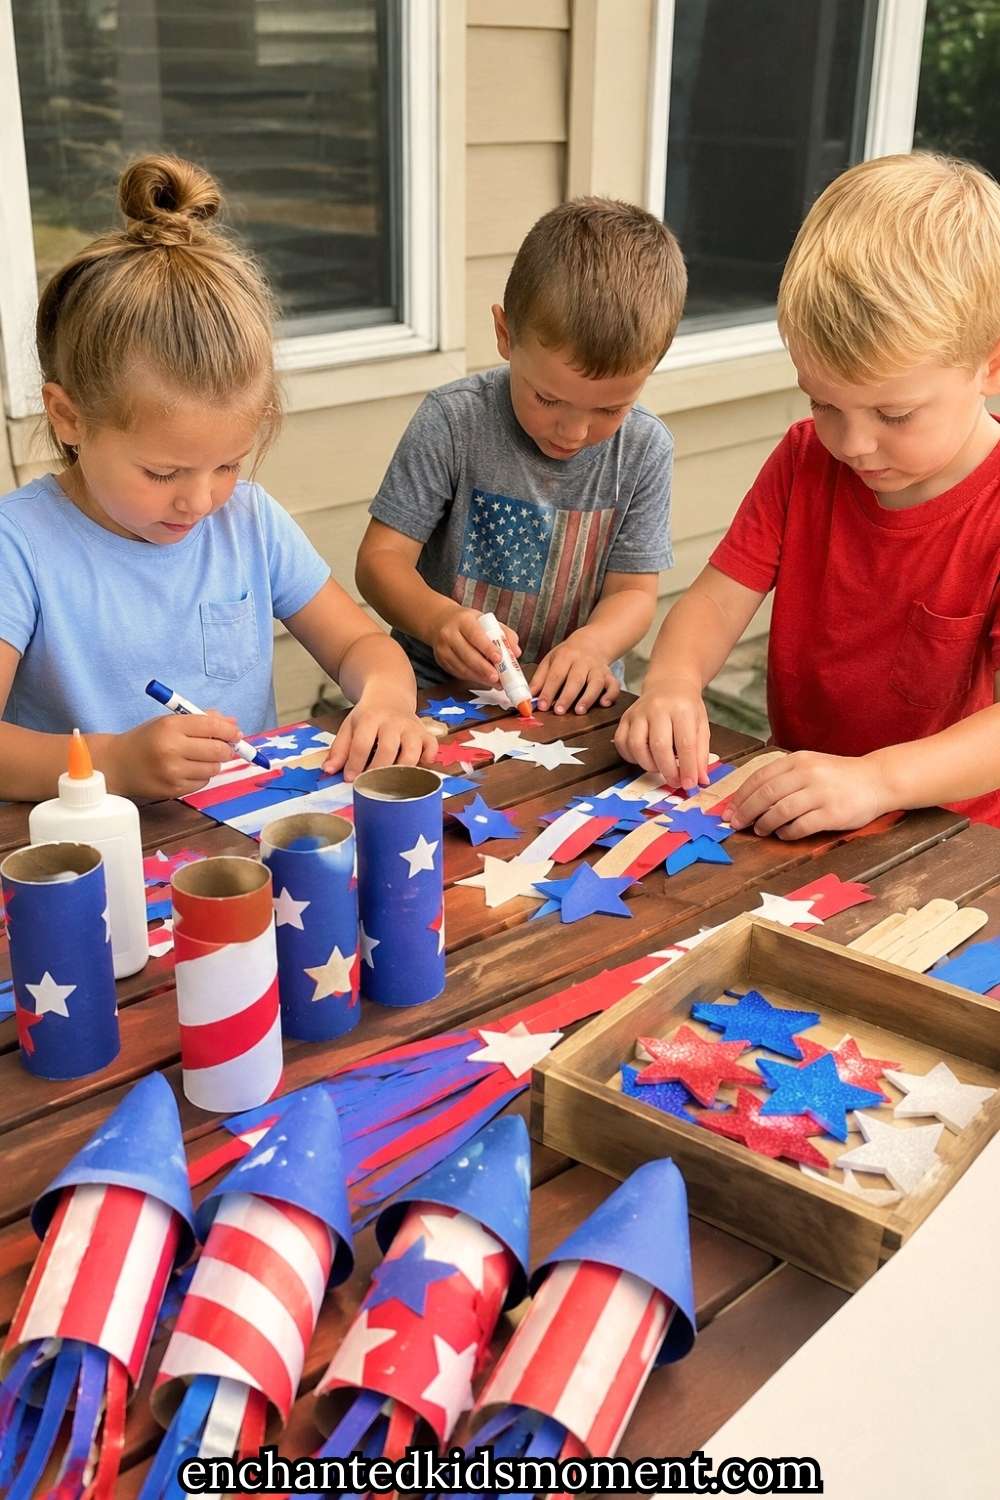
Even better, these crafts work for children of different ages. Younger kids can paint, glue, and decorate. Meanwhile, older children can cut, assemble, and personalize each project. Everyone gets a chance to contribute.
In this step-by-step guide, you will learn how to create cute DIY 4th of July decorations with your kids. Along the way, you will discover tips for making crafting easier, more enjoyable, and less stressful. Most importantly, you will create decorations that look festive while making memories that last much longer than the holiday itself.
Why DIY Decorations Make the Fourth of July More Special
Store-bought DIY 4th of July Decorations certainly save time. Nevertheless, they cannot match the excitement children feel when they create something themselves.
Go here next: How to Create Budget-Friendly 4th of July Porch Décor Kids Will Love
Kids love seeing their artwork displayed throughout the house. They feel proud when guests compliment their creations. Furthermore, they become more invested in the holiday when they help prepare for it.
Crafting also encourages important developmental skills. Children strengthen hand-eye coordination while cutting and gluing. They improve creativity when choosing colors and designs. Additionally, they practice problem-solving when figuring out how to assemble different projects.
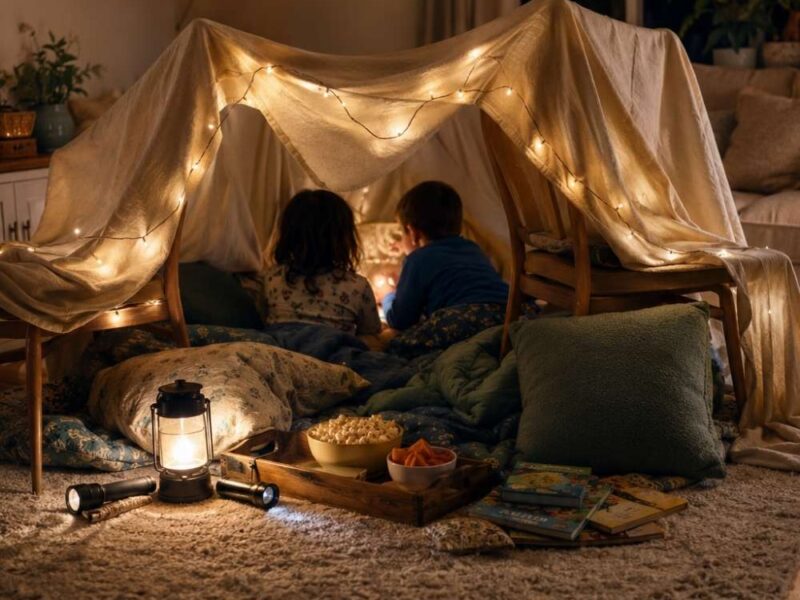
Family crafting sessions create opportunities for meaningful conversations as well. Parents can share stories, teach traditions, and spend quality time together without screens competing for attention.
Most importantly, DIY projects remind children that celebrations are not about buying things. Instead, they are about creating experiences and spending time with loved ones.
Before you begin, gather your supplies and prepare your crafting space.
Create a Kid-Friendly Craft Station for DIY 4th of July Decorations
A successful crafting session starts with a well-organized workspace.
First, cover your table with a disposable tablecloth or an old sheet. This simple step makes cleanup much easier later.
Next, place supplies in separate containers. Put markers in one cup, scissors in another, and paintbrushes in a third. Children stay focused when they can easily find what they need.
Read this: Easy Dollar Tree 4th of July Crafts Kids Can Help Make
Keep baby wipes or paper towels nearby. Small messes happen during every craft session. Therefore, quick cleanup supplies help reduce stress.
You should also dress younger children in old clothes or smocks. Paint has a way of finding its way onto sleeves and shirts.
Finally, create enough space for everyone to work comfortably. Children enjoy crafting more when they have room to spread out and create.
Once your crafting station is ready, you can begin with one of the easiest DIY 4th of July Decorations.
Step-by-Step Patriotic Paper Garland DIY 4th of July Decorations
A patriotic paper garland adds instant charm to walls, mantels, porches, and party tables.
Best of all, children can customize every piece.
Keep this page open: 4th of July Party Ideas for Kids: Red White and Blue Setup Guide
Step 1: Draw and Cut Shapes
Start with red, white, and blue cardstock.
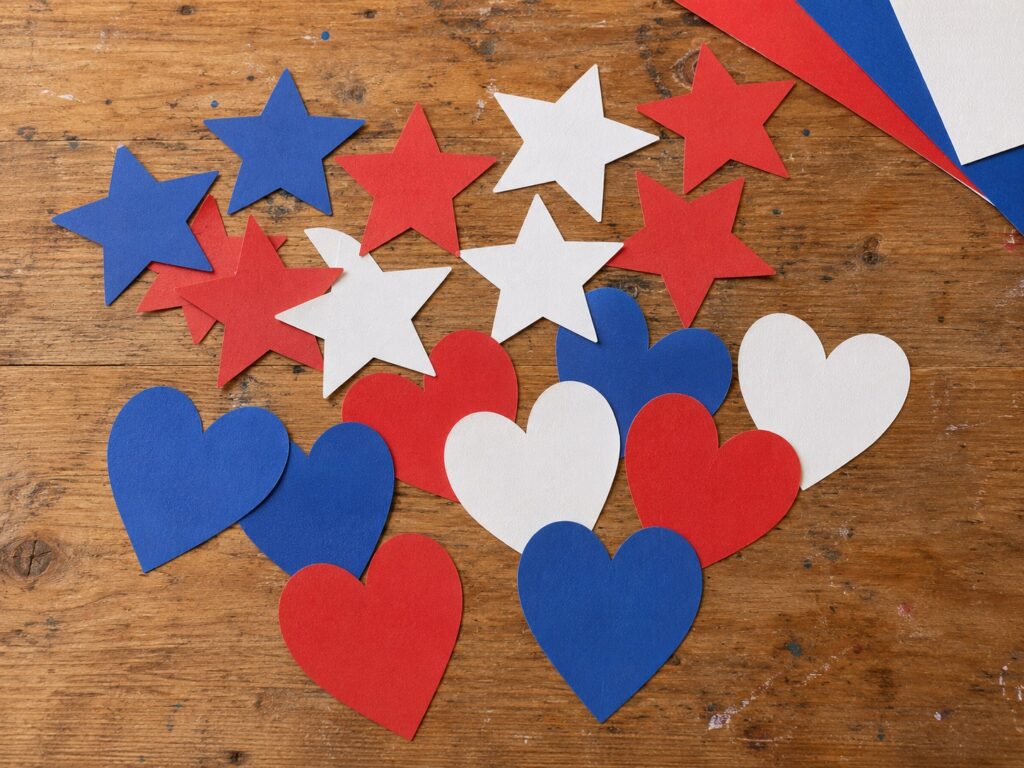
Draw stars, circles, hearts, or fireworks on the paper.
Older children can draw their own shapes. Younger children may need templates.
Next, cut out the shapes carefully.
Try creating at least thirty pieces for a full garland.
Step 2: Decorate Each Shape
Now the real fun begins.
Provide glitter, markers, stickers, and crayons.
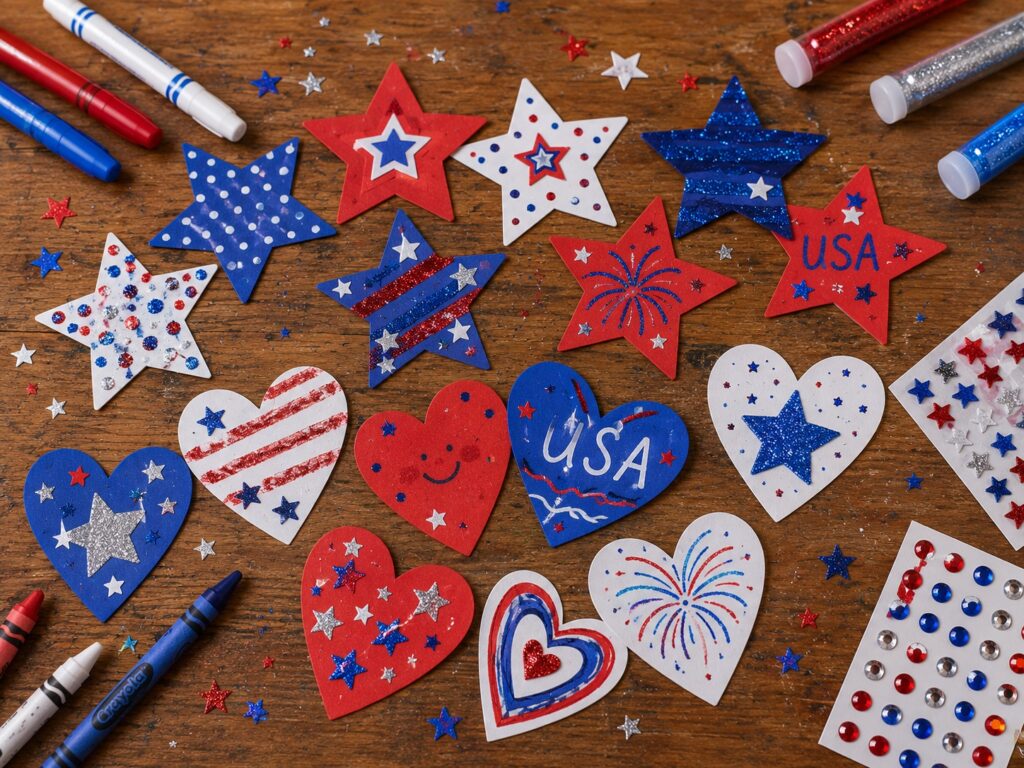
Let children decorate every piece however they like.
Some may add stripes. Others may create stars or fireworks.
Encourage creativity rather than perfection.
You might need this: Easy Summer Crafts Kids Can Make in 10 Minutes
Step 3: Punch Holes
Use a hole punch near the top of each decoration.
Keep the holes in similar positions.
This helps the garland hang evenly.
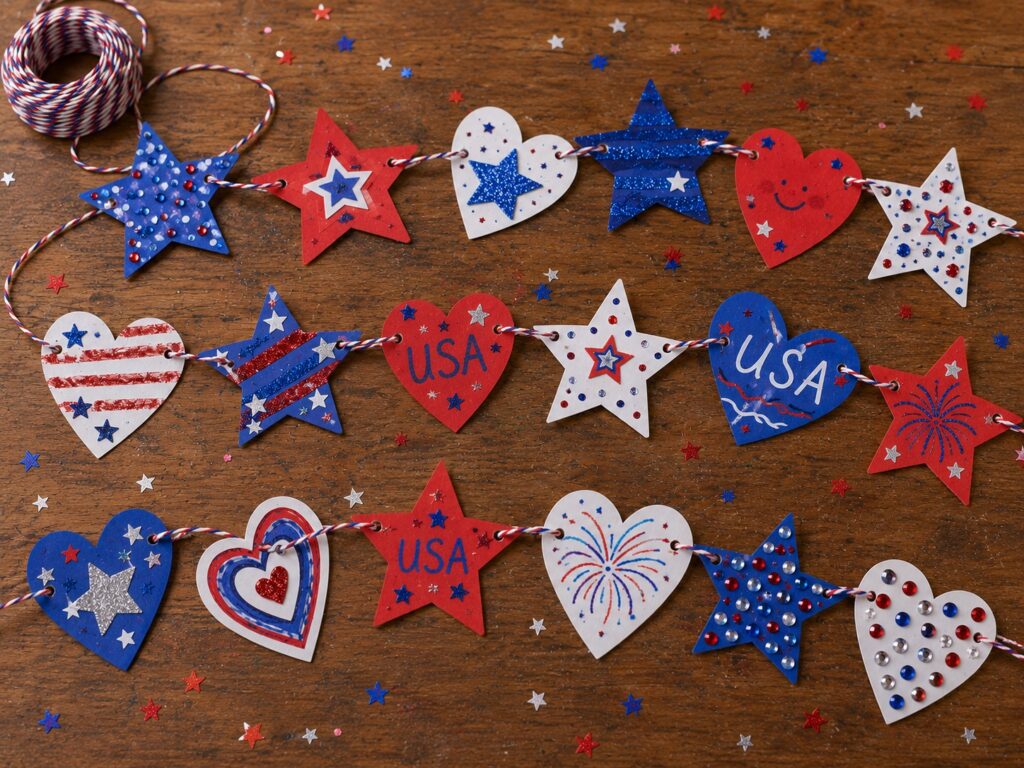
Step 4: String Everything Together
Thread ribbon, yarn, or string through the holes.
Alternate colors for a balanced design.
Continue until the garland reaches the desired length.
Step 5: Display Your Garland
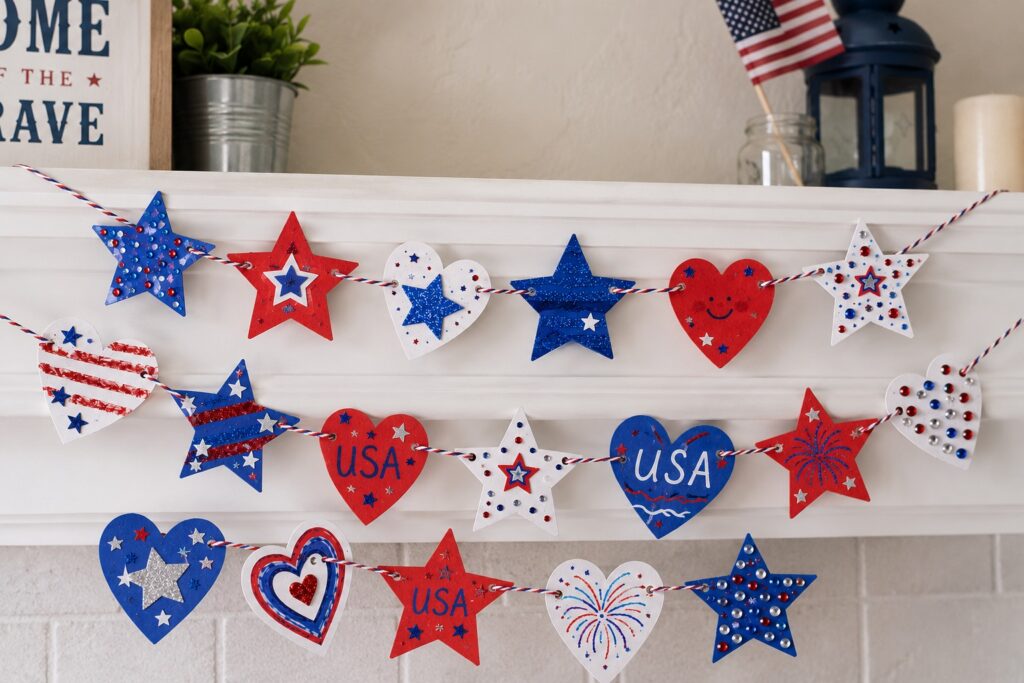
Hang it above a fireplace, doorway, porch railing, or dessert table.
The finished garland instantly creates a festive atmosphere.
Children especially enjoy pointing out their favorite pieces to guests.
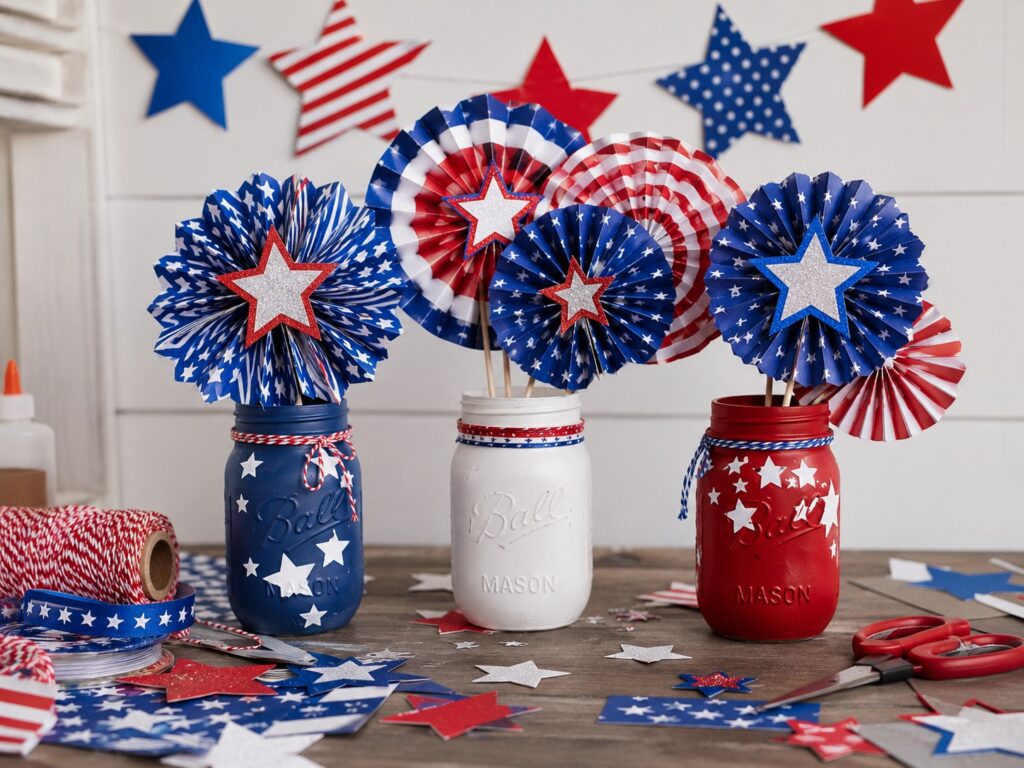
Make Adorable Mason Jar Lanterns for DIY 4th of July Decorations
Nothing says summer celebration quite like glowing lanterns.
These kid-decorated mason jars look beautiful during daytime parties and evening gatherings.
Step 1: Clean the Jars
Wash and dry mason jars thoroughly.
Clean surfaces help paint stick better.
Step 2: Paint Patriotic Designs
Give each child a jar.
Provide red, white, and blue paint.
Kids can paint stars, fireworks, stripes, hearts, or dots.
Allow them to experiment with different patterns.
Step 3: Add Decorative Touches
After the paint dries, wrap ribbon around the jar opening.
Tie bows for extra charm.
You can also glue wooden stars around the outside.
More on crafts: How to Do Father’s Day Crafts With Toddlers (Mess-Free Methods)
Step 4: Add Safe Lighting
Place battery-operated tea lights inside each jar.
Battery lights create a warm glow without safety concerns.
Step 5: Create a Display
Arrange several lanterns together on tables, porches, or walkways.
As darkness falls, the lanterns create a magical patriotic display.
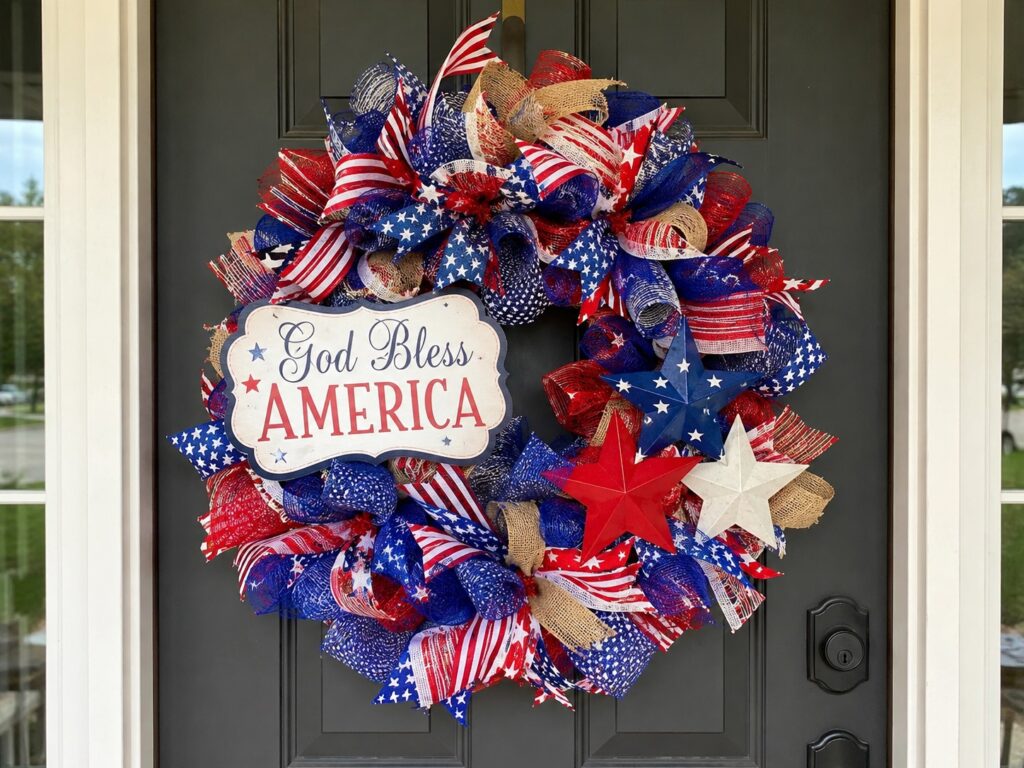
Design a Cute Patriotic Wreath for DIY 4th of July Decorations
A handmade wreath welcomes guests before they even step inside.
Fortunately, children can make one with simple supplies.
Step 1: Make the Wreath Base
Take a large paper plate.
Cut out the center.
The remaining ring becomes your wreath base.
Step 2: Prepare Decorations
Cut tissue paper into small squares.
Use red, white, and blue colors.
You can also cut stars from cardstock.
Step 3: Add Texture
Place glue on small sections of the wreath.
Crumple tissue paper pieces.
See more here: How to Make a Stunning Tissue Paper Pom Pom Backdrop for a Kids’ Party in 30 Minutes
Press them onto the glued areas.
Continue until the entire wreath looks full.
Step 4: Decorate With Stars
Attach paper stars around the wreath.
Mix large and small stars for variety.
Step 5: Hang Your Wreath
Attach ribbon to the top.
Then hang the wreath on your front door.
Children feel proud every time they see visitors admire their work.
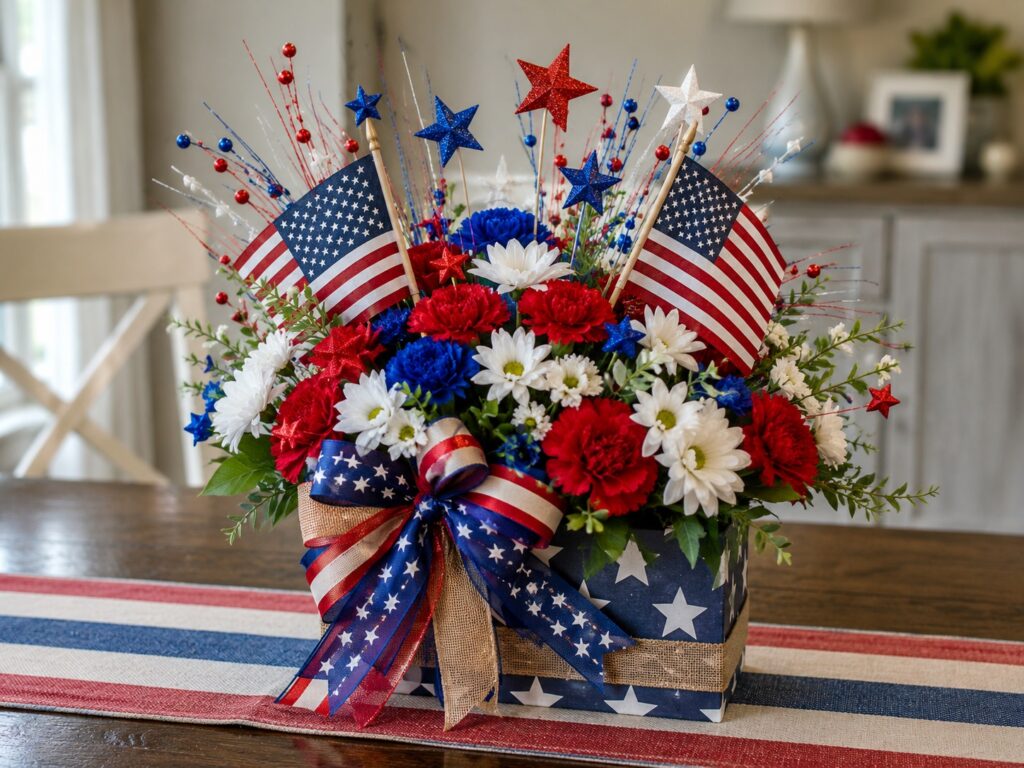
Create a Festive Patriotic Centerpiece for DIY 4th of July Decorations
A centerpiece ties together your holiday table.
Fortunately, kids can create one using basic supplies.
Step 1: Choose a Container
Select a mason jar, bucket, tin can, or flower pot.
Step 2: Decorate the Container
Paint stars, stripes, fireworks, or polka dots.
Allow plenty of drying time.
Step 3: Make Paper Flowers
Cut flower shapes from construction paper.
Layer several flowers together.
Glue them onto craft sticks.
Step 4: Arrange the Flowers
Place shredded paper inside the container.
Save for later: How to Make a Colourful Patriotic Flower Arrangement With Your Kids (Step-by-Step)
Insert the flower sticks.
Mix heights and colors.
Step 5: Add Final Touches
Include small flags, ribbons, or glitter stars.
The finished centerpiece adds color and personality to your celebration.
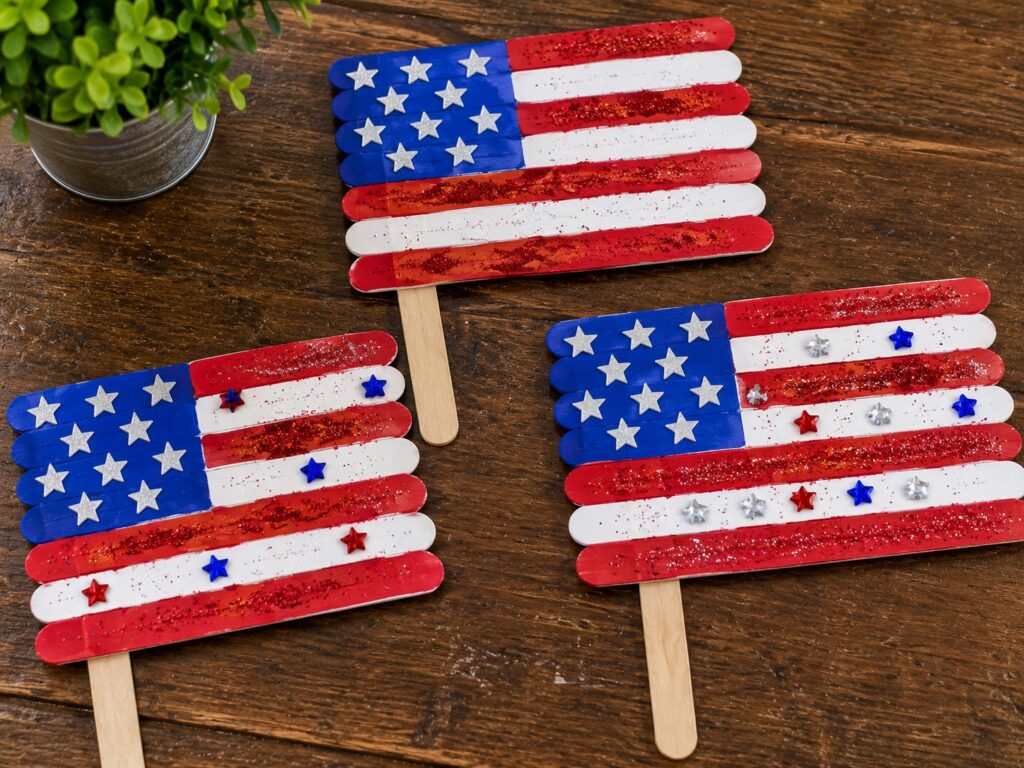
DIY Popsicle Stick American Flags for DIY 4th of July Decorations
Children love popsicle stick crafts because they are simple and versatile.
These miniature flags make adorable decorations and keepsakes.
Step 1: Assemble the Base
Place several popsicle sticks side by side.
Glue two sticks across the back.
Allow the structure to dry completely.
Step 2: Paint the Stripes
Paint alternating red and white stripes.
Leave room for the blue corner.
Step 3: Add the Blue Section
Paint the upper corner blue.
Allow the paint to dry.
Step 4: Create the Stars
Use white paint, stickers, or markers.
Children can add as many stars as they like.
Step 5: Display the Flags
Place them on shelves, tables, or windowsills.
You can even attach magnets to the back.
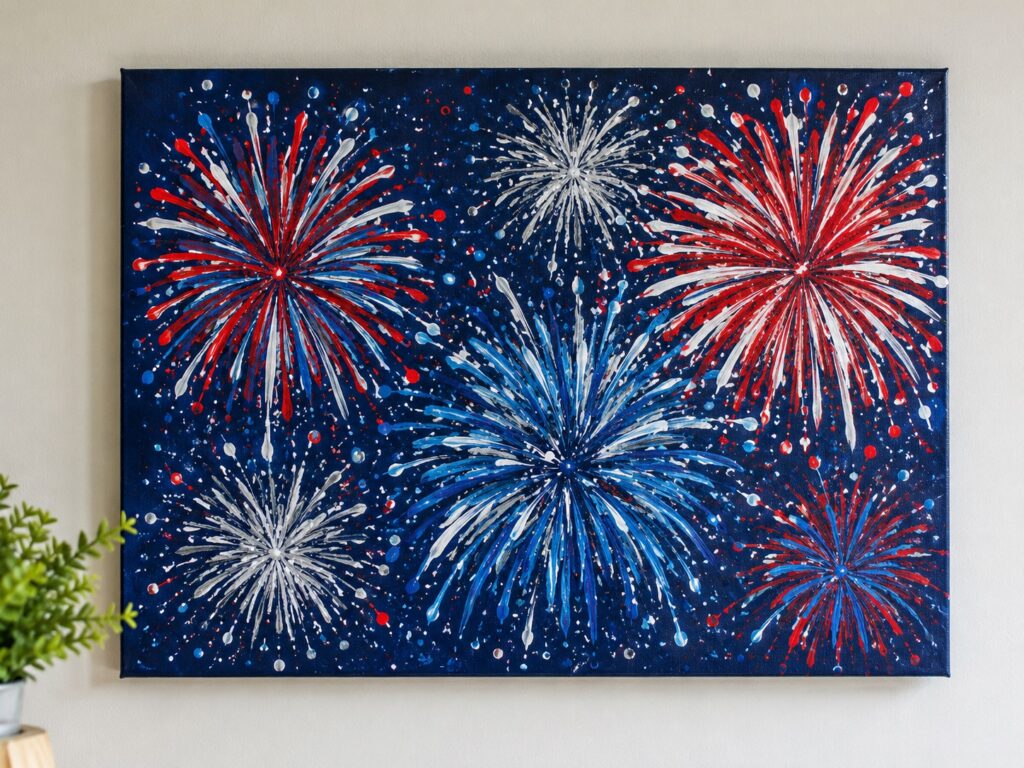
Make Colorful Firework Wall Art for DIY 4th of July Decorations
Children love fireworks. Therefore, this craft often becomes a favorite.
Step 1: Gather Supplies
You will need construction paper, scissors, glue, markers, and glitter.
Step 2: Cut Firework Strips
Cut long paper strips in different colors.
Step 3: Create Firework Shapes
Arrange the strips into circular bursts.
Glue them onto poster board.
Step 4: Add Details
Draw sparkles and stars with markers.
Add glitter for extra shine.
Step 5: Display Your Artwork
Hang the finished piece near your party area.
It creates a fun backdrop for photos.
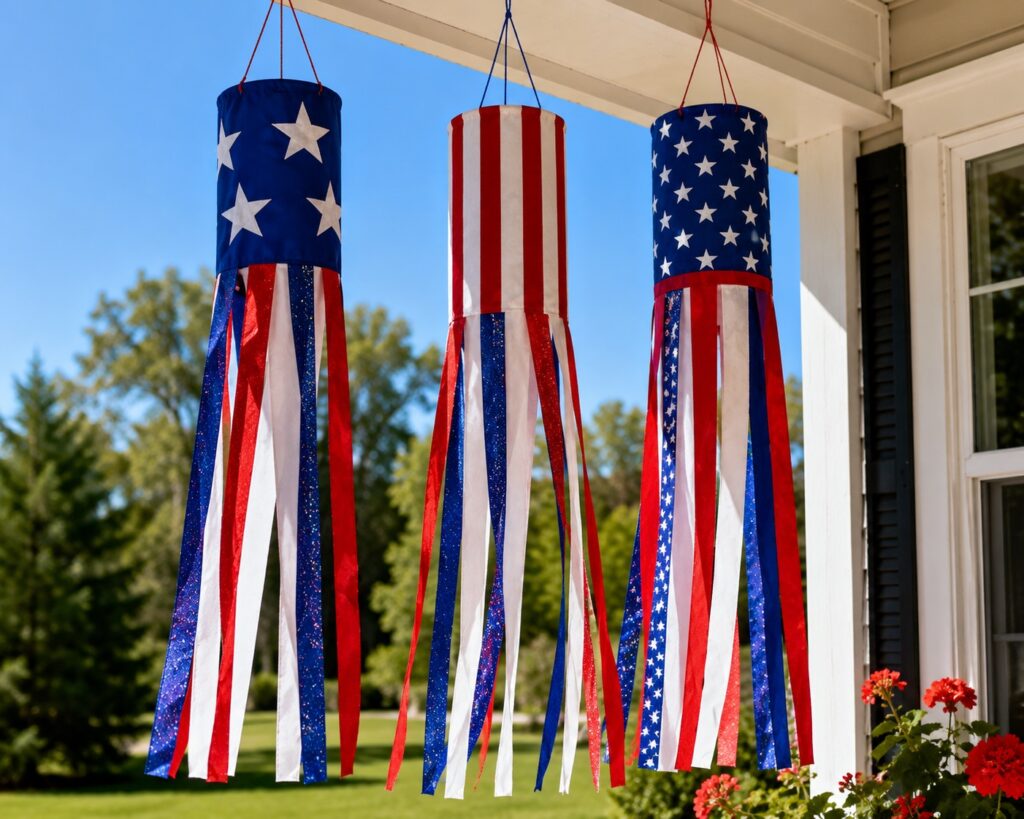
Craft Patriotic Windsocks for DIY 4th of July Decorations
Windsocks add movement and color to outdoor spaces.
Even better, children love watching them sway in the breeze.
Step 1: Decorate the Base
Use paper towel tubes or rolled cardstock.
Paint patriotic designs.
Step 2: Attach Streamers
Cut long strips of crepe paper.
Glue them inside one end.
Step 3: Add a Hanger
Punch holes near the top.
Thread ribbon through the holes.
Step 4: Personalize
Let children add their names, stickers, or drawings.
Step 5: Hang Outside
Display the windsocks on porches or tree branches.
They instantly brighten outdoor spaces.
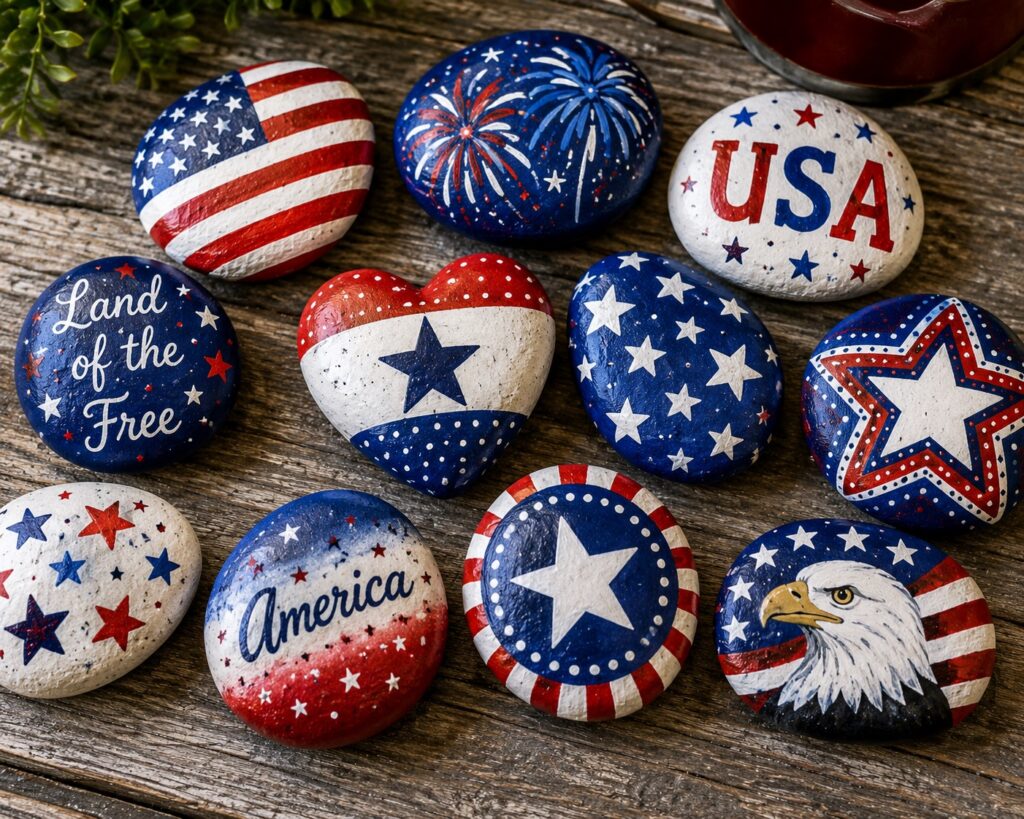
Create Painted Patriotic Rocks for DIY 4th of July Decorations
Painted rocks combine creativity with outdoor decorating.
They also make wonderful keepsakes.
Step 1: Collect Rocks
Choose smooth, flat rocks.
Wash them thoroughly.
Step 2: Paint Base Colors
Cover the rocks with red, white, or blue paint.
Allow them to dry.
Step 3: Add Designs
Paint stars, flags, fireworks, hearts, or patriotic messages.
Step 4: Seal the Paint
Apply a clear sealer if available.
Step 5: Display Your Rocks
Place them along walkways, flower beds, or porch steps.
They add cheerful pops of color.
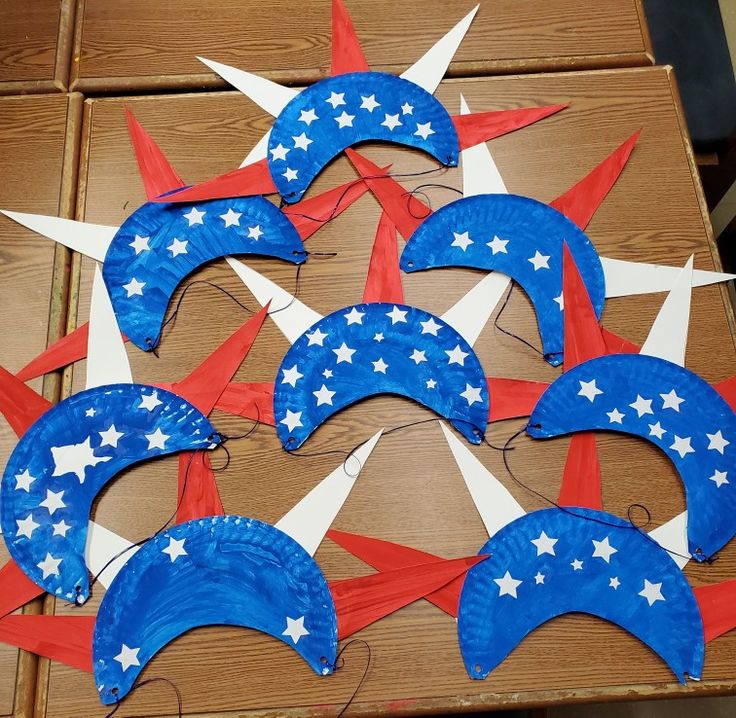
Make Easy Paper Plate Fireworks for DIY 4th of July Decorations
Paper plates offer endless crafting possibilities.
This project works especially well for younger children.
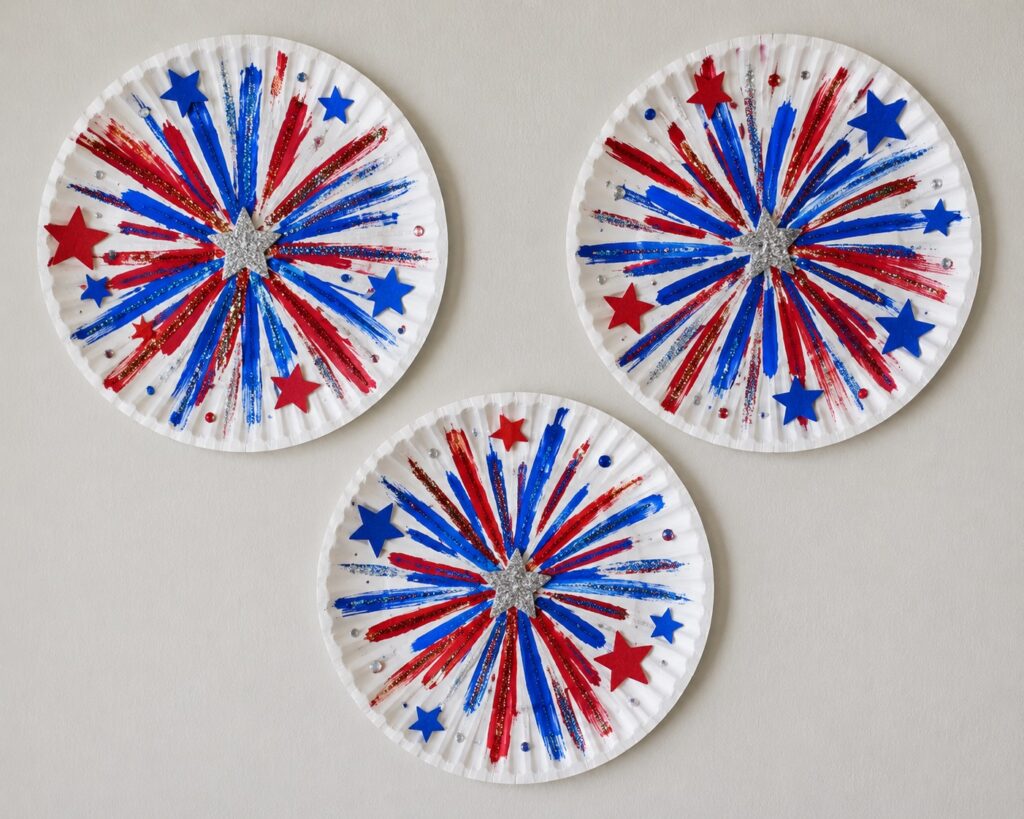
Step 1: Paint the Plate
Paint the entire plate blue.
Allow it to dry.
Step 2: Add Fireworks
Use paintbrushes to create bursts of red, white, and silver paint.
Step 3: Add Sparkle
Sprinkle glitter onto wet paint.
Step 4: Personalize
Write the date or child’s name on the back.
Step 5: Hang Your Artwork
Display multiple plates together for a dramatic effect.
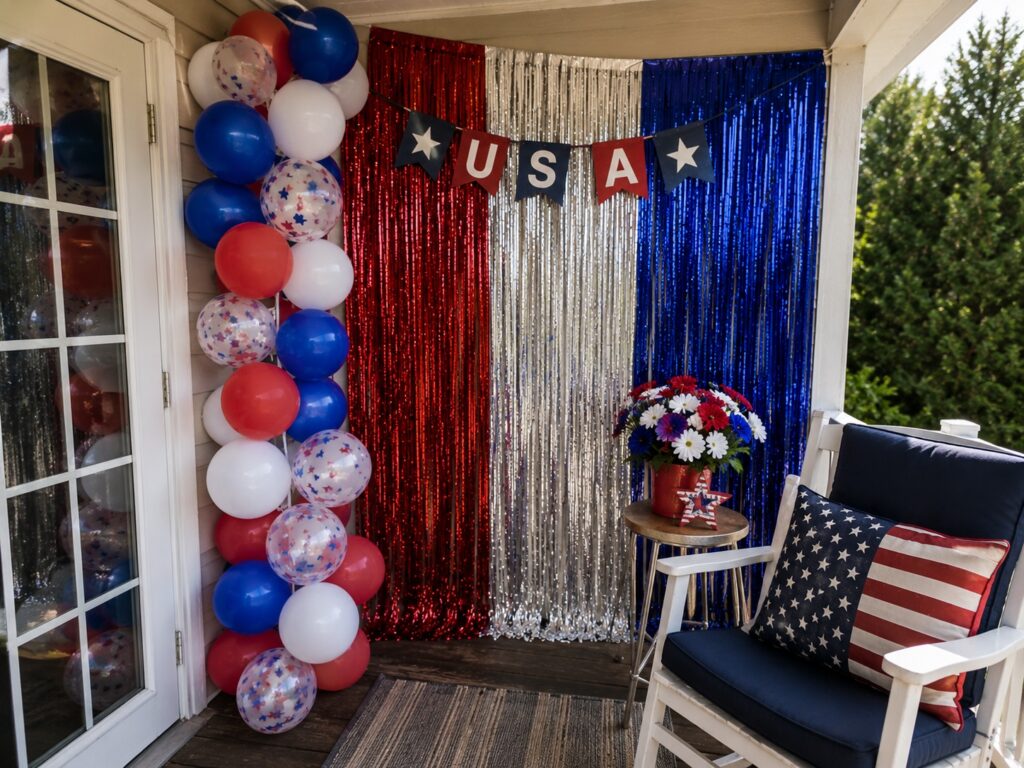
Create a Patriotic Photo Booth Corner for DIY 4th of July Decorations
Every holiday gathering needs fun photo opportunities.
Children can help create a festive backdrop.
Step 1: Hang Streamers
Use red, white, and blue streamers.
Cover a wall section completely.
Step 2: Add Paper Decorations
Attach stars, fireworks, and flags.
Step 3: Create Props
Make paper hats, glasses, and signs.
Step 4: Arrange the Space
Leave enough room for family photos.
Step 5: Capture Memories
Take plenty of pictures throughout the celebration.
The decorations become part of your family’s holiday memories.
Tips for Keeping Kids Engaged While Crafting
Children often begin projects with excitement.
However, some lose interest halfway through.
Fortunately, a few simple strategies help maintain enthusiasm.
First, choose projects that match your child’s age.
Second, allow children to make creative decisions.
Third, offer praise throughout the process.
Focus on effort rather than perfection.
Additionally, keep snacks nearby.
Hungry children rarely enjoy crafting.
You can also play patriotic music in the background.
Music creates a festive atmosphere and keeps energy levels high.
Most importantly, stay flexible.
Sometimes the best creations come from unexpected ideas.
Common Crafting Mistakes to Avoid
Many parents accidentally make crafting more stressful than necessary.
Avoid correcting every small mistake.
Children need freedom to experiment.
Do not compare siblings’ projects.
Each child has a unique creative style.
Avoid rushing through activities.
Kids enjoy the process as much as the finished product.
Finally, remember that handmade DIY 4th of July Decorations should look handmade.
Those little imperfections often become the most charming details.
How to Display Your DIY 4th of July Decorations
After all your hard work, display the DIY 4th of July decorations proudly. Hang garlands across mantels and doorways. Place lanterns on tables and porch steps. Arrange centerpieces in dining areas. Display painted rocks throughout your garden. Hang windsocks where they can catch the breeze. Create a dedicated wall for children’s artwork.
The more visible the DIY 4th of July Decorations become, the prouder children feel. Furthermore, displaying their work shows that you value their creativity.
You can also mix handmade DIY 4th of July Decorations with existing holiday décor to create a warm and festive atmosphere throughout your home. Consider placing smaller crafts on bookshelves, entryway tables, or kitchen counters where guests can easily admire them. Outdoor DIY 4th of July Decorations can brighten patios, fences, and walkways while making your celebration feel even more welcoming. If your children created multiple projects, rotate the displays throughout the holiday weekend so every craft gets special attention. Taking photos of the finished decorations around your home is another wonderful way to preserve memories and celebrate your children’s creativity long after the 4th of July has passed.
Making the Experience More Meaningful
Making the Experience More Meaningful
Crafting creates more than decorations.
It creates traditions.
Creating DIY 4th of July Decorations together gives families the opportunity to slow down, connect, and celebrate the holiday in a creative and meaningful way.
Consider taking annual photos during crafting sessions.
Save one decoration from each year.
Create a memory box filled with favorite projects.
Over time, these small traditions become treasured family memories.
Children grow quickly.
The little handprints, creative drawings, and unique designs capture moments you cannot recreate later.
That makes every crafting session worthwhile.
You can also encourage children to write the date or their names on completed crafts before storing them away. Looking back at these decorations over the years can become a meaningful family tradition that highlights how much your children have grown and changed. Some families even enjoy creating themed scrapbooks filled with photos, craft ideas, and holiday memories from each celebration. These keepsakes often become more valuable than store-bought decorations because they carry personal stories and emotions.
Even simple projects made with paper, paint, and glue can hold lasting sentimental value when they are created together with love, laughter, and shared family time. As the years pass, these handmade DIY 4th of July Decorations often become treasured reminders of childhood and family togetherness. Crafting also gives children a sense of pride because they can see their creations displayed during holiday celebrations. Whether the decorations are perfectly polished or delightfully messy, the joy comes from spending meaningful time together. In the end, the memories made during these creative moments will far outshine the decorations themselves and become traditions your family cherishes for generations.
Final Thoughts
Making cute DIY 4th of July decorations with your kids turns an ordinary holiday into an unforgettable experience. These simple projects encourage creativity, strengthen family bonds, and fill your home with patriotic charm.
Best of all, you do not need fancy supplies or professional crafting skills. A handful of basic materials and a little imagination can create beautiful decorations that children feel proud to display.
Whether you make a paper garland, paint mason jar lanterns, craft patriotic windsocks, or design colorful centerpieces, the real magic happens during the time you spend together.
Years from now, your children may not remember every firework display or party menu. However, they will remember sitting around the table, covered in glitter and paint, creating something special with the people they love most.
So gather your supplies, clear the table, and start crafting. Your cutest DIY 4th of July Decorations may also become your favorite family memories.
Crafting together also gives children a chance to learn valuable skills such as following directions, problem-solving, and working creatively with their hands. These activities can help boost confidence while allowing kids to express their personalities through colors, shapes, and decorations. You can even invite friends, cousins, or neighbors to join the fun and turn your crafting session into a festive holiday event. Once the DIY 4th of July Decorations are complete, display them proudly throughout your home, porch, or backyard celebration. Every handmade piece will serve as a reminder that the best holiday moments are often the simplest ones shared together as a family.