Some links on this blog may contain affiliate links. If you make a purchase through one of these links, I may earn a small commission at no extra cost to you. Thank you for supporting Enchanted Kids Moment!
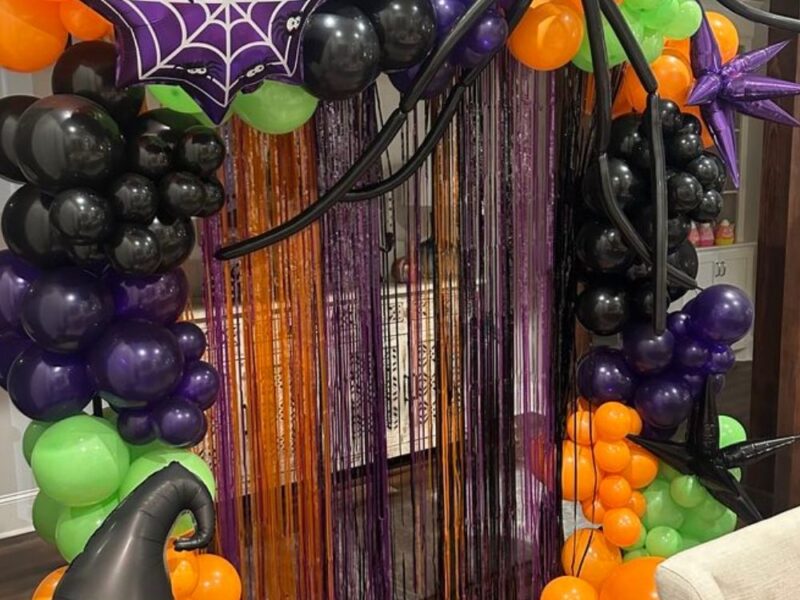
I love making things from scratch, especially when it comes to a balloon garland. Halloween party decorations can look complicated when you see the finished setup. A balloon garland is one of those decorations that seems difficult until you break it into smaller steps.
You don’t really need professional decorating experience to make one at home. When you have balloons in different sizes, a decorating strip, a pump, and a few simple supplies, you can create a full Halloween display for a party, dessert table, doorway, or photo area.
What you should worry abou is getting the garland to look full without using too many colors or making the balloons look uneven. This tutorial walks you through the process from measuring your space to hanging the finished garland.
Kids can also take part in several safe parts of the project. They can help choose colours, sort balloons, and decide where decorations should go. An adult should handle balloon inflation, scissors, hooks, and hanging.
By the end, you’ll have a festive Halloween balloon garland that works for birthday parties, family gatherings, classroom celebrations, and Halloween parties at home. My Must-See Halloween Balloon Garland Ideas Kids Will Never Forget will help you.
How Long Does It Take to Make a Halloween Balloon Garland?
Give yourself more time than you think you’ll need, especially if this is your first balloon garland.
A small garland may take around an hour to prepare and assemble. Larger designs can take longer because you need more balloons and more time to fill the empty spaces.
If you’re making the garland for a party, don’t leave the entire project until the last minute. Preparing it earlier gives you time to replace popped balloons, adjust the colours, and fix uneven sections.
You can also split the work into smaller jobs. Sort the balloons first, inflate them next, assemble the main garland afterward, and add the decorative details at the end.
If children are helping, allow extra time. The goal is to make the project enjoyable rather than rushing through it.
What You Need to Make a Spooky Halloween Balloon Garland
What You Need
Essential supplies
- Balloons in several sizes
- Balloon decorating strip
- Balloon pump
- Balloon glue dots
- Removable hooks
- Clear fishing line
- Scissors
Optional Halloween decorations
- Paper bats
- Ghost cutouts
- Pumpkin decorations
- Black cat decorations
- Halloween ribbons
- Small spider decorations
- Battery-operated fairy lights
Balloon colours
For a traditional Halloween look, try:
- Orange
- Black
- White
- Purple
- Green
You don’t need to use every colour. Two main colours with one or two accent colours can create a cleaner-looking garland.
Before you begin
Place everything within reach before starting. Keep scissors and other sharp tools away from young children.
An adult should handle balloon inflation, cutting, hooks, and the final hanging process.
Children can safely help with colour selection, balloon sorting, and choosing where some decorations should go.
Open thianext: Easy Halloween Decorations to Make With Kids
How to Make a Spooky Halloween Balloon Garland
1. Measure the Space for the Balloon Garland
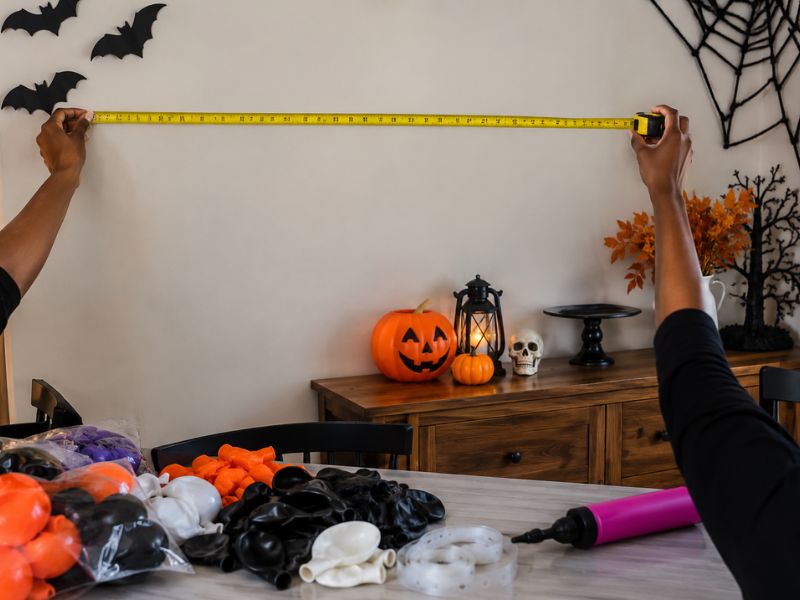
Start by deciding where you want the garland to hang.
You might place it above a dessert table, around a doorway, behind the cake, or along a photo backdrop.
Use a tape measure to check the length of the space. Write the measurement down before inflating any balloons.
Do not guess the size.
A garland that looks long on the floor may appear much shorter once you curve and hang it.
Cut the balloon strip slightly longer than the measured space. The extra length gives you room to adjust the shape during installation.
Ask the children to stand back and help you picture where the garland should begin and end. This gives them a simple way to join the planning without handling any tools.
Read this next: Cozy and Magical Halloween Kids Room Ideas (35 Creative Designs)
2. Choose the Balloon Colors and Pattern
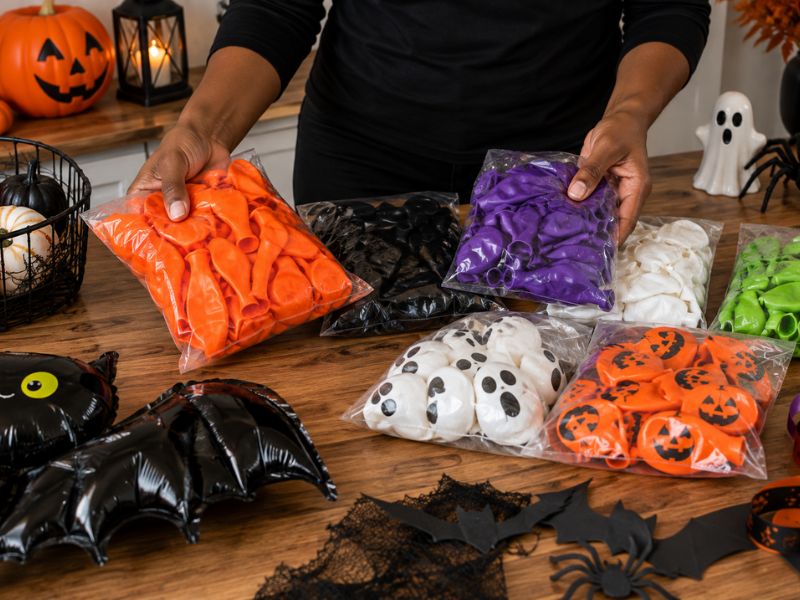
Next, place the balloon packets beside each other and decide how the colors will work together.
You do not need an exact pattern. A balloon garland usually looks better when the colors appear mixed rather than perfectly repeated.
Choose two main colors and use the others as accents.
For example, orange and black can create the main structure. Purple, white, and green balloons can fill smaller areas and break up the darker colors.
Let the children help sort the balloon colors into separate groups.
You can ask them which colors should appear most often. They can also help choose where special printed balloons will go later.
Keep character balloons and balloons with Halloween faces aside. Add them near the end so they remain visible.
Keep this page: 27 Funny Halloween Party Games That Keep Kids Laughing
3. Sort the Balloons by Size
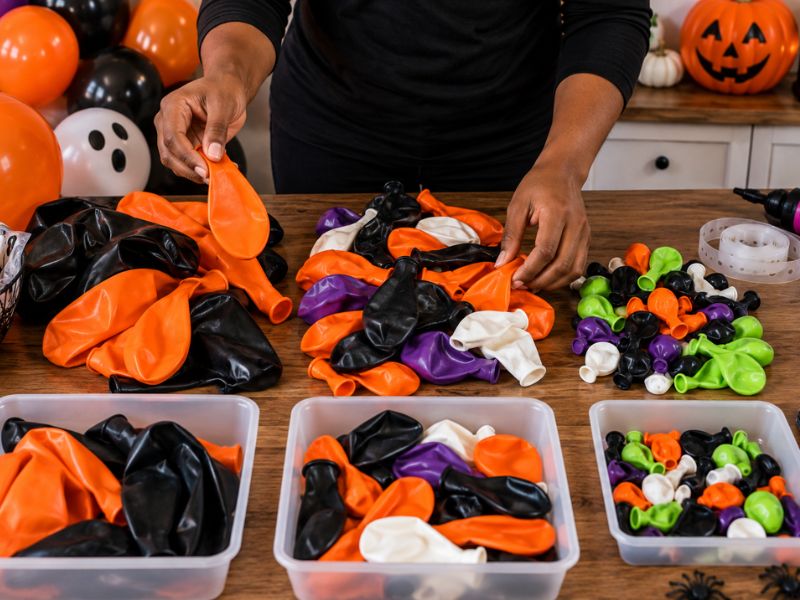
Open the balloon packets and separate the balloons by size before you begin inflating them.
Place large balloons in one group, medium balloons in another, and small balloons together.
This step may seem simple, but it keeps the project organized.
The large and medium balloons will create the main body of the garland. Small balloons will fill gaps and give the finished design a professional look.
Children can help with this part by matching balloons that look similar in size.
Count the balloons after sorting them. Keep a few balloons unused in case one pops during the project.
Open this: 31 Fun DIY Halloween Face Paint Ideas for Kids
4. Inflate the Large Balloons First
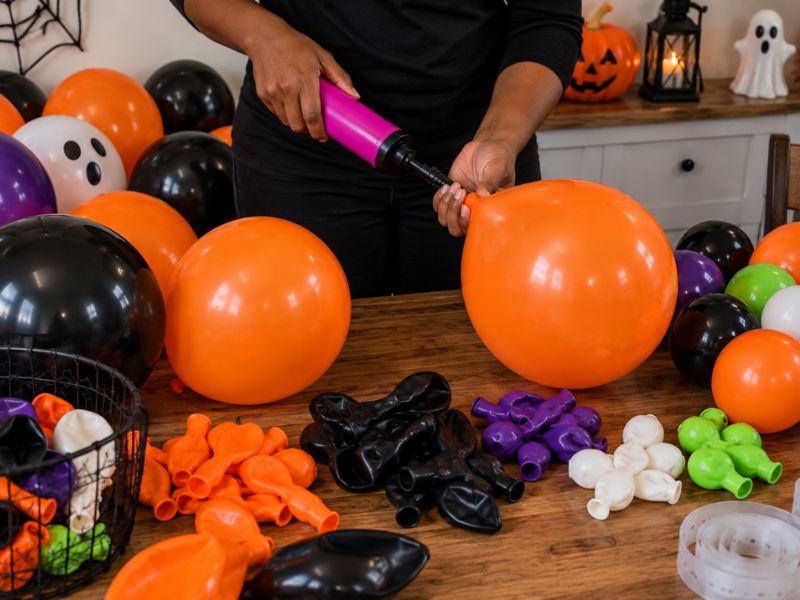
Begin with the largest balloons because they will form the base of your Spooky Halloween Balloon Garland.
Place the balloon opening over the pump and inflate it slowly.
Stop before the balloon becomes tight or pear-shaped. A soft, rounded balloon looks better and is less likely to pop.
Release a little air if the balloon looks stretched at the end.
Tie the balloon securely and place it on one side of the room.
Continue until you have inflated all the large balloons.
Children should not place their faces close to balloons during inflation. They can safely help by carrying tied balloons to the correct color pile.
Keep the floor clear as you work. Balloons can quickly spread around the room and make walking difficult.
Come back to this: 27 Princess Bedroom Ideas for Girls That Feel Magical and Elegant
5. Inflate the Medium and Small Balloons
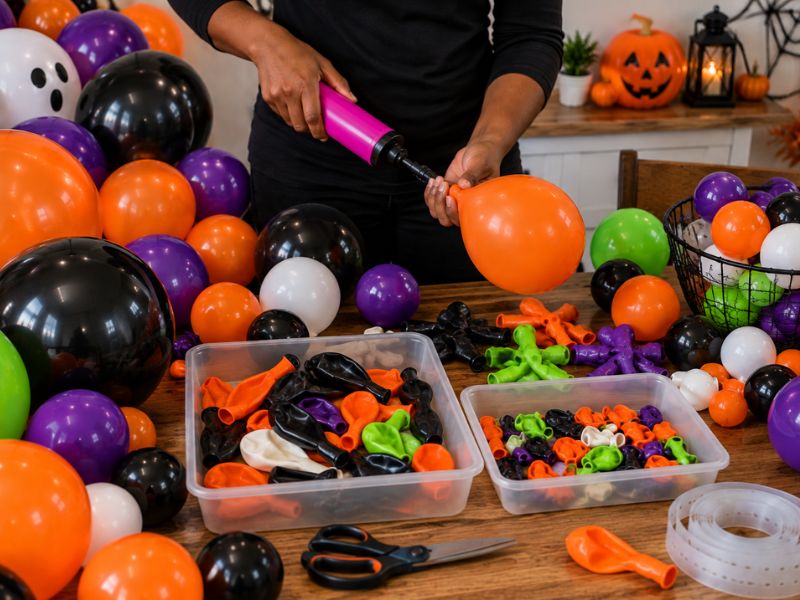
After the large balloons are ready, inflate the medium balloons.
Do not make every balloon exactly the same size.
Slight differences help the garland look softer and more natural.
Next, inflate the small and mini balloons. These balloons will cover spaces where the balloon strip remains visible.
Keep each size in a separate area so you can find the right balloon quickly during assembly.
At this stage, the room may feel full of balloons. Ask the children to help keep the colors and sizes organized.
Turn sorting into a simple game by asking them to place each balloon in its correct group.
See this: 35 Spooky Halloween Party Decorations That Instantly Wow Kids
6. Attach the First Balloons to the Decorating Strip
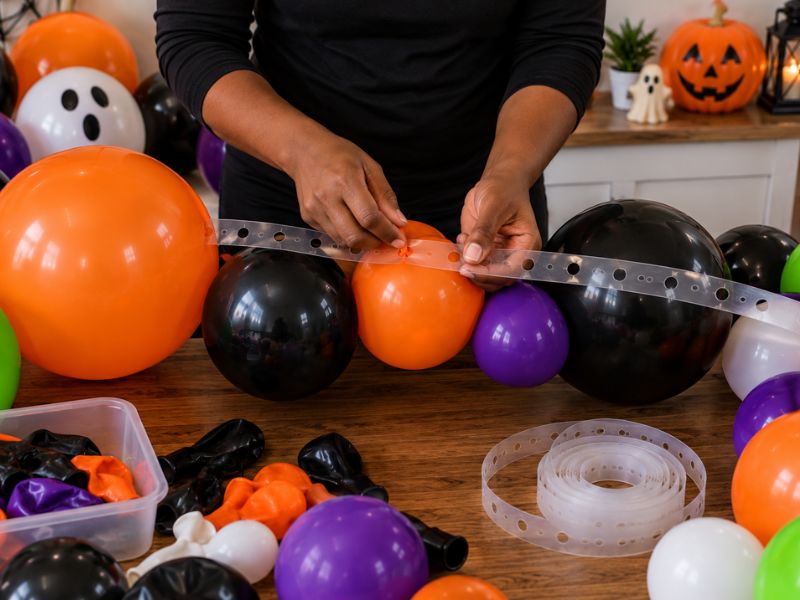
Lay the balloon strip across the floor or table.
Begin at one end and push the knot of a large balloon through the first opening.
Pull it gently until the knot sits securely inside the narrow part of the hole.
Add another large balloon a few spaces away.
Then place a medium balloon between them.
Continue adding balloons while changing colors and sizes.
Do not fill every hole in the strip. Leaving some openings gives you room to adjust balloons later.
Work slowly and keep checking that each knot feels secure.
Children can choose the next color and pass each balloon to you. An adult should push the knots into the strip because the plastic may feel stiff.
This guide will help you: 31 Halloween Pumpkin Painting Ideas Kids Can Make Instead of Carving
7. Build the Main Balloon Garland Shape
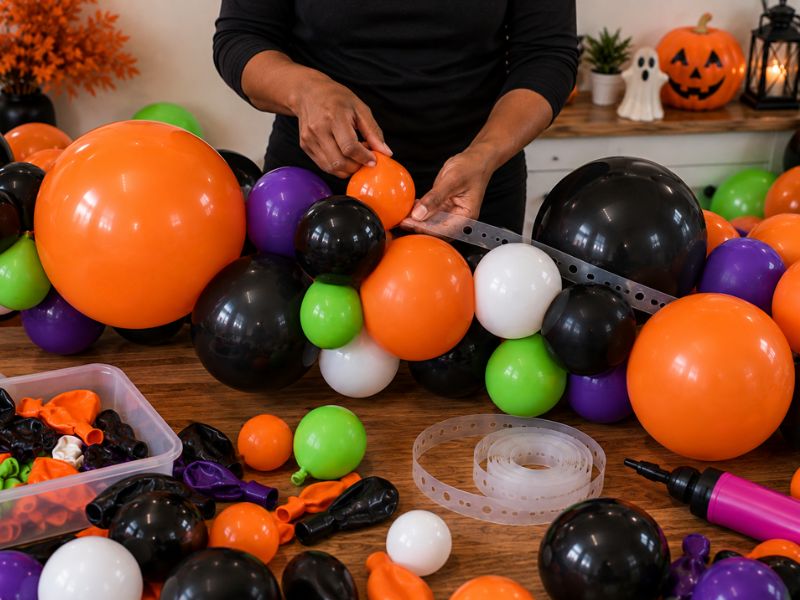
Continue attaching balloons until most of the strip feels full.
Place balloons on both sides of the strip. This prevents the garland from looking flat.
Turn the strip slightly as you work so the balloons face different directions.
Keep the largest balloons spread apart. If too many large balloons sit together, one area may look heavy.
Use medium balloons to connect the larger sections and create a smooth shape.
Every few minutes, lift part of the garland and look at it from a distance.
Do not worry about small gaps yet.
The garland should look full enough to hold its shape, but it will not look finished at this stage.
As the garland grows, ask the children to point out areas with too much of one color. Their fresh view can help you create a more balanced design.
See this guide: How to Paint a Ceramic Mug at Home With Kids: Step-by-Step Tutorial
8. Fill the Empty Spaces With Small Balloons
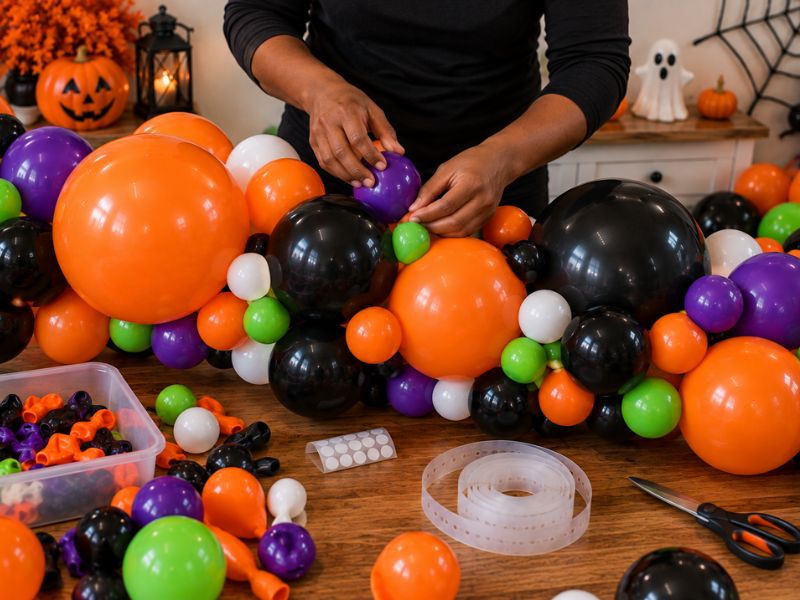
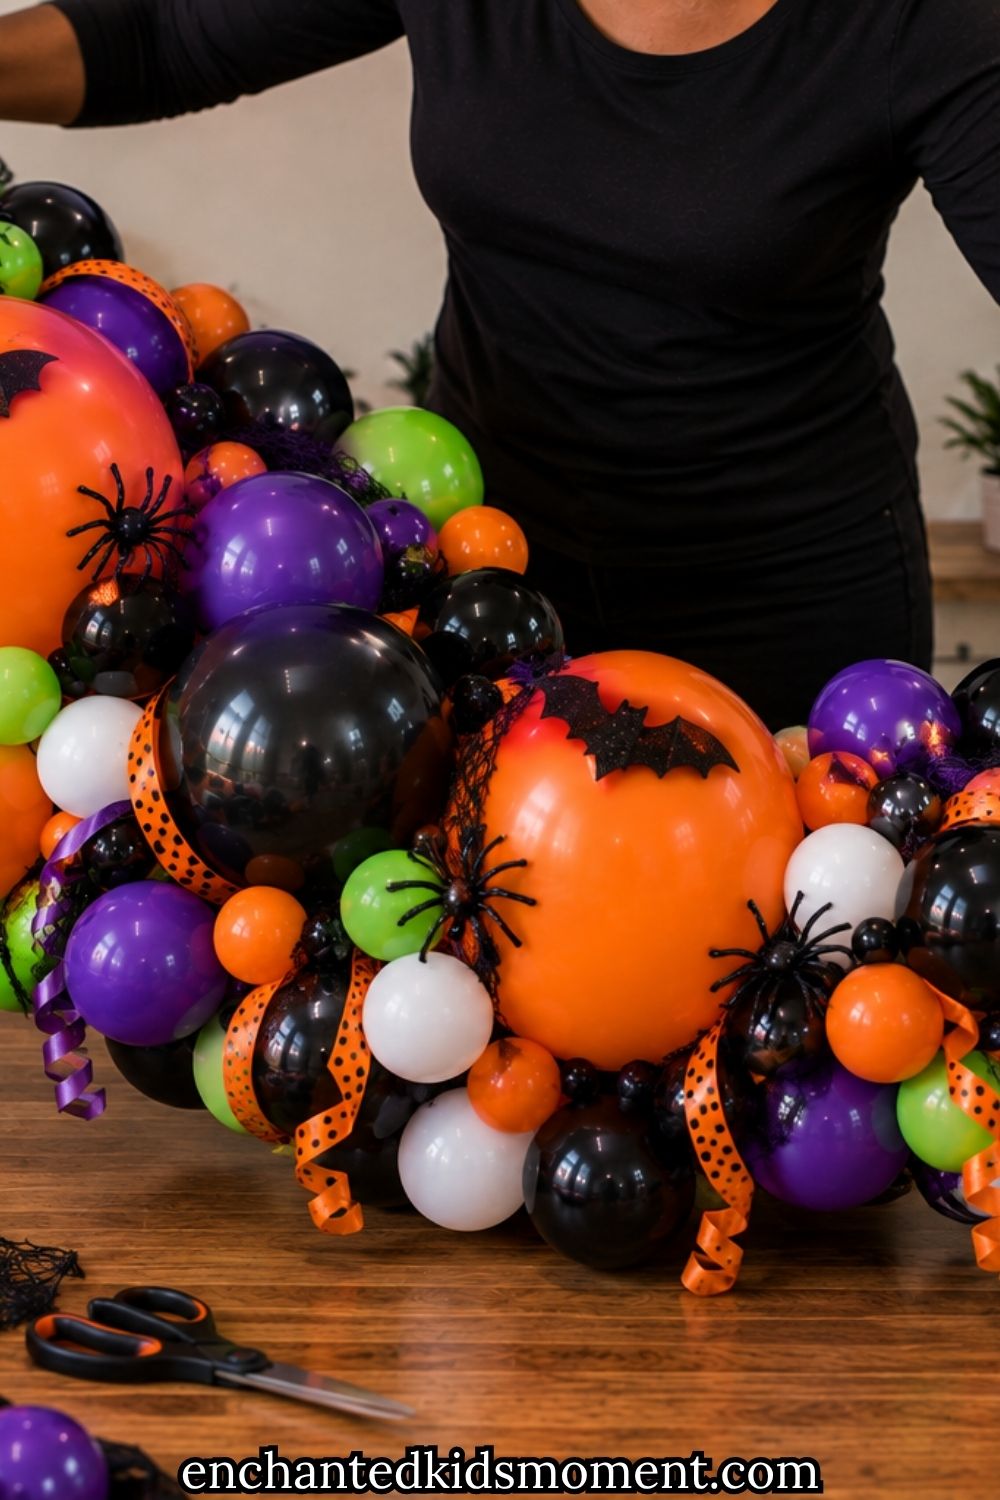
Now your Spooky Halloween Balloon Garland should have its basic shape.
It probably looks a little uneven, and you may notice small gaps between the larger balloons. That is exactly what should happen. The next step is what gives the garland its full, professionally designed look.
Take your small and mini balloons and place them near the garland.
Look closely for the biggest empty spaces first.
Pick up one small balloon and add a glue dot to the side. Press it gently between two larger balloons. Hold it in place for a few seconds until it sticks.
Work slowly across the entire garland.
Turn it as you go so you can see every angle.
Keep adding balloons until the decorating strip disappears behind the balloons.
Do not place all the small balloons in one area. Spread them across the entire garland so every section looks balanced.
Every few minutes, stand back and look at your work. If one side looks heavier than the other, add another small balloon to the lighter side.
Children can help by pointing out gaps and handing you balloons in different sizes. They will enjoy watching the garland become fuller after every balloon is added.
Come back to this: Why Celebrating Small Childhood Milestones Matters More Than You Think
9. Add Halloween Decorations to Bring the Garland to Life
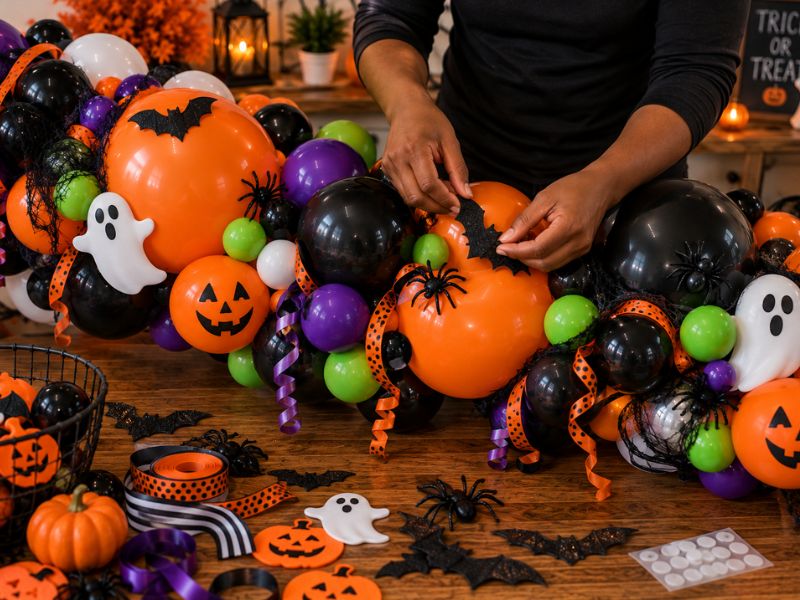
Once the balloons are in place, it is time to add the Halloween details.
These decorations turn a balloon garland into a fun party centerpiece.
Choose decorations that match the style of your party. Friendly ghosts, smiling pumpkins, bats, witches’ hats, candy shapes, and black cats all work well for a children’s Halloween celebration.
Instead of covering every balloon, spread the decorations across the garland.
Attach paper bats so they look like they are flying through the balloons.
Tuck friendly ghost cutouts between white balloons.
Place small spiders where children can spot them during the party.
Tie a few ribbons around sections of the garland to add movement.
If you have battery-operated fairy lights, weave them gently through the balloons after the decorations are finished. Soft lights make the garland stand out during an evening party.
Let the children choose where some of the decorations should go. They often come up with fun ideas that make the garland feel even more playful.
If you are decorating for the whole celebration, my Halloween Party Ideas for Kids will help you create matching decorations throughout your party space.
Read this next: Cozy and Magical Halloween Kids Room Ideas (35 Creative Designs)
10. Shape the Garland Before Hanging It
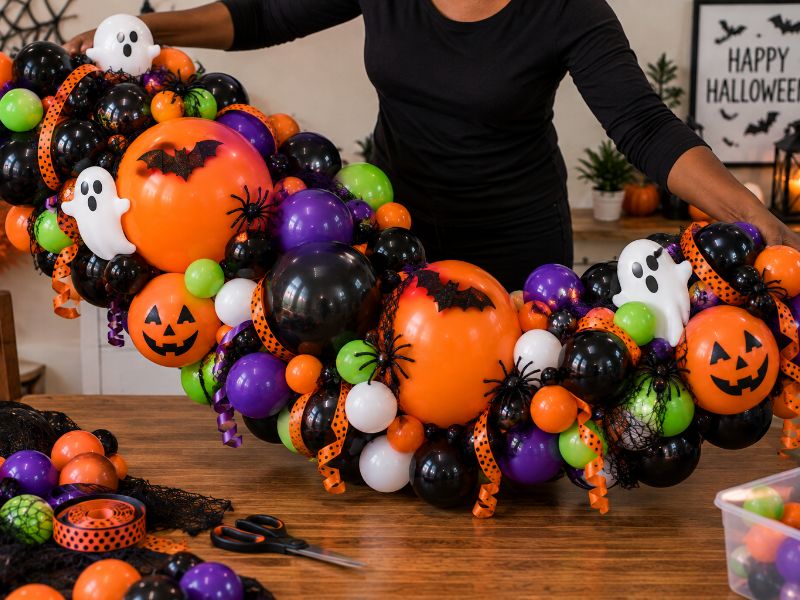
Before you hang the garland, spend a few minutes shaping it.
Lift the garland carefully from the floor.
Hold it up and let it bend naturally.
Some sections may need to curve more than others.
Gently twist the balloon strip if you want more balloons facing the front.
Move a few balloons by hand if one area looks too flat.
This is also the perfect time to check for any empty spaces you may have missed.
If you find one, attach another small balloon before hanging the garland.
Take a photo while someone else holds it.
Looking at the picture often makes uneven sections much easier to notice than looking with your eyes alone.
Why Does My Balloon Garland Look Flat?
A balloon garland can look disappointing when the balloons all have similar sizes or when large gaps remain between them.
Start by checking the balloon sizes. You want a mixture of large, medium, small, and mini balloons.
Next, look for empty areas.
Add small balloons to the biggest gaps using glue dots. Don’t simply add more large balloons because that can make one section look heavy.
Finally, step away from the garland.
Looking at it from several feet away often makes uneven sections easier to spot.
Why Does My Balloon Garland Look Uneven?
An uneven balloon garland usually needs a few small adjustments rather than a complete rebuild.
First, check the colour distribution. If several orange balloons sit together, for example, add black or white balloons nearby.
Next, look at the sizes. Too many large balloons together can make one part appear heavier.
Turn some balloons toward the front and move smaller balloons into obvious gaps.
You can also gently adjust the curve of the decorating strip before hanging it.
Don’t aim for perfect symmetry. A balloon garland usually looks more natural when the balloons vary slightly in size and position.
Balloon Garland Safety Tips for Kids
Balloon decorations need adult supervision, especially when young children are involved.
Keep uninflated balloons away from babies and toddlers because they can create a choking hazard if placed in the mouth.
Children should never play with broken balloon pieces. Remove popped balloons immediately.
An adult should handle scissors, hooks, fishing line, balloon pumps, and hanging the finished garland.
Keep the finished garland away from candles, heaters, sharp surfaces, and anything that could cause the balloons to pop.
Don’t hang the garland where it blocks a doorway, window, emergency exit, or walkway.
If you’re using lights, follow the manufacturer’s instructions and keep cords safely secured.
Most importantly, treat the balloon garland as party decoration rather than a toy.
Can Kids Help Make a Balloon Garland?
Yes, but the jobs should match their age.
Younger children can:
- choose balloon colours;
- sort balloons by colour;
- match balloons by size;
- point out empty spaces;
- choose where safe paper decorations should go.
Older children can help with more of the planning and decorating process under adult supervision.
Adults should handle:
- inflating balloons;
- scissors;
- hooks;
- fishing line;
- balloon glue dots;
- hanging the garland;
- cleaning up popped balloons.
This makes the project a shared activity without giving young children tasks that could create unnecessary risks.
Final Thoughts
Making a Halloween balloon garland doesn’t have to feel like a professional decorating project.
Once you break the process into smaller stages, it becomes much easier to manage. Plan your space, choose a simple colour palette, inflate different balloon sizes, build the main garland, fill the gaps, and finish with a few Halloween details.
You can also make the project part of your family’s Halloween preparations. Kids can choose colours, sort balloons, and help decide where the decorations should go while an adult handles the tools and hanging.
Don’t worry if your first garland isn’t perfectly symmetrical. Small differences in balloon size and placement can actually make the finished decoration look more natural.
With a little preparation, you can create a festive Halloween display that works beautifully above a dessert table, around a doorway, behind a cake, or as a party photo backdrop.