Some links on my blog may contain affiliate links. If you make a purchase through one of this links, I may earn a small commission at no extra cost to you. Thank you for supporting Enchanted Kids Moment!
Halloween decorating becomes much more exciting when kids get to make some of the decorations themselves. I love the idea of turning an ordinary afternoon into a little creative session where paper, paint, balloons, and simple craft supplies become spooky decorations for the home.
You do not need elaborate displays to make a room feel ready for Halloween. A few handmade ghosts hanging by the window, painted pumpkins on a shelf, or paper bats across a wall can instantly give the space a playful Halloween feel. The little imperfections make the decorations even more special because kids can see their own work around the house.
That is why these Easy Halloween Decorations to Make With Kids are perfect for families who want a fun decorating activity without complicated craft techniques. Younger children can paint and decorate, while older kids can help with cutting, assembling, and arranging the finished pieces.
If you want to turn the whole space into a fun Halloween setting, you can also find inspiration in my 35 Spooky Halloween Party Decorations That Instantly Wow Kids, especially for larger decorative displays.
The ideas below are simple enough for a relaxed afternoon and creative enough to make your home feel festive. Grab some basic supplies, choose a few favourites, and let the kids help create a Halloween look that feels completely their own.
Easy Halloween Decorations to Make With Kids
1. 11. Paper Plate Pumpkins
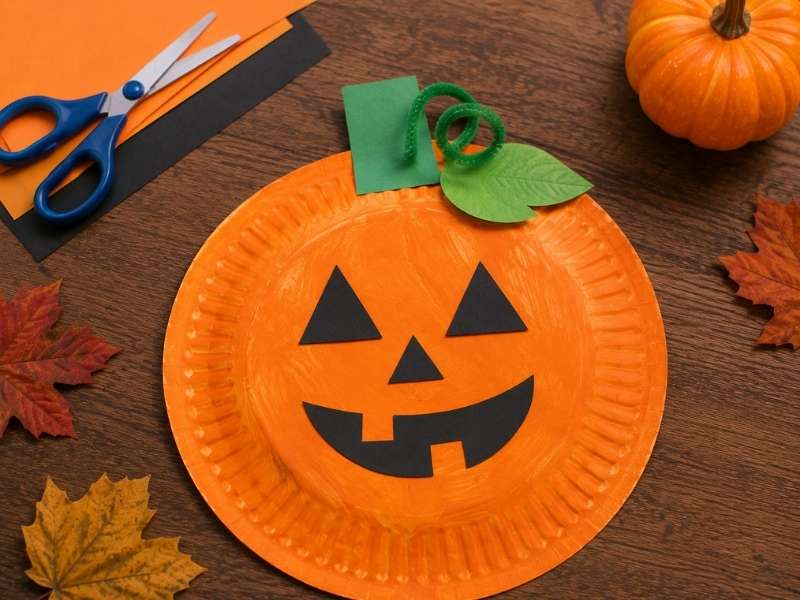
Paper plates provide a quick base for cheerful pumpkin decorations.
Paint each plate orange and let it dry. Add a green paper stem and a simple face.
For younger children, draw the face first and let them fill it in with paint or markers.
Hang the pumpkins together as a colorful wall display or use them as signs around a Halloween party area.
For another paper-plate project, try How to Make an Easy Paper Plate Shark Craft for Preschoolers.
2. Cardboard Bat Wall
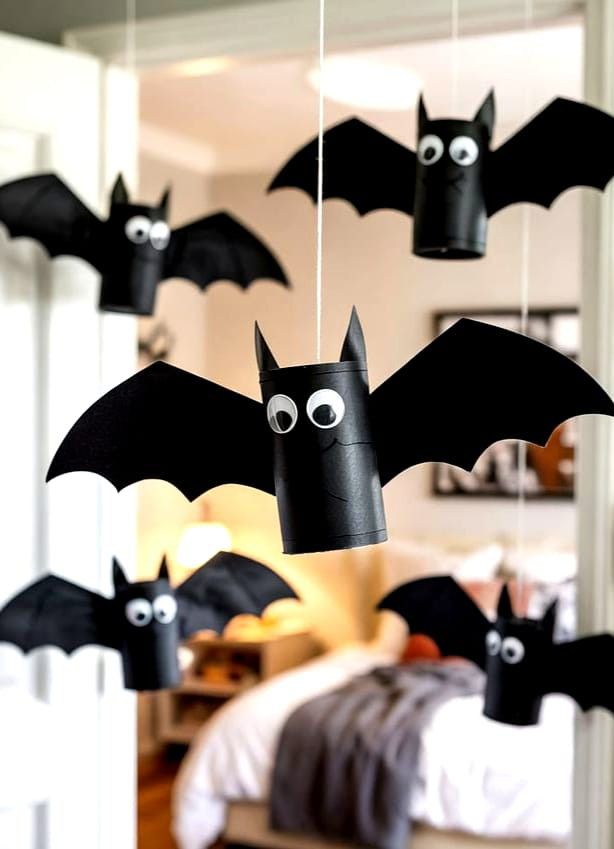
Turn leftover cardboard into a swarm of flying bats.
Draw several bat shapes on thin cardboard and cut them out. Kids can paint the bats black, add glitter, or leave them plain for a simple look.
Arrange the bats so they appear to fly upward across one wall. Start with smaller bats near the bottom and use larger ones toward the center.
This decoration works especially well above a snack table or beside a Halloween activity area.
3. Painted Pumpkin Jars
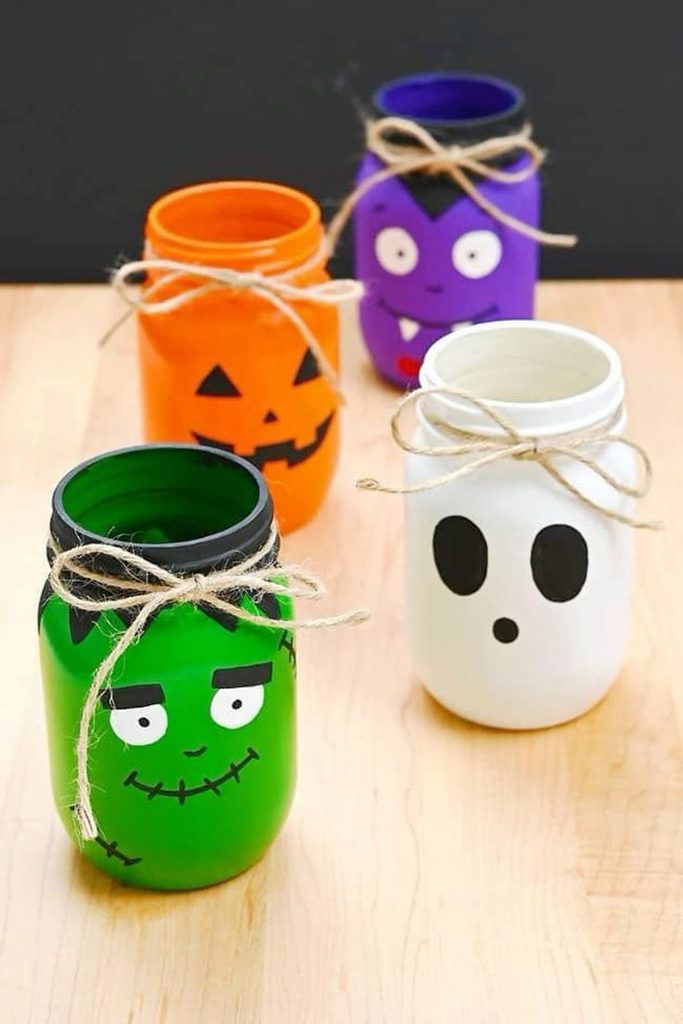
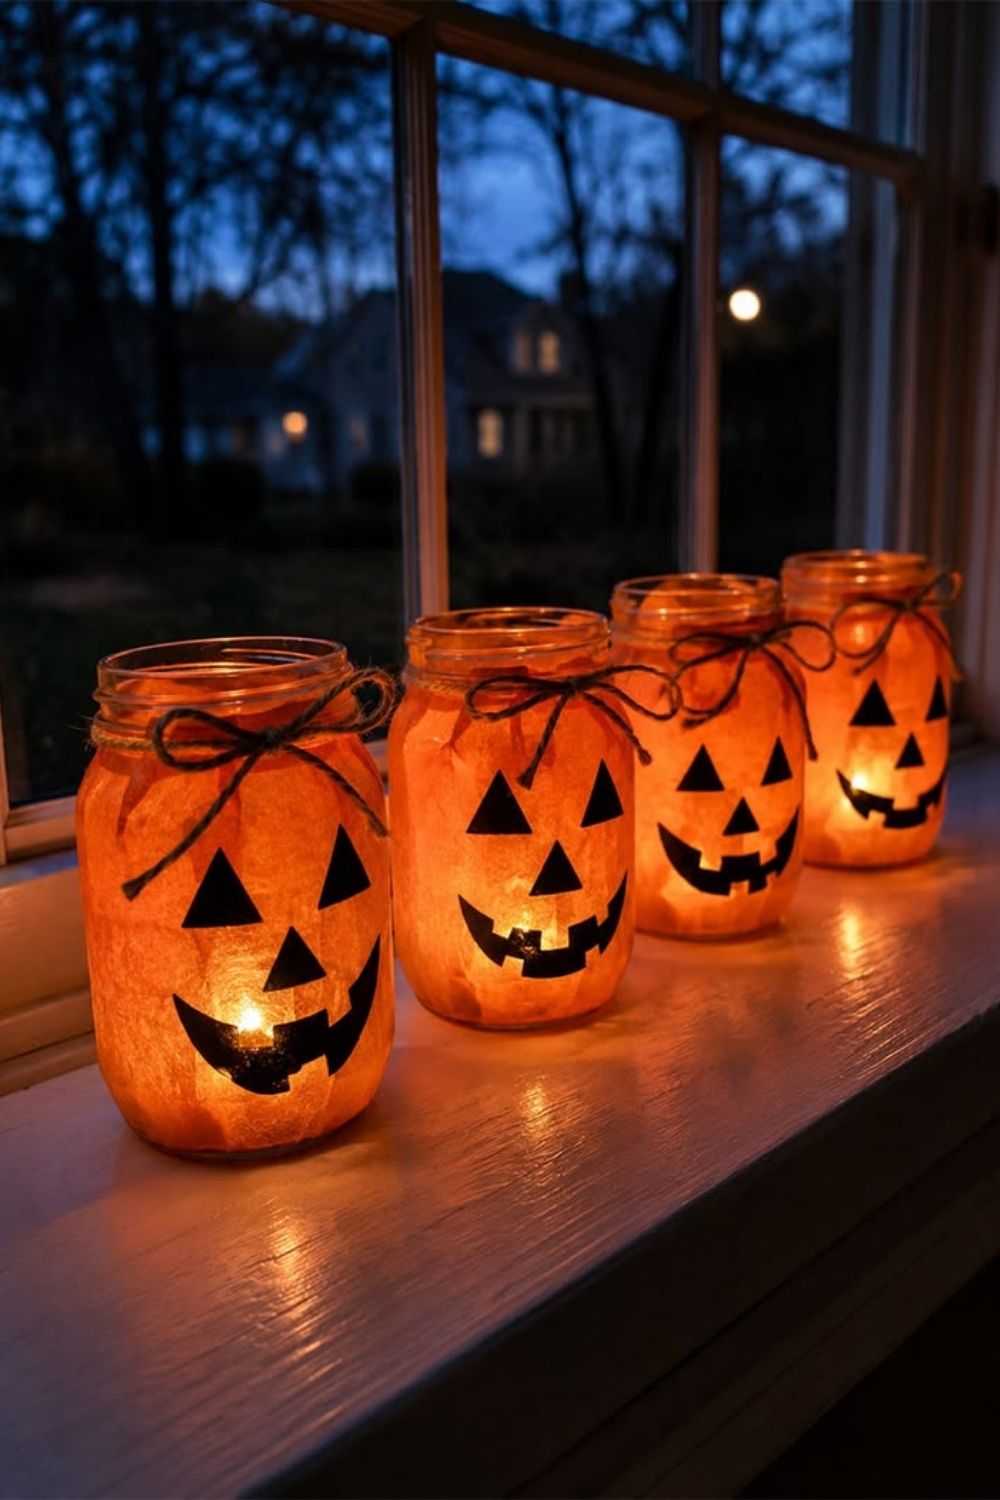
Save clean glass jars and turn them into tiny pumpkin decorations.
Paint the outside orange and allow the paint to dry completely. Add simple black faces with paint or permanent markers. A small piece of brown paper or ribbon can become the stem.
Use the finished jars as decorative containers for wrapped treats, craft supplies, or battery-operated lights.
Kids can make different faces for every jar, giving the display a playful handmade look.
4. Hanging Paper Spiders
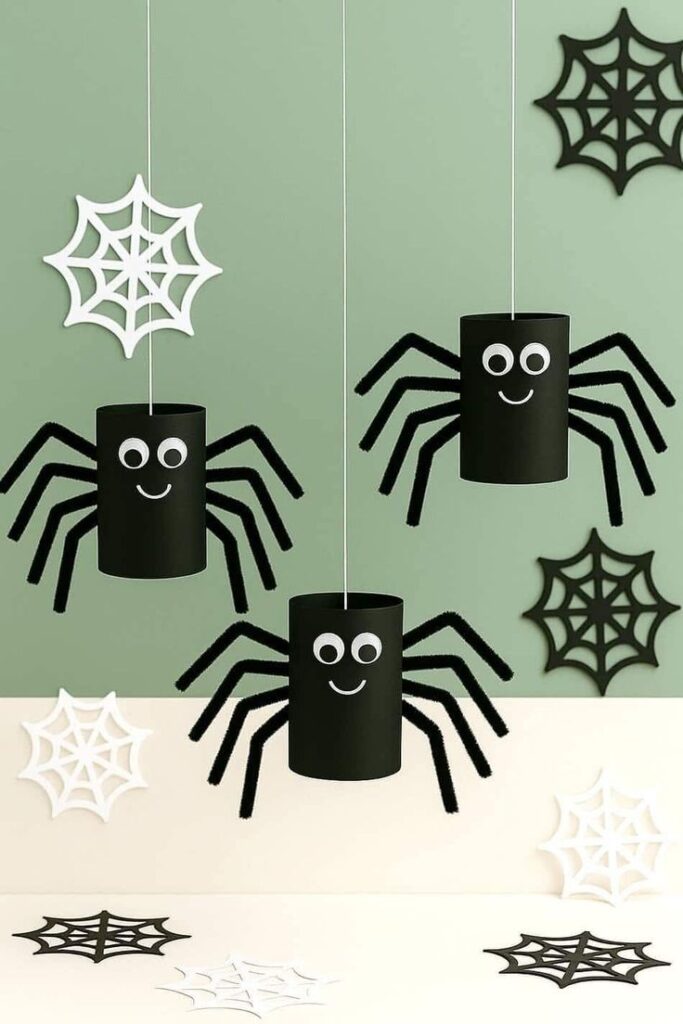
Paper spiders can turn an ordinary corner into a fun Halloween display.
Start with black construction paper and cut out spider bodies. Add eight paper legs, then attach googly eyes or draw eyes with white marker.
Hang several spiders from the ceiling using clear thread. Place them at different heights so they look like they are crawling down toward guests.
For another creative kids’ craft session, you can also explore 25 Fun & Easy Indoor DIY Activities and Crafts for Kids.
5. Halloween Handprint Banners
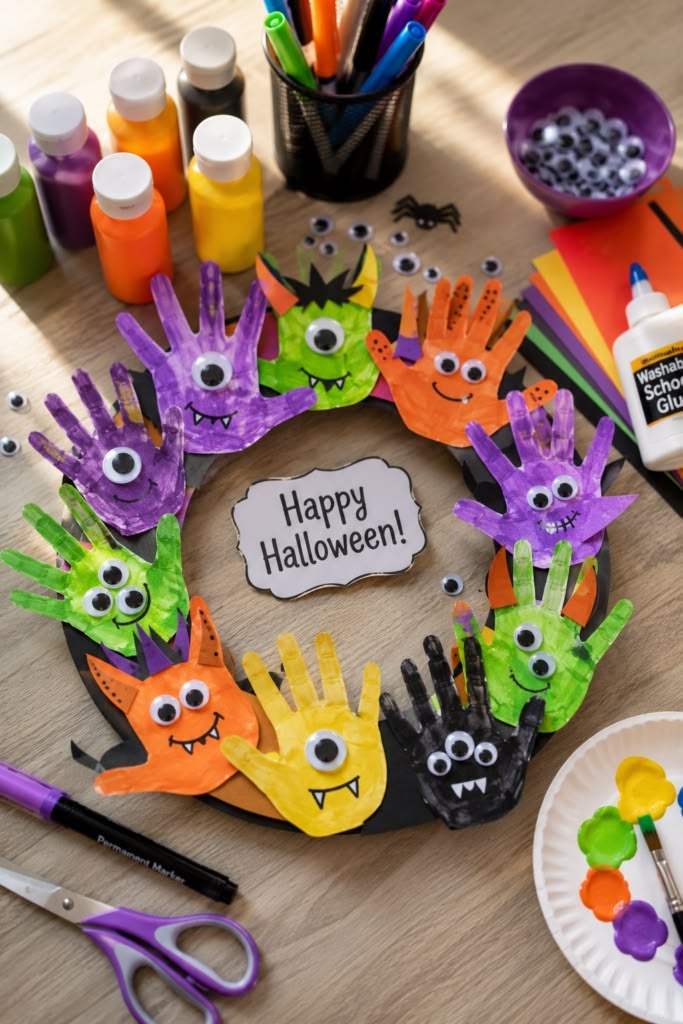
Kids can turn their handprints into a colorful Halloween banner.
Use orange, black, purple, white, and green paper. Trace each child’s hand several times, cut out the shapes, and decorate them as ghosts, monsters, pumpkins, or spiders.
Attach the finished handprints to twine with small clothespins.
The decoration becomes even more special when each child creates their own character.
6. Toilet Paper Roll Monsters
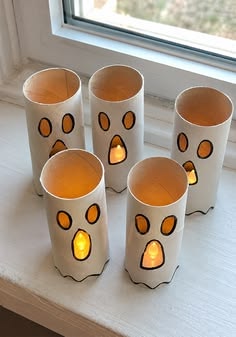
Empty toilet paper rolls make excellent little Halloween characters.
Paint the rolls in different colors, then add paper eyes, teeth, ears, horns, and hair. Kids can create vampires, monsters, witches, pumpkins, or friendly ghosts.
Line the finished characters along a shelf or windowsill.
This project also gives children a chance to use leftover craft materials instead of throwing them away.
7. Pumpkin Face Wall Display
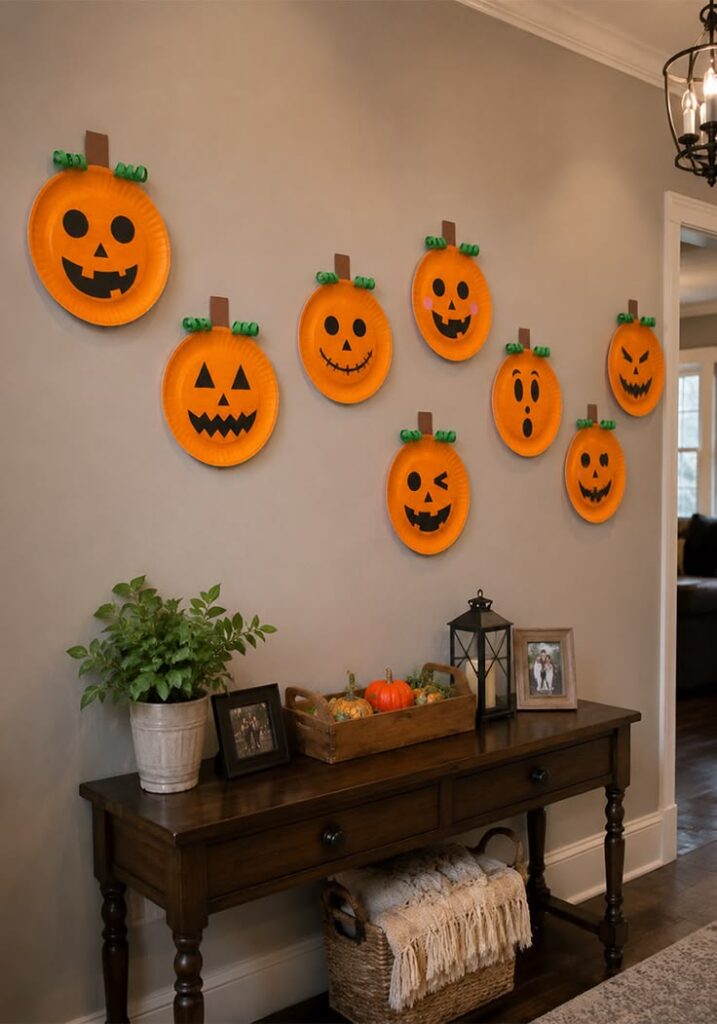
Create a collection of paper pumpkins with completely different personalities.
Cut pumpkin shapes from orange cardstock and let kids decorate them using markers, paper scraps, stickers, and craft foam.
Give each pumpkin a different expression. Some can look spooky while others can look goofy.
Arrange the pumpkins in rows on a wall or combine them with a Halloween banner.
If your kids enjoy decorating pumpkins, you may also like 31 Halloween Pumpkin Painting Ideas Kids Can Make Instead of Carving.
8. Tissue Paper Ghosts
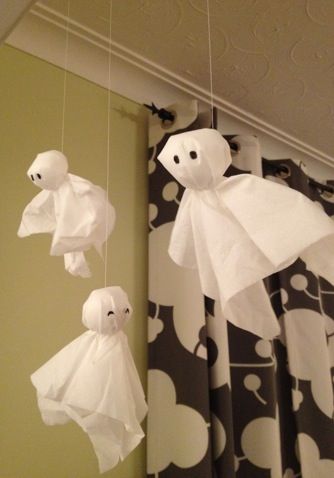
Tissue paper makes soft, lightweight ghosts that are perfect for hanging.
Crumple a small piece of white tissue paper into a ball and cover it with another sheet. Tie the bottom with string or ribbon to create the ghost’s body.
Add black eyes and a small mouth.
Hang several ghosts together near a doorway or window. Their lightweight shape moves gently whenever someone walks past.
9. DIY Monster Door
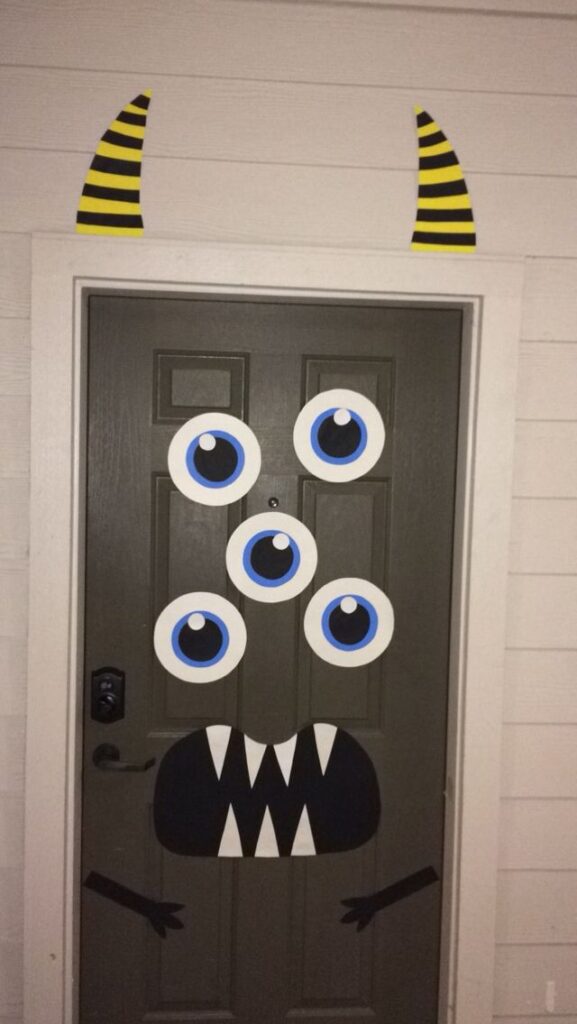
Let kids transform an ordinary door into a giant Halloween monster.
Use colored paper to create large eyes, eyebrows, teeth, and a mouth. Attach the pieces to the door with removable adhesive.
You can create one giant friendly monster or several smaller faces.
This idea makes a great entrance for a Halloween party because children see the decoration as soon as they arrive.
For party planning inspiration, visit How to Plan a Magical Kids Birthday Party From Start to Finish.
10. Cotton Ball Spider Web
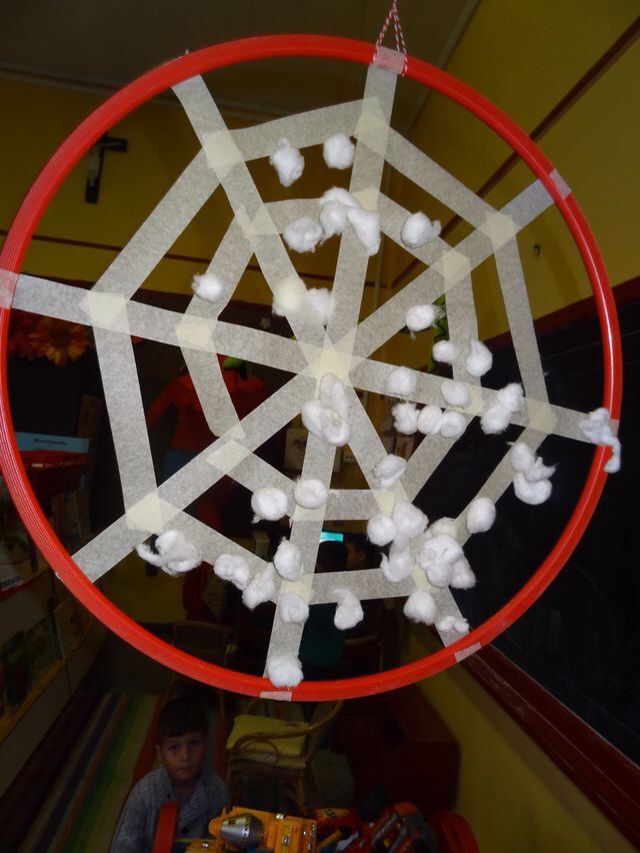
Cotton balls can become a simple homemade spider web.
Pull apart cotton balls and stretch them gently until they form thin, web-like pieces. Place the material across a wall corner, shelf, mirror, or table.
Add small paper spiders to complete the display.
Keep the web loose rather than perfectly arranged. The uneven texture makes it look more natural and gives kids freedom to decorate.
12 Paper Ghost Garland
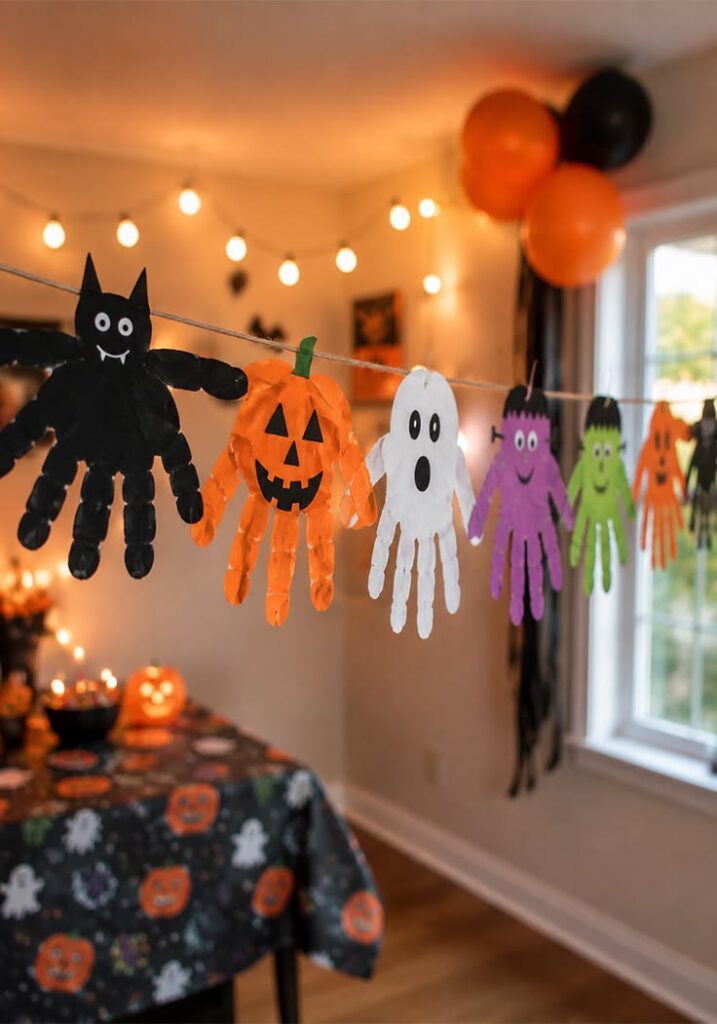
Paper ghosts are one of the easiest Halloween decorations to make with kids because the supplies are simple and the finished garland instantly changes a room.
Cut white paper into small ghost shapes, then add eyes and funny mouths with a black marker. Punch small holes near the tops and thread the ghosts onto string.
Let kids create different expressions for each ghost. Some can look surprised, happy, sleepy, or completely silly. Hang the finished garland across a wall, doorway, shelf, or party table.
For more seasonal inspiration, take a look at these 35 Spooky Halloween Party Decorations That Instantly Wow Kids.
12. Hanging Witch Hats
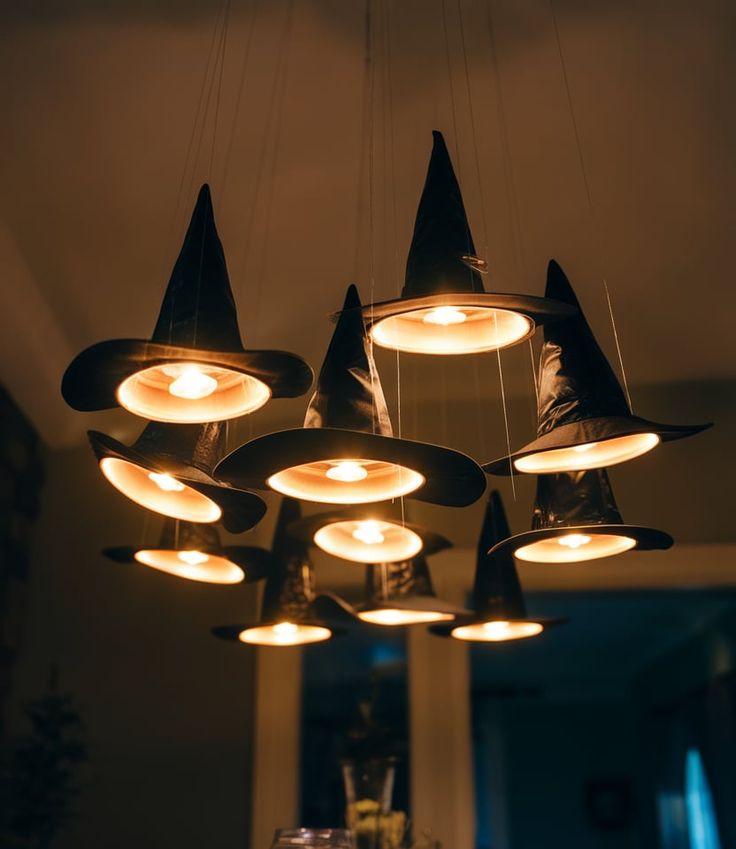
Turn inexpensive black paper into floating witch hats.
Roll black cardstock into cone shapes and secure the edges. Cut circular brims from additional paper and attach them underneath.
Add purple, orange, or green ribbons around the hats.
Hang the finished hats from the ceiling using clear thread. Several hats at different heights create a playful floating effect.
13. Popsicle Stick Halloween Signs
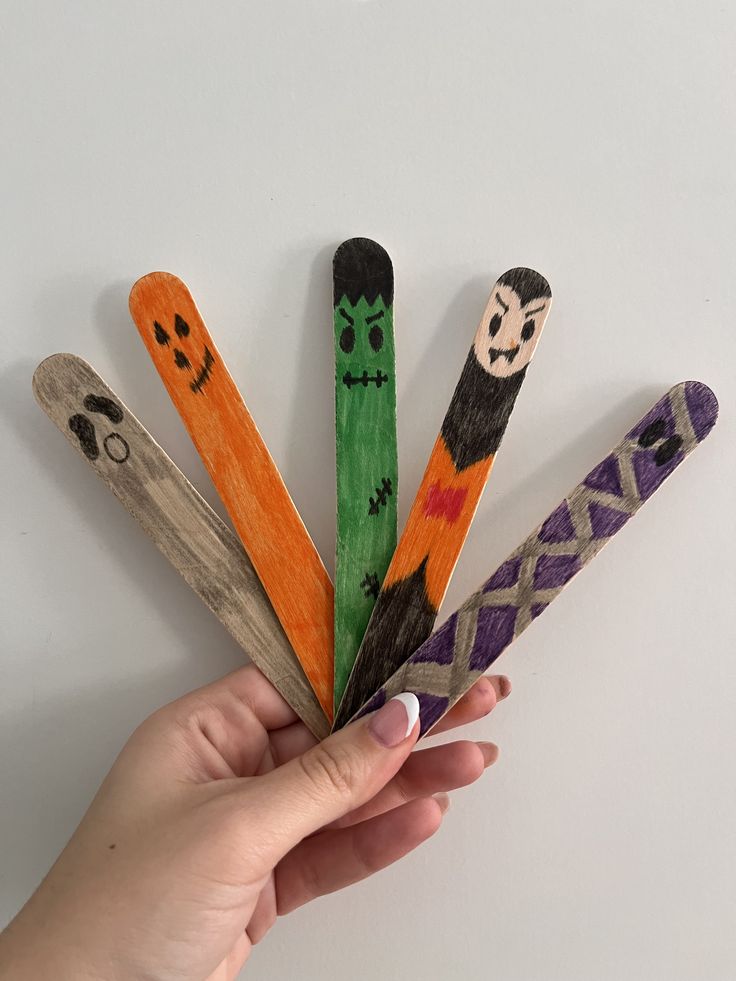
Popsicle sticks can become tiny Halloween signs for shelves and tables.
Glue several sticks together to create a small signboard. Kids can paint the boards black, orange, purple, or white.
Then add messages such as “Boo,” “Trick or Treat,” or “Spooky Night.”
Place the signs beside pumpkins, jars, or small Halloween figures.
If your children enjoy hands-on decorating projects, these Easy Summer Crafts Kids Can Make in 10 Minutes offer more simple craft inspiration.
14. Halloween Balloon Faces
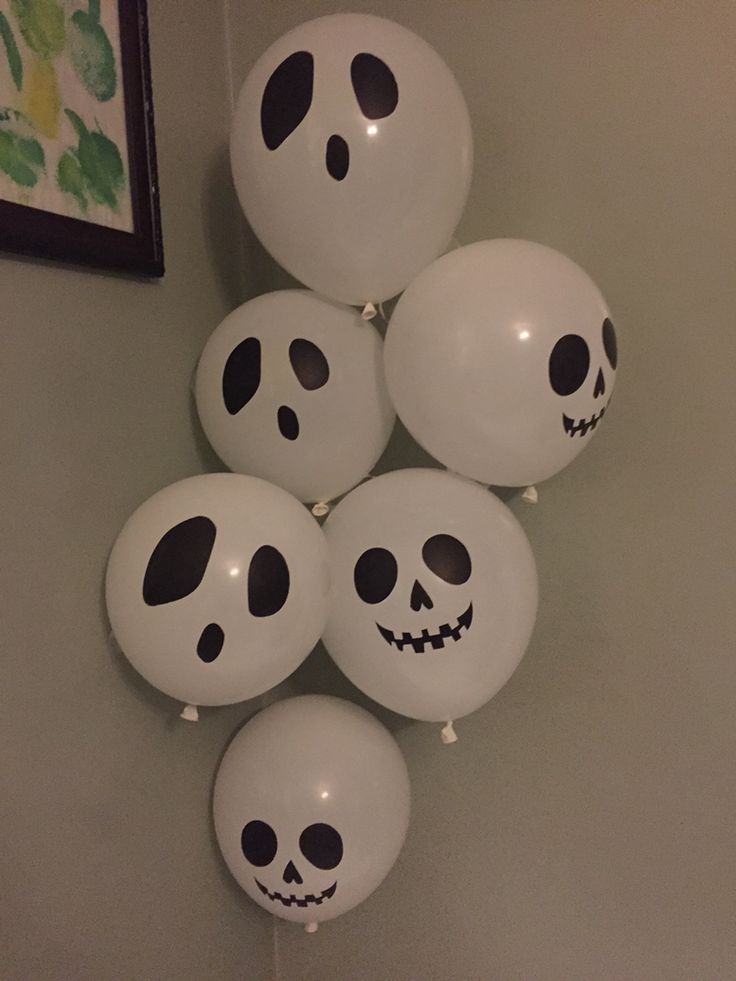
Plain balloons can become oversized Halloween characters.
Inflate orange, white, green, and black balloons. Draw faces on them using permanent markers or attach paper facial features.
Orange balloons can become pumpkins. White balloons can become ghosts. Green balloons can become monsters.
Group several balloons together to create a fun Halloween corner.
For more balloon inspiration, see 31 Beautiful Balloon Decoration Ideas for Kids’ Parties That Will Absolutely Wow Every Guest.
15. Monster Eyes Window Decoration
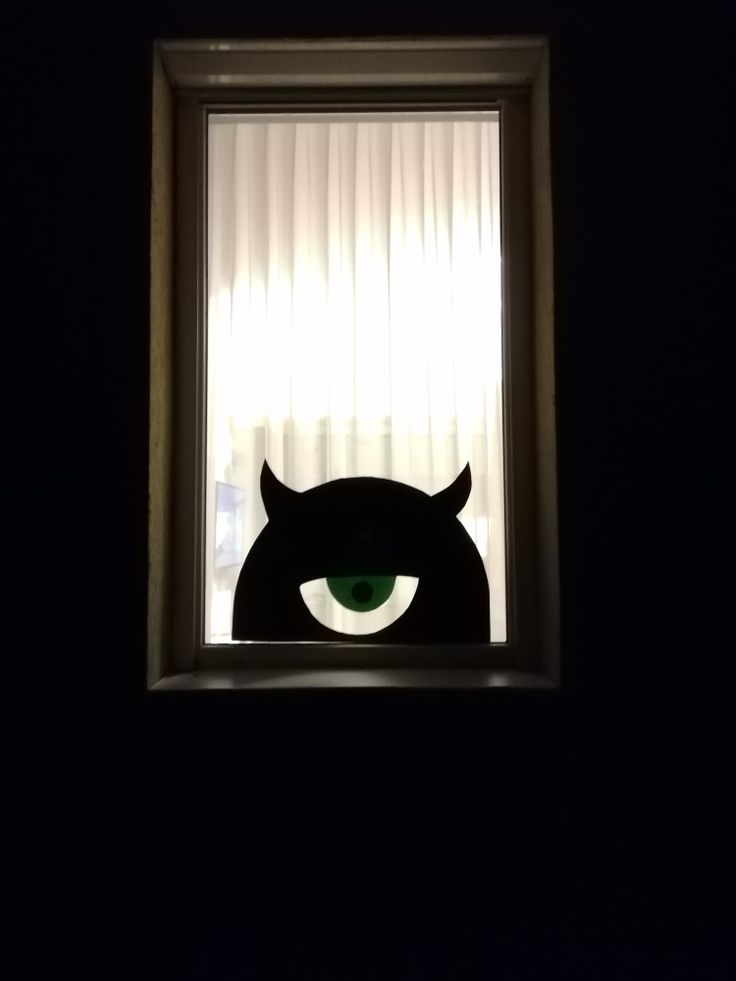
Make your windows look like friendly monsters are watching from outside.
Cut large eye shapes from white paper and create black pupils from cardstock. Add colorful eyelids or eyebrows for extra personality.
Attach the eyes to windows with removable adhesive.
Kids can create several pairs with different expressions and arrange them across the glass.
16. DIY Pumpkin Bunting
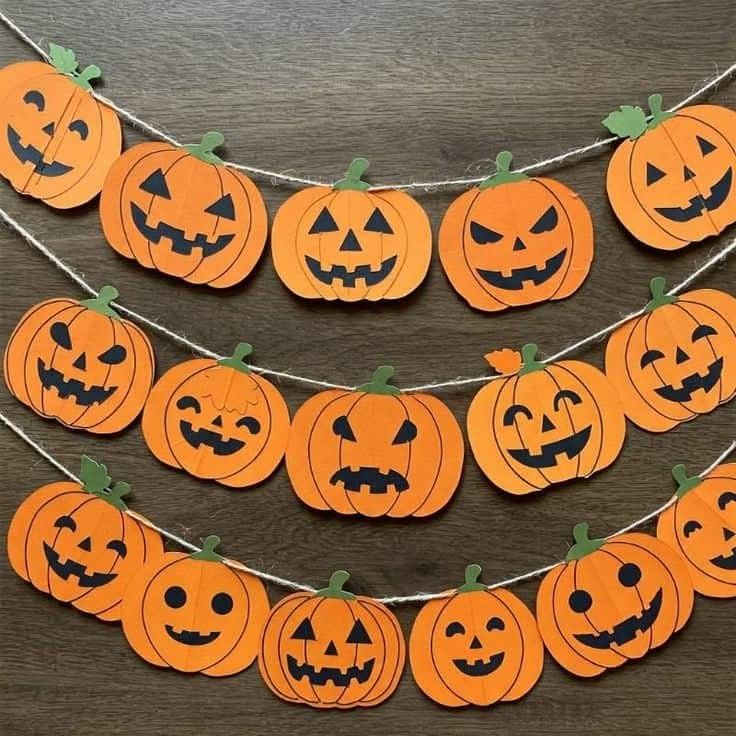
Pumpkin bunting gives a room a classic Halloween look without requiring complicated crafting.
Cut several pumpkin shapes from orange paper. Add black faces, green stems, and small decorative details.
Punch two holes in each pumpkin and thread them onto twine.
Hang the bunting above a doorway, across a wall, or behind a dessert table.
For another personalized party decoration, check out 31 Creative Birthday Banner Ideas That Add a Personalized Touch to Any Kids Celebration.
17. Painted Rock Monsters
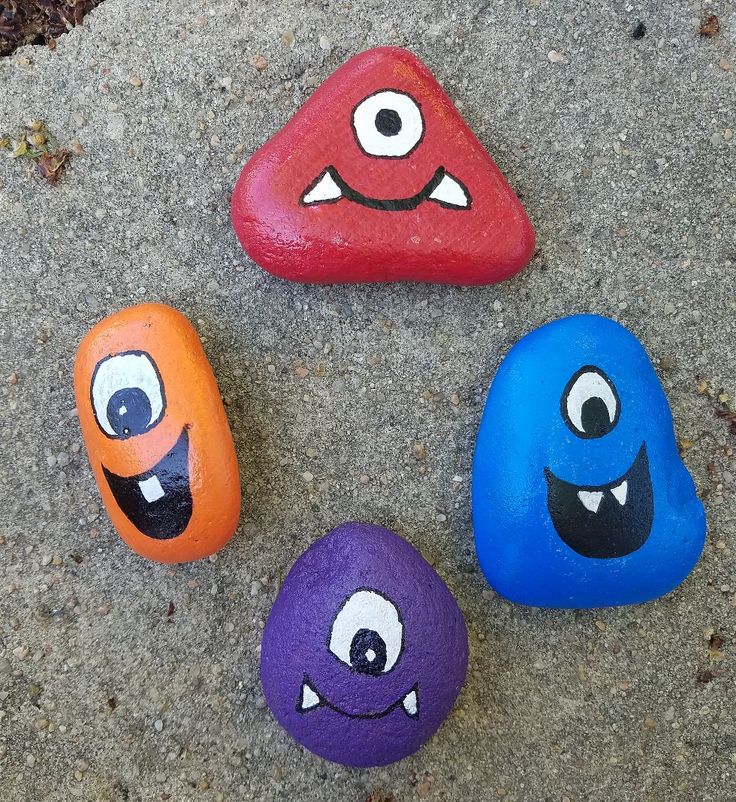
Smooth rocks can become tiny Halloween characters.
Wash and dry the rocks before painting them. Kids can turn each one into a pumpkin, ghost, monster, bat, or spider.
Once the paint dries, place the rocks along a windowsill, entryway, shelf, or party table.
Rock painting also works well as a Halloween activity because children can decorate their own little characters.
For more inspiration, explore Easy Rock Painting Ideas for Kids (No Experience Needed!).
18. Paper Plate Ghosts
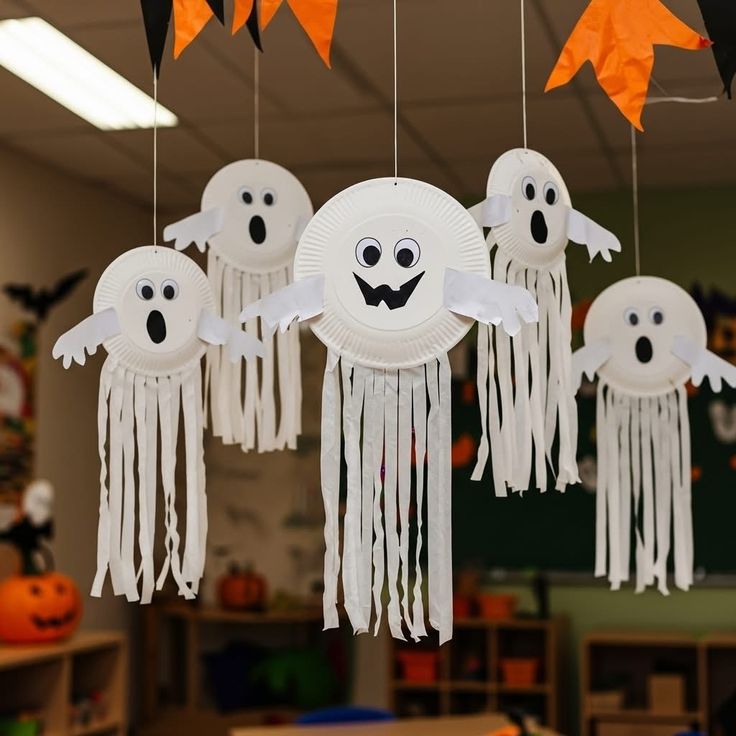
White paper plates make excellent ghost faces.
Turn each plate upside down and add two black eyes plus a wide mouth. Cut strips of white tissue paper or paper and attach them underneath.
The strips create the ghost’s flowing body.
Hang several together so they appear to float across the wall.
19. DIY Halloween Flower Pots
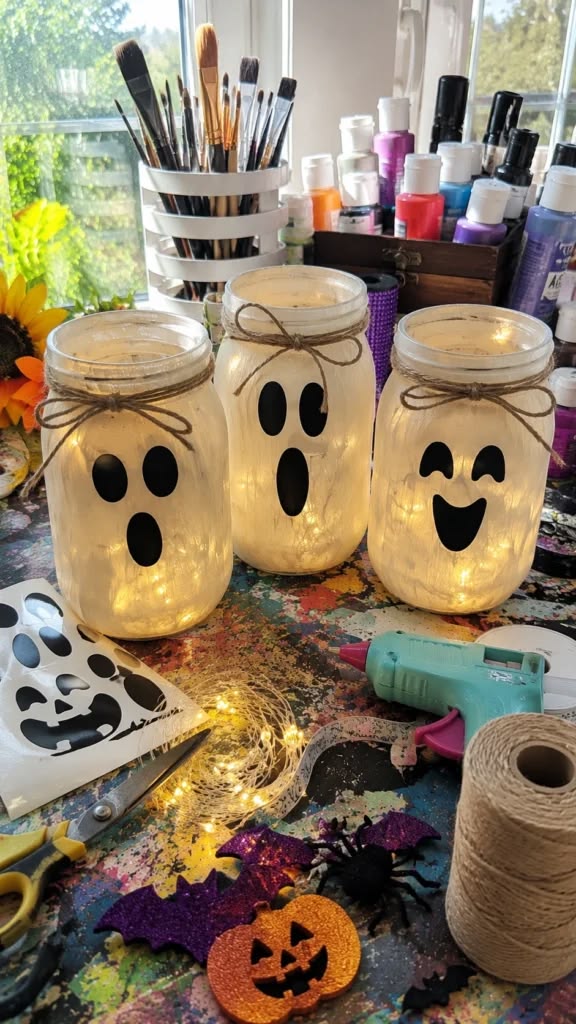
Give small plant pots a Halloween makeover.
Paint the pots black, orange, white, or green. Add faces inspired by pumpkins, ghosts, or monsters.
Place small artificial flowers, branches, or battery-operated lights inside.
The finished pots work beautifully on shelves, tables, or windowsills.
For another colorful project involving children, see How to Make a Colourful Patriotic Flower Arrangement With Your Kids.
20. Hanging Paper Lanterns
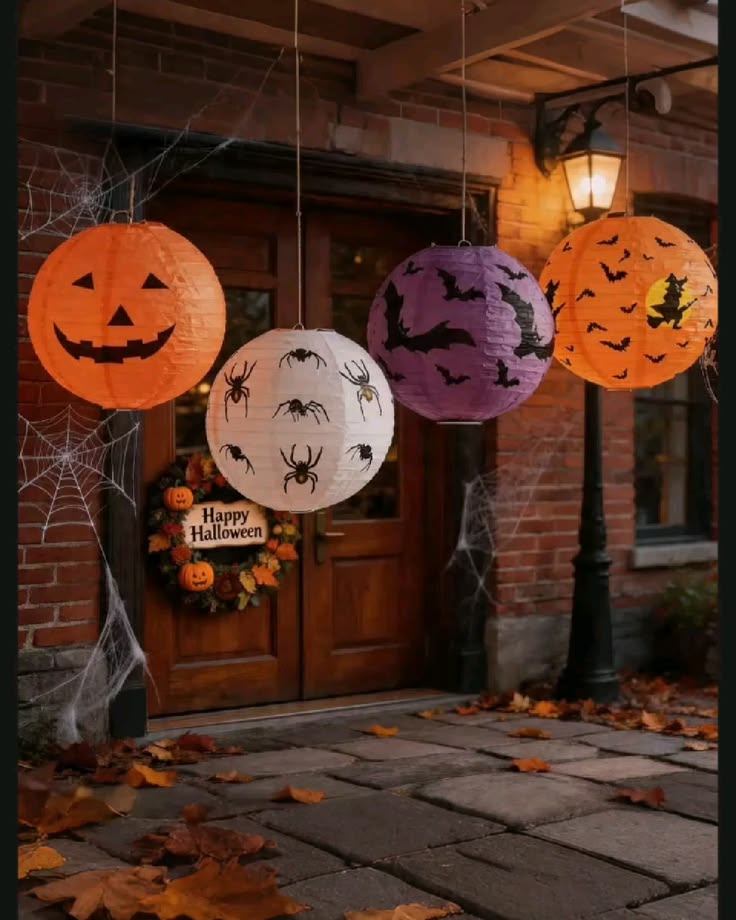
Paper lanterns can create a warm Halloween atmosphere when you use battery-operated lights inside.
Fold orange, black, or purple paper into simple lantern shapes. Add cut-out stars, bats, moons, or pumpkins.
Place battery-operated tea lights inside the finished lanterns and set them on a safe surface.
Never use real candles around children’s decorations.
21. Halloween Character Chain
A paper chain can become much more fun when every link represents a Halloween character.
Cut strips of colored paper and decorate each one before connecting them.
Use orange for pumpkins, black for bats, white for ghosts, and green for monsters.
Hang the chain across a wall, doorway, or table.
22. Popsicle Stick Pumpkin Patch
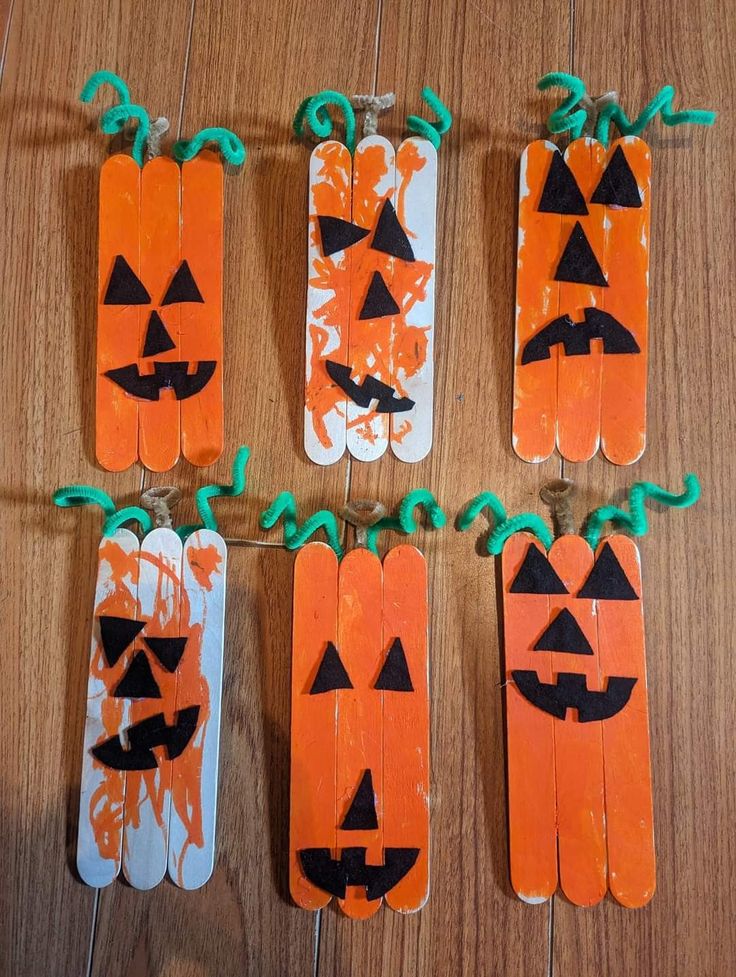
Create a miniature pumpkin patch using popsicle sticks.
Paint several sticks green or brown and use orange paper circles as pumpkins. Add small leaves and stems.
Arrange the pumpkins across a piece of cardboard.
Kids can create a little Halloween scene with trees, ghosts, houses, and bats around their pumpkin patch.
For another creative paper project, explore 15 Creative Fall Crafts for Kids Using Leaves, Apples, and Pumpkins.
23. Halloween Photo Booth Frame
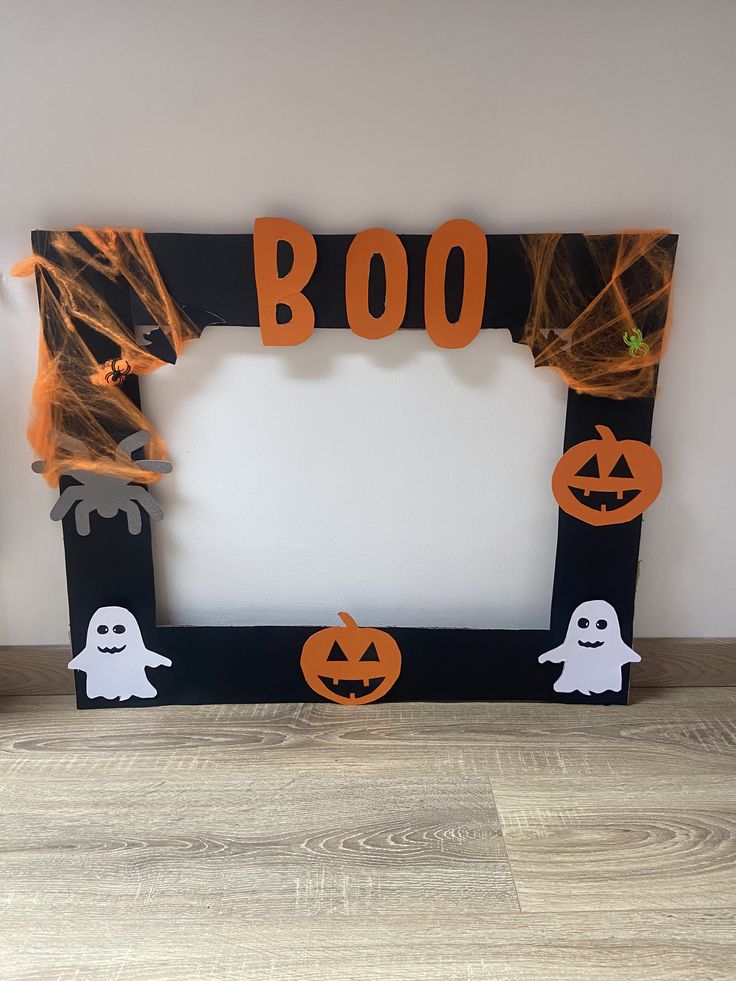
A homemade Halloween frame gives children a fun place to take party pictures.
Cut a large rectangle from sturdy cardboard and decorate the border with pumpkins, bats, ghosts, spiders, and colorful paper.
Paint the frame black and orange or let kids choose their own Halloween color combination.
Place it near the party entrance or activity table.
For more ideas focused on memorable family moments, visit The Ultimate Guide to Creating Meaningful Childhood Memories With Kids.
24. Hanging Bat Branch
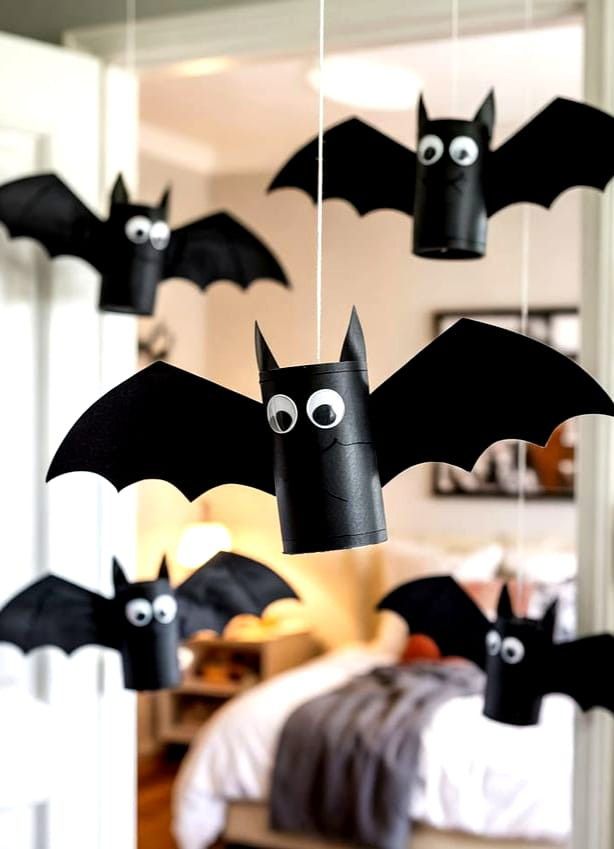
Bring a little Halloween woodland feeling indoors with a simple branch display.
Find a clean, dry branch and place it securely in a sturdy vase. Cut bats from black paper and attach them to the branches with string.
Kids can make bats in different sizes and arrange them across the branches.
Add small paper moons or stars for a magical finishing touch.
25. Halloween Paper Fans
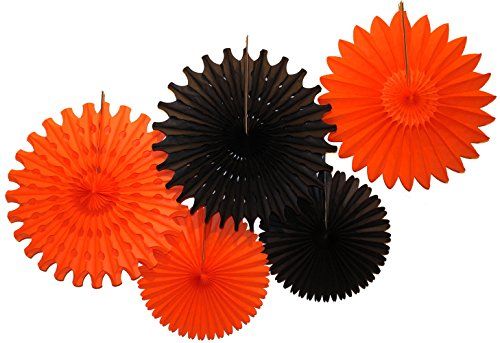
Paper fans add texture to a Halloween wall without taking up much space.
Fold orange, purple, black, and white paper accordion-style. Connect the ends to create circular fans.
Layer different sizes together and add pumpkin or bat cutouts in the center.
Use the finished fans behind a snack table or as part of a Halloween photo area.
26. Friendly Frankenstein Wall
Create a giant Frankenstein face using colored paper.
Use green paper for the face, black paper for the hair, white paper for the eyes, and small strips of black paper for scars.
Let children choose the expression.
A smiling Frankenstein can make the decoration feel fun instead of frightening, which works especially well for younger children.
27. DIY Halloween Table Runner
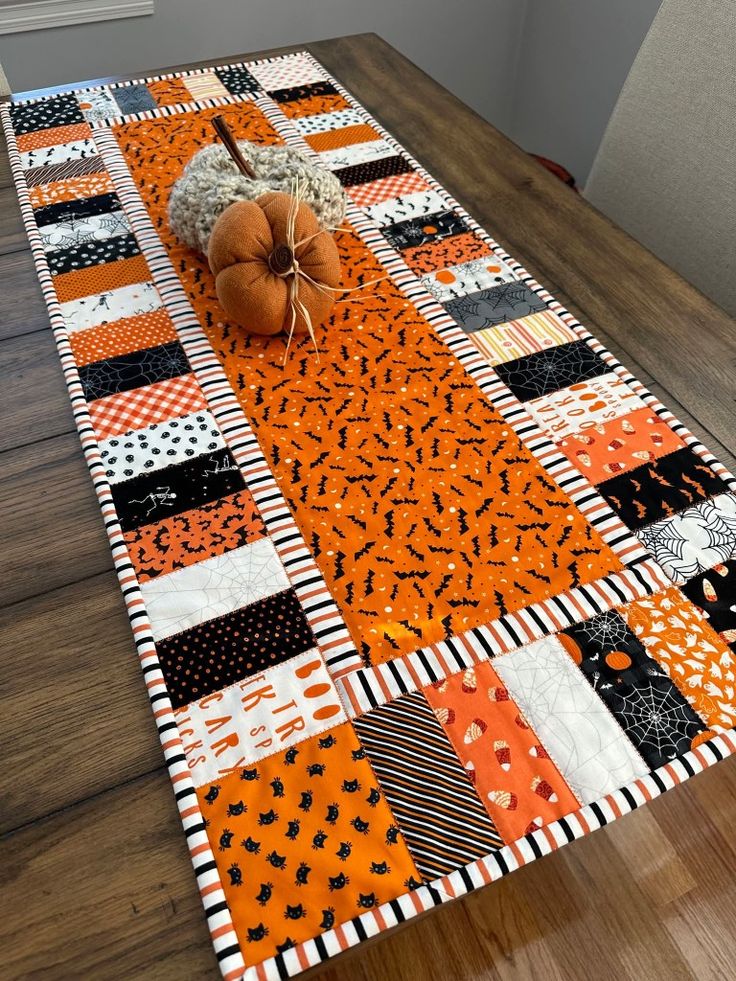
Kids can create a simple paper table runner for a Halloween snack table.
Lay a long piece of black or orange craft paper across the table. Let children decorate it with pumpkins, stars, ghosts, bats, and spider webs.
They can draw directly on the paper or glue on paper shapes.
This decoration also protects the table from small spills during craft or snack time.
28. Halloween Window Silhouettes
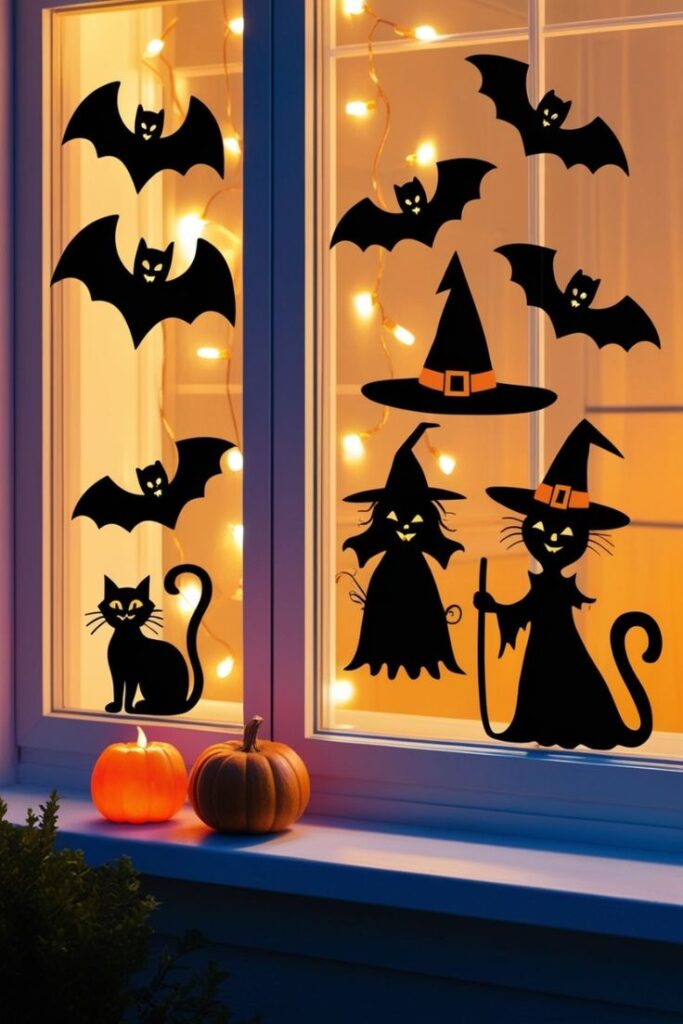
Black paper silhouettes create a dramatic Halloween look with very little effort.
Cut out bats, cats, pumpkins, haunted houses, or witches’ hats.
Arrange the shapes across windows so they stand out against the light.
Kids can help choose the shapes and decide how the scene should look.
For more kids’ decorating inspiration, explore 33 Pinterest-Inspired Kids Room Decorating Ideas.
29. Mini Halloween Party Signs
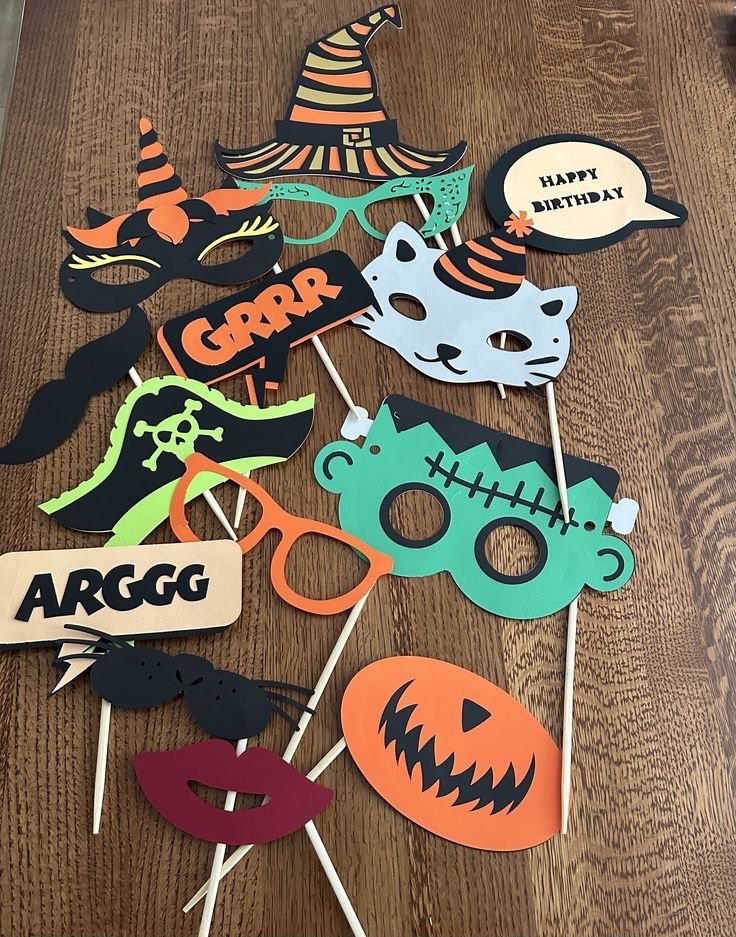
Create small signs to guide guests around the party.
Use cardboard or thick paper and write simple labels such as “Treats,” “Games,” “Crafts,” or “Photo Spot.”
Kids can decorate each sign with drawings and stickers.
This makes the party space feel organized while giving children another chance to contribute to the decorating.
For more party ideas, you can also browse 27 Funny Halloween Party Games That Keep Kids Laughing.
30. DIY Halloween Paper Wreath
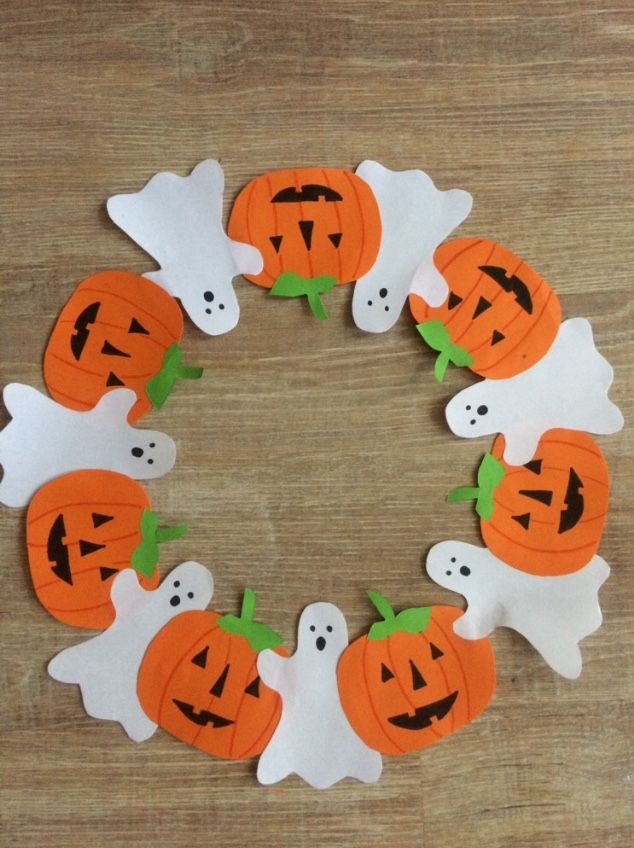
A paper wreath makes a welcoming decoration for the front door or an indoor wall.
Start with a cardboard ring. Cover it with black, orange, purple, and white paper leaves, pumpkins, bats, and ghosts.
Let kids decide how crowded they want the wreath to look.
Add a simple ribbon at the bottom and hang it on the door.
For another seasonal backdrop project that kids can help create, see 31 Timeless DIY Fall Backdrop Ideas for Kids’ Parties That Always Look Beautiful.
How to Make Halloween Decorating More Fun for Kids
Halloween decorating becomes much more enjoyable when children get real choices instead of simply being asked to help with adult decorating jobs.
Set out a small selection of paper, markers, paint, glue, scissors, ribbons, and recycled materials. Then give each child a decorating area to work on.
One child might create ghosts while another makes pumpkins. Someone else might prefer painting rocks or designing signs.
You can also turn decorating into a small family activity before the party. Put on some Halloween music, prepare the supplies, and let everyone work on a few decorations together.
For more simple creative activities, The Complete Guide to Summer Kids Crafts Activities for Creative and Curious Kids has plenty of ideas that can inspire year-round crafting.
Easy Ways to Create a Halloween Color Scheme
A simple color palette can make homemade decorations look more coordinated.
Classic orange, black, and white always work well. Purple can add a playful touch, while green works beautifully for monster and witch-themed decorations.
Choose three or four main colors and repeat them throughout the room.
For example, use orange pumpkins, black bats, white ghosts, and purple banners. Even simple paper decorations will look like part of one planned Halloween display.
You can also match your decorations to your child’s favorite Halloween theme.
A magical party could use purple, silver, white, and soft orange. A monster party could focus on green, black, orange, and bright colors.
How to Decorate Without Making the Room Feel Crowded
Homemade decorations can quickly fill a room, especially when children are excited and want to display everything they create.
Start with a few larger pieces. A paper wreath, monster door, balloon display, or large pumpkin wall can become the main focal point.
Then add smaller decorations around it.
Keep walkways clear and avoid placing hanging decorations where children could easily grab or pull them down.
Shelves, tables, windows, and empty wall sections provide useful decorating spaces without taking away room for games and movement.
If you need ideas for keeping children’s spaces organized after the celebration, take a look at Toy Storage Ideas That Make Cleanup Easier for Kids.
How to Make DIY Halloween Decorations Last Longer
Store your homemade decorations carefully after Halloween so you can reuse them next year.
Paper decorations should stay flat or inside large folders. Fabric decorations can go into labeled storage bags. Small painted decorations can go into boxes with tissue paper around them.
Write the year on the storage box if you plan to build a collection of handmade Halloween decorations.
You can also save the decorations children love most and add new pieces every year.
That creates a small Halloween collection filled with memories from different ages.
Make a Halloween Decorating Tradition
The most memorable Halloween decorations may not be the ones that look perfect.
They can be the crooked paper ghost your child proudly made, the pumpkin with the funny face, or the tiny monster that stayed on the shelf for weeks after Halloween.
Give kids space to make choices and create decorations in their own style.
You can even take photographs of the decorating process and save a few of the finished pieces. Over time, those little projects can become part of your family’s Halloween traditions.
If you want more ideas for creating meaningful moments together, The Ultimate Guide to Documenting Your Child’s Milestones can help you think about simple ways to preserve special childhood memories.
Final Thoughts
Easy Halloween decorations to make with kids can turn an ordinary room into a playful space filled with personality. Paper ghosts, painted pumpkins, hanging bats, monster faces, handmade signs, and colorful garlands can completely change the atmosphere without complicated supplies.
Let children take part in choosing the colors, drawing the faces, cutting the shapes, and deciding where each decoration belongs. Their creations do not need perfect lines or matching colors. The little imperfections are part of what makes homemade Halloween decorations special.
Most importantly, make the decorating itself part of the celebration. Put on some music, spread out the craft supplies, and let everyone create something for the room.
By Halloween night, the decorations will do more than make the space look festive. They will remind your family of the afternoon spent creating them together.